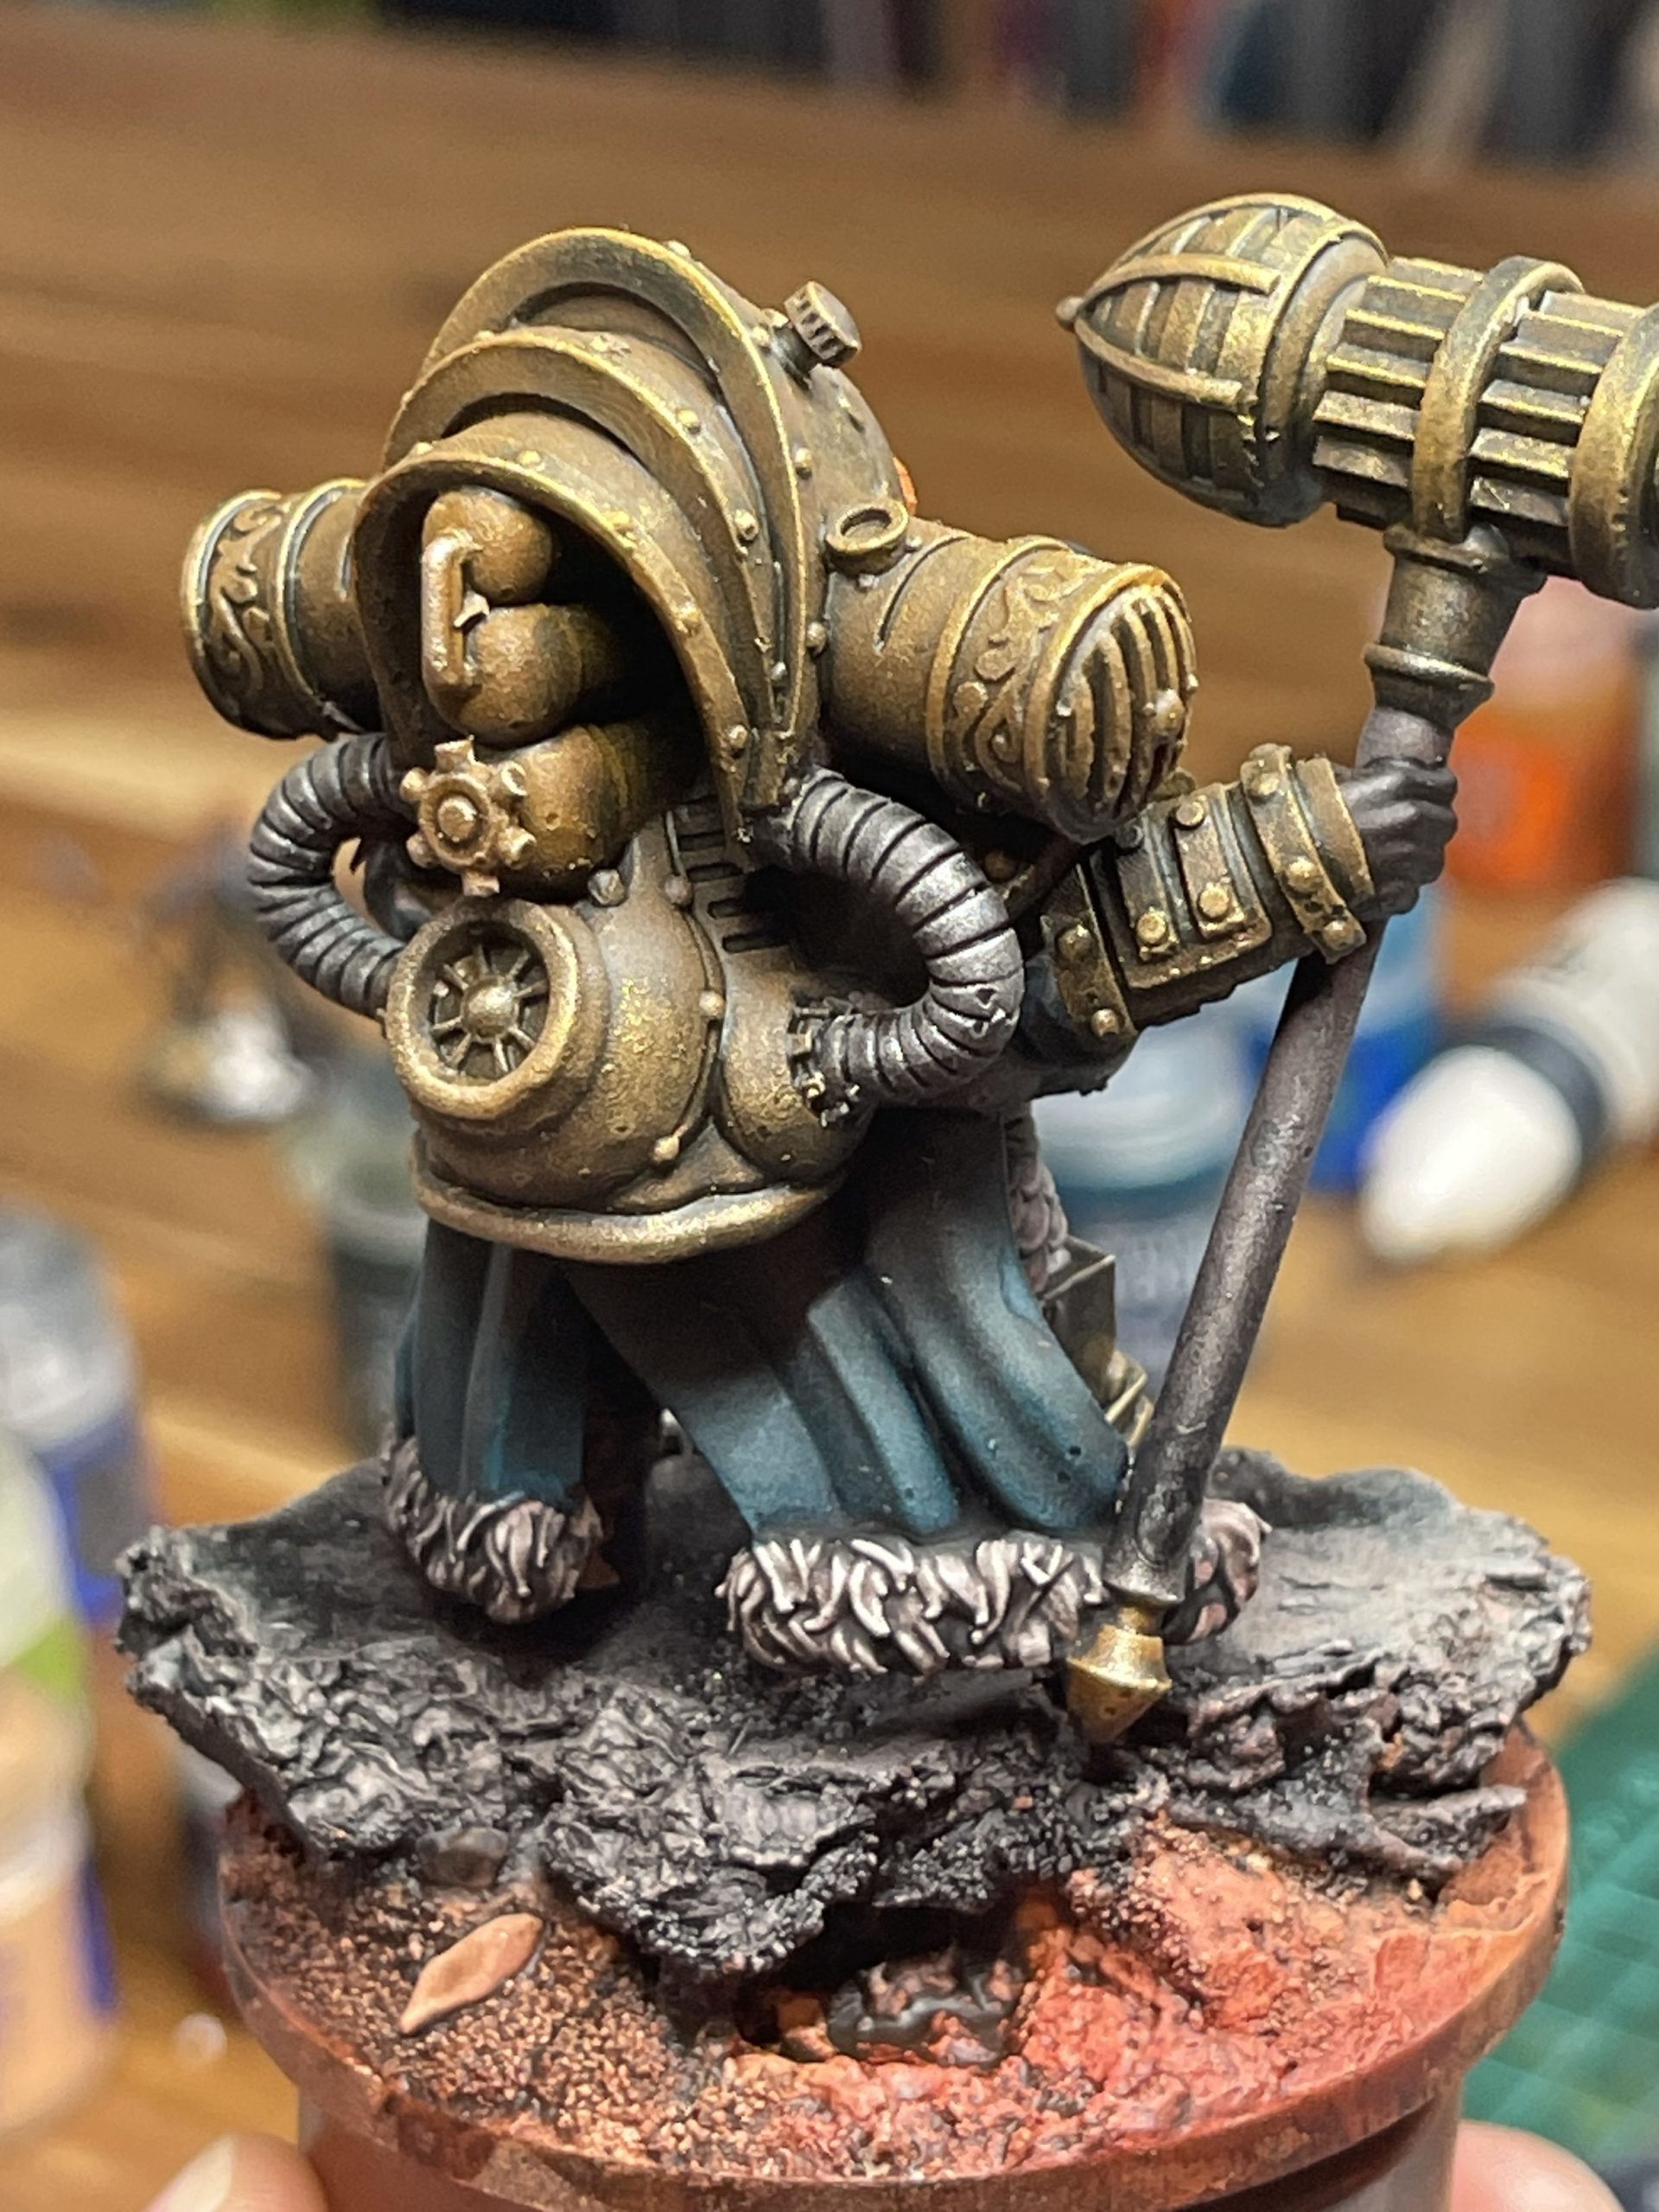
Blue/Orange/Brass Colour Scheme
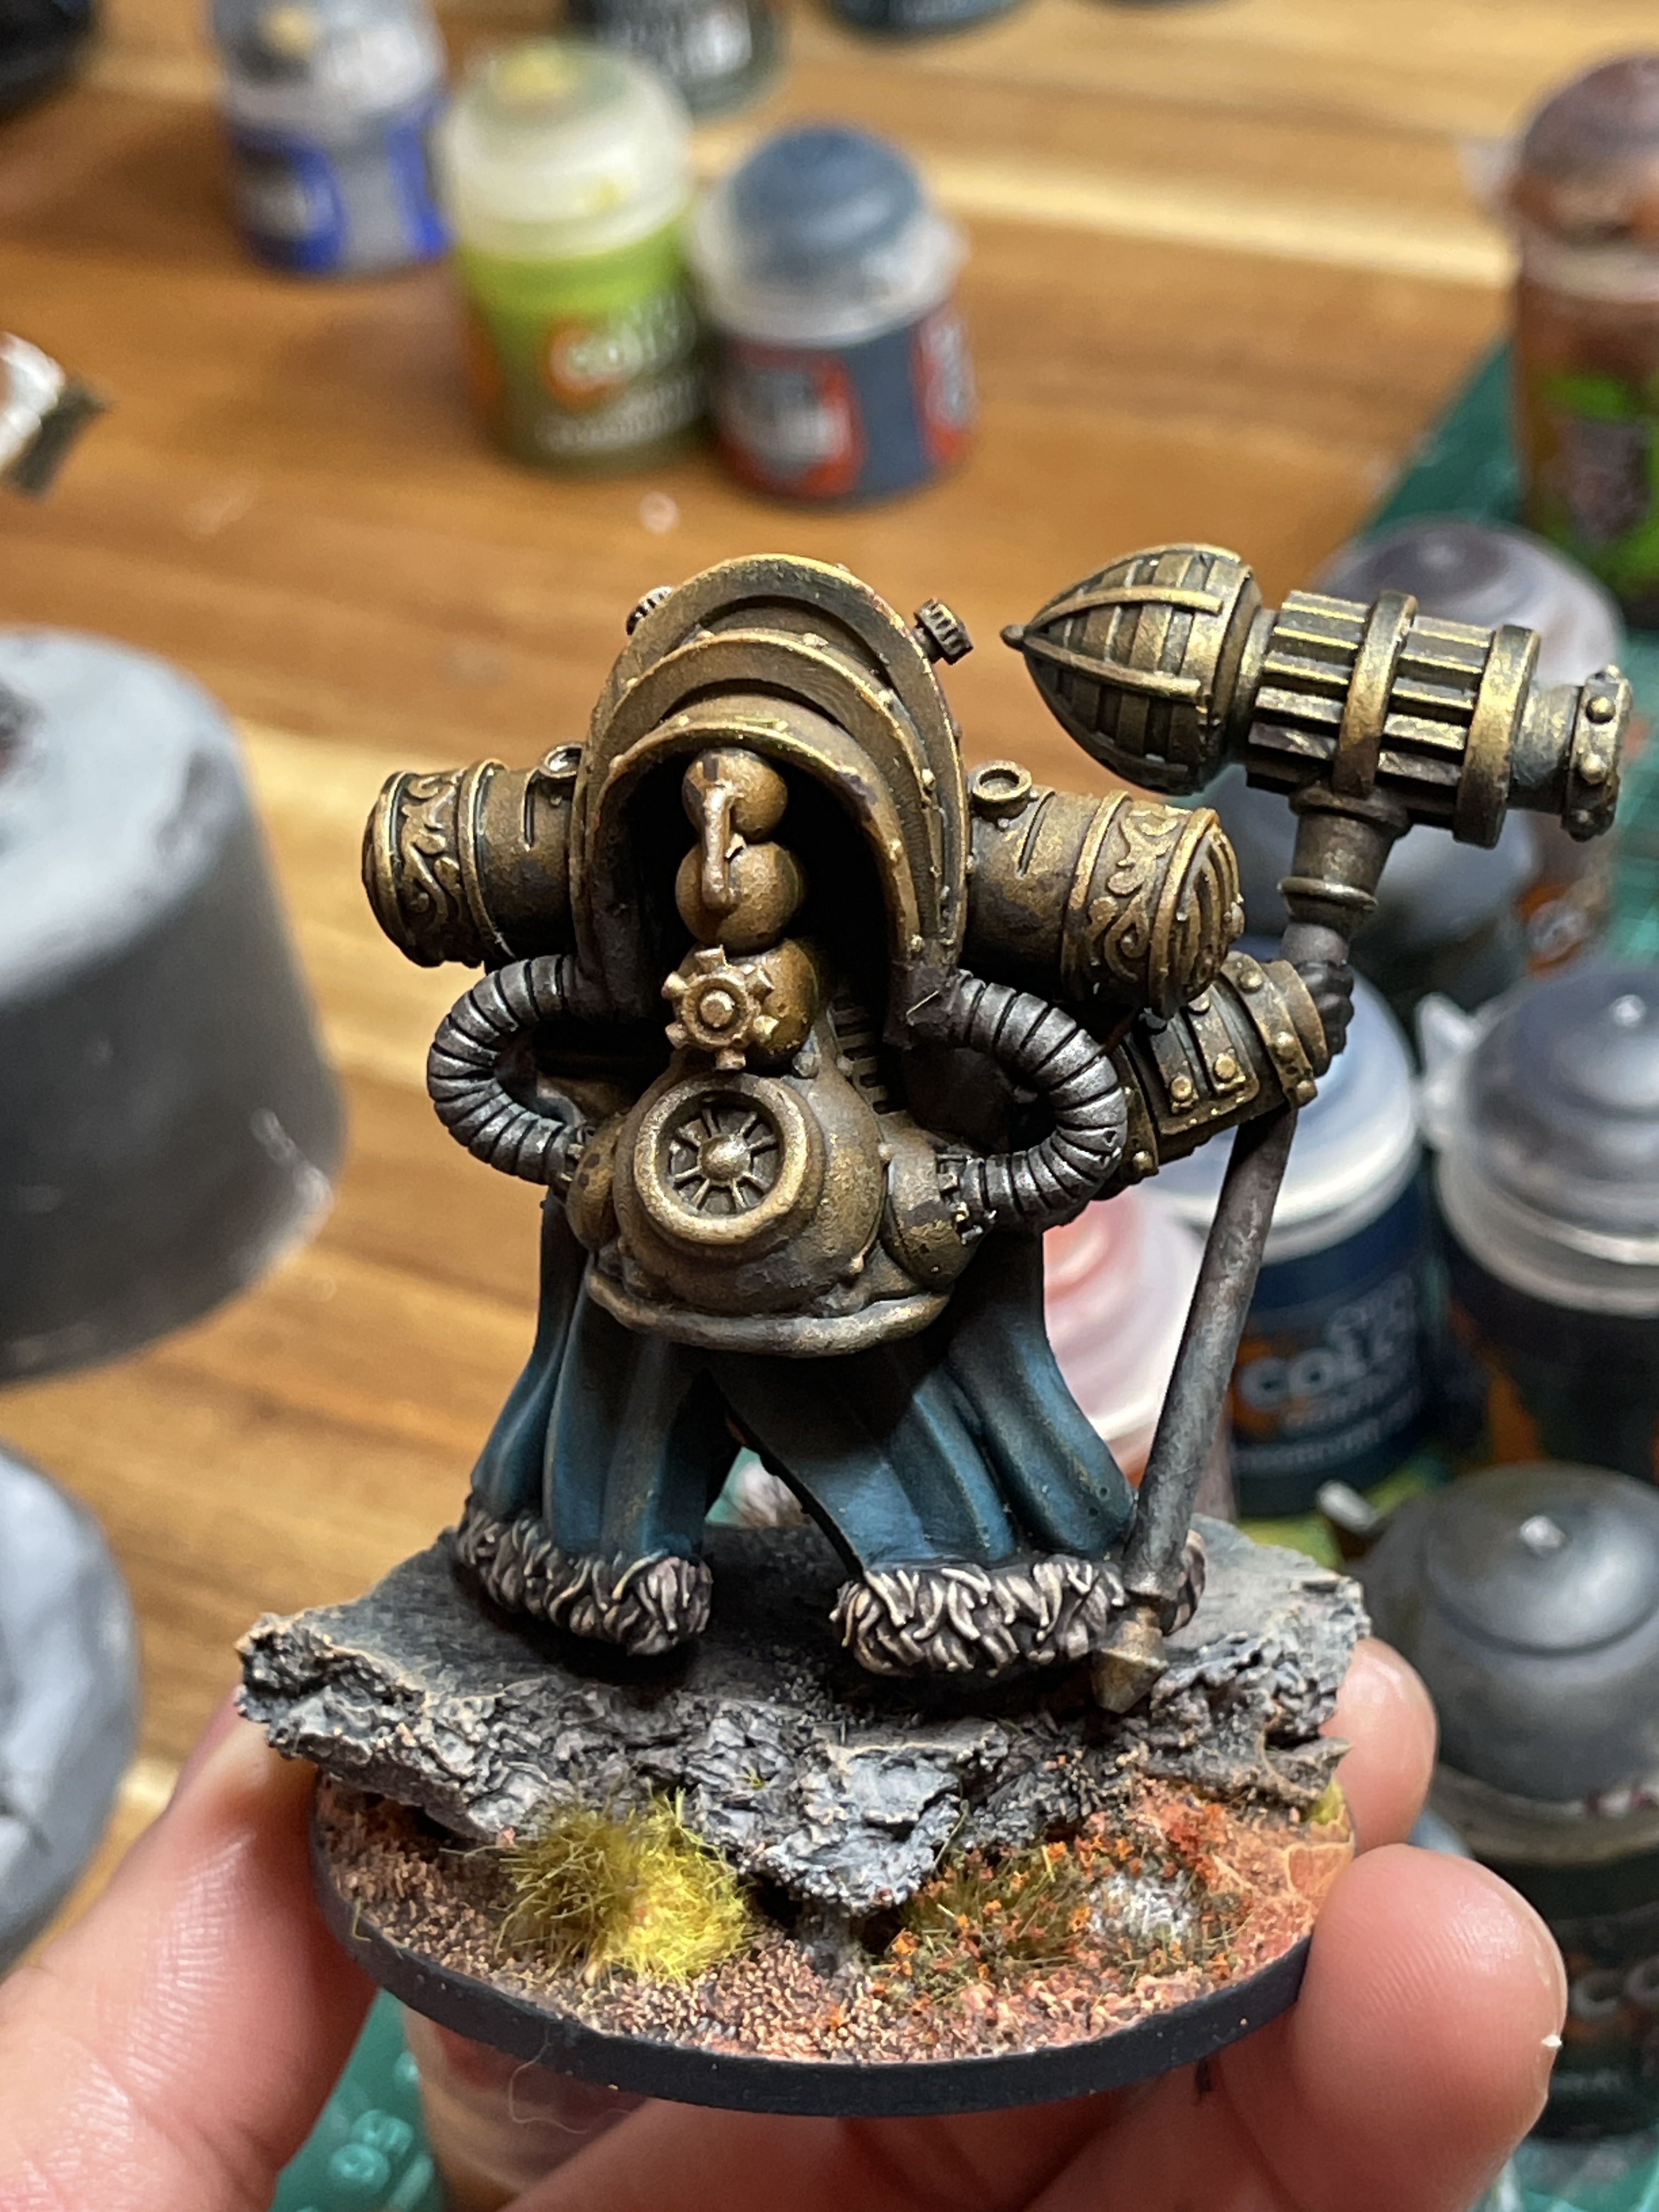
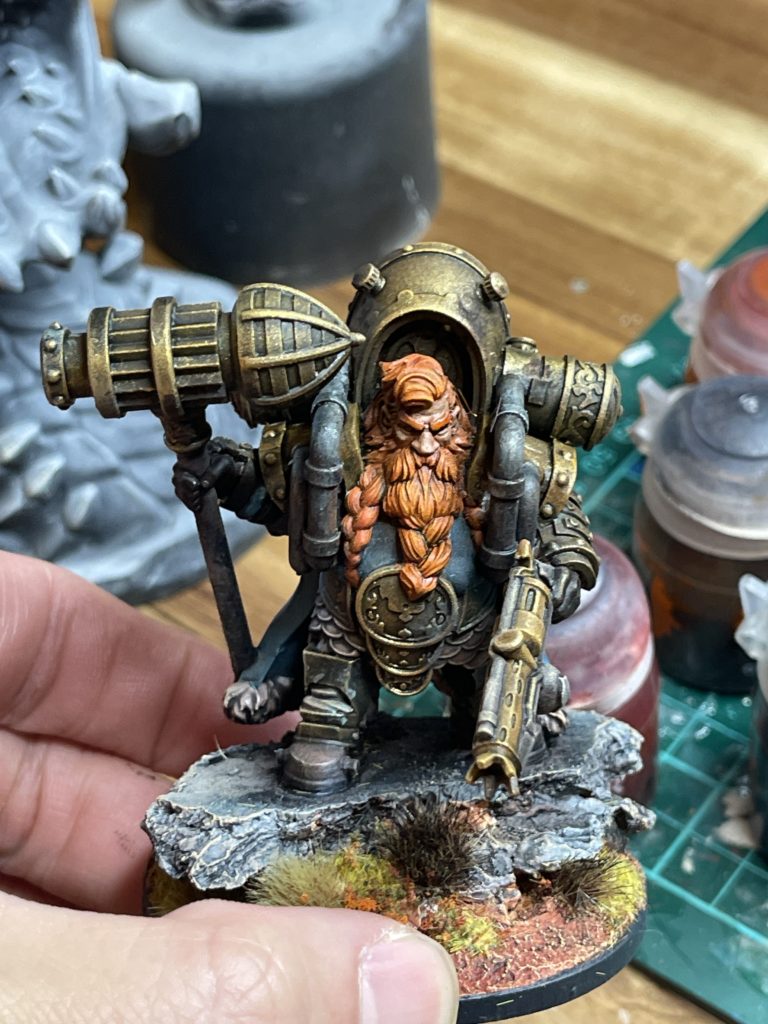
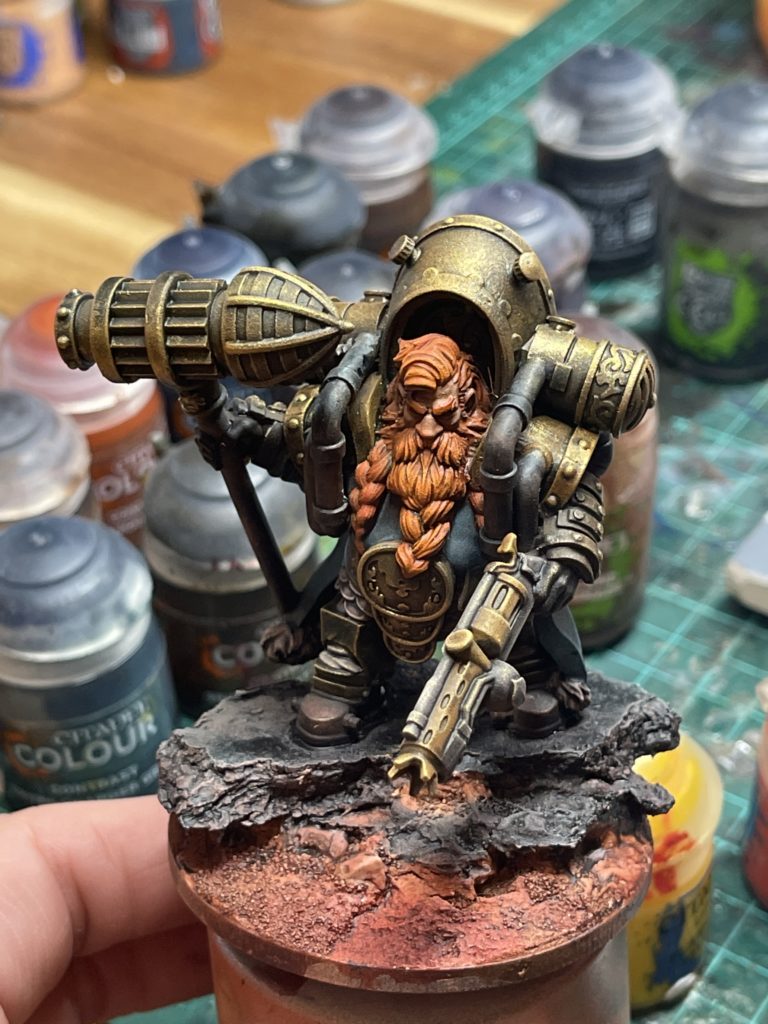
Josh walked me through a quick two hour paint job on a 3D printed resin model of Admiral Runestorm from MyMiniFactory. This post’s purpose is mainly to remind me of the process, and to serve as a reference in case anyone likes the colour scheme and wants to do something similar.
This mini was also printed at around 150% of its preset size, making it a little more time consuming to paint, but also makes it look a lot cooler to look at.
Paint List
Step-by-step Process
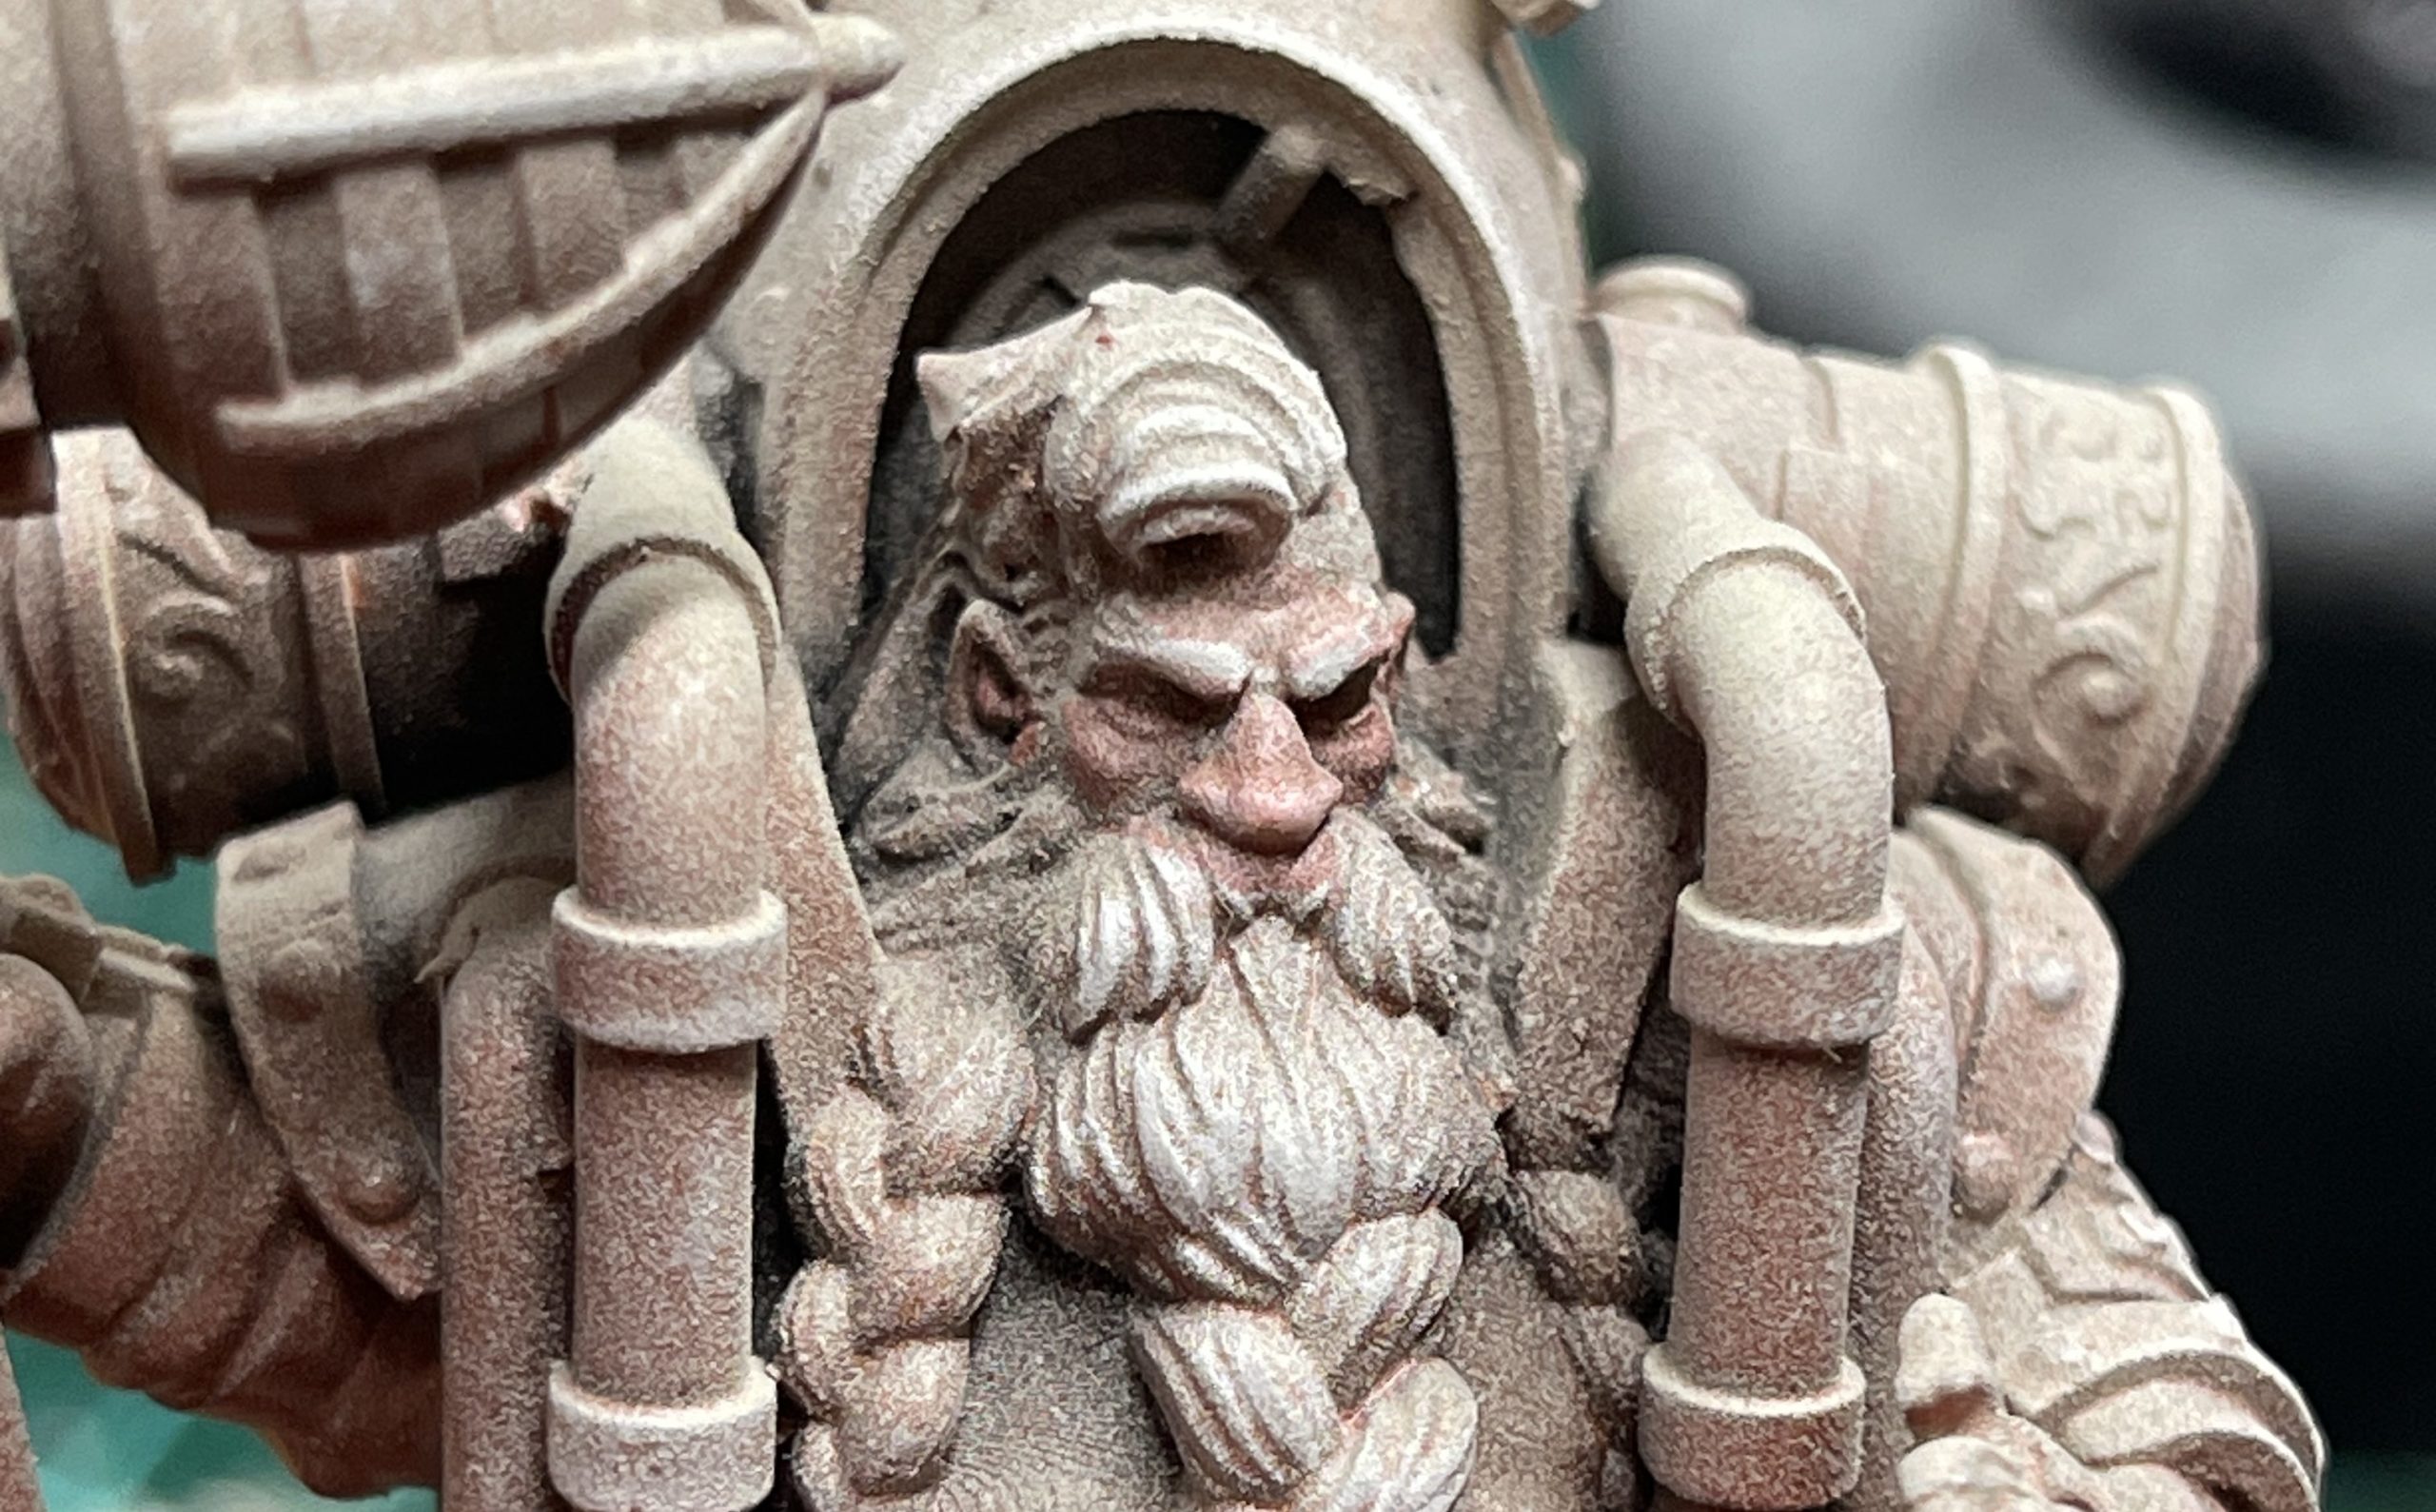
1. Prime and undercoat
Josh primed the base with black paint then sprayed on a layer of red undercoat, before lightly spraying on white on the areas that light would hit.
2. Dry brush highlights
Dry brush the hard edges and raised areas.


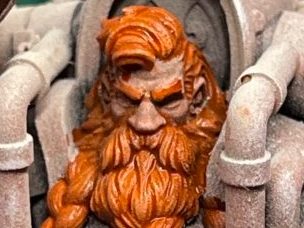
3. Apply translucent glaze to face
Water down each colour paint to a thin glaze and layer on the skin.
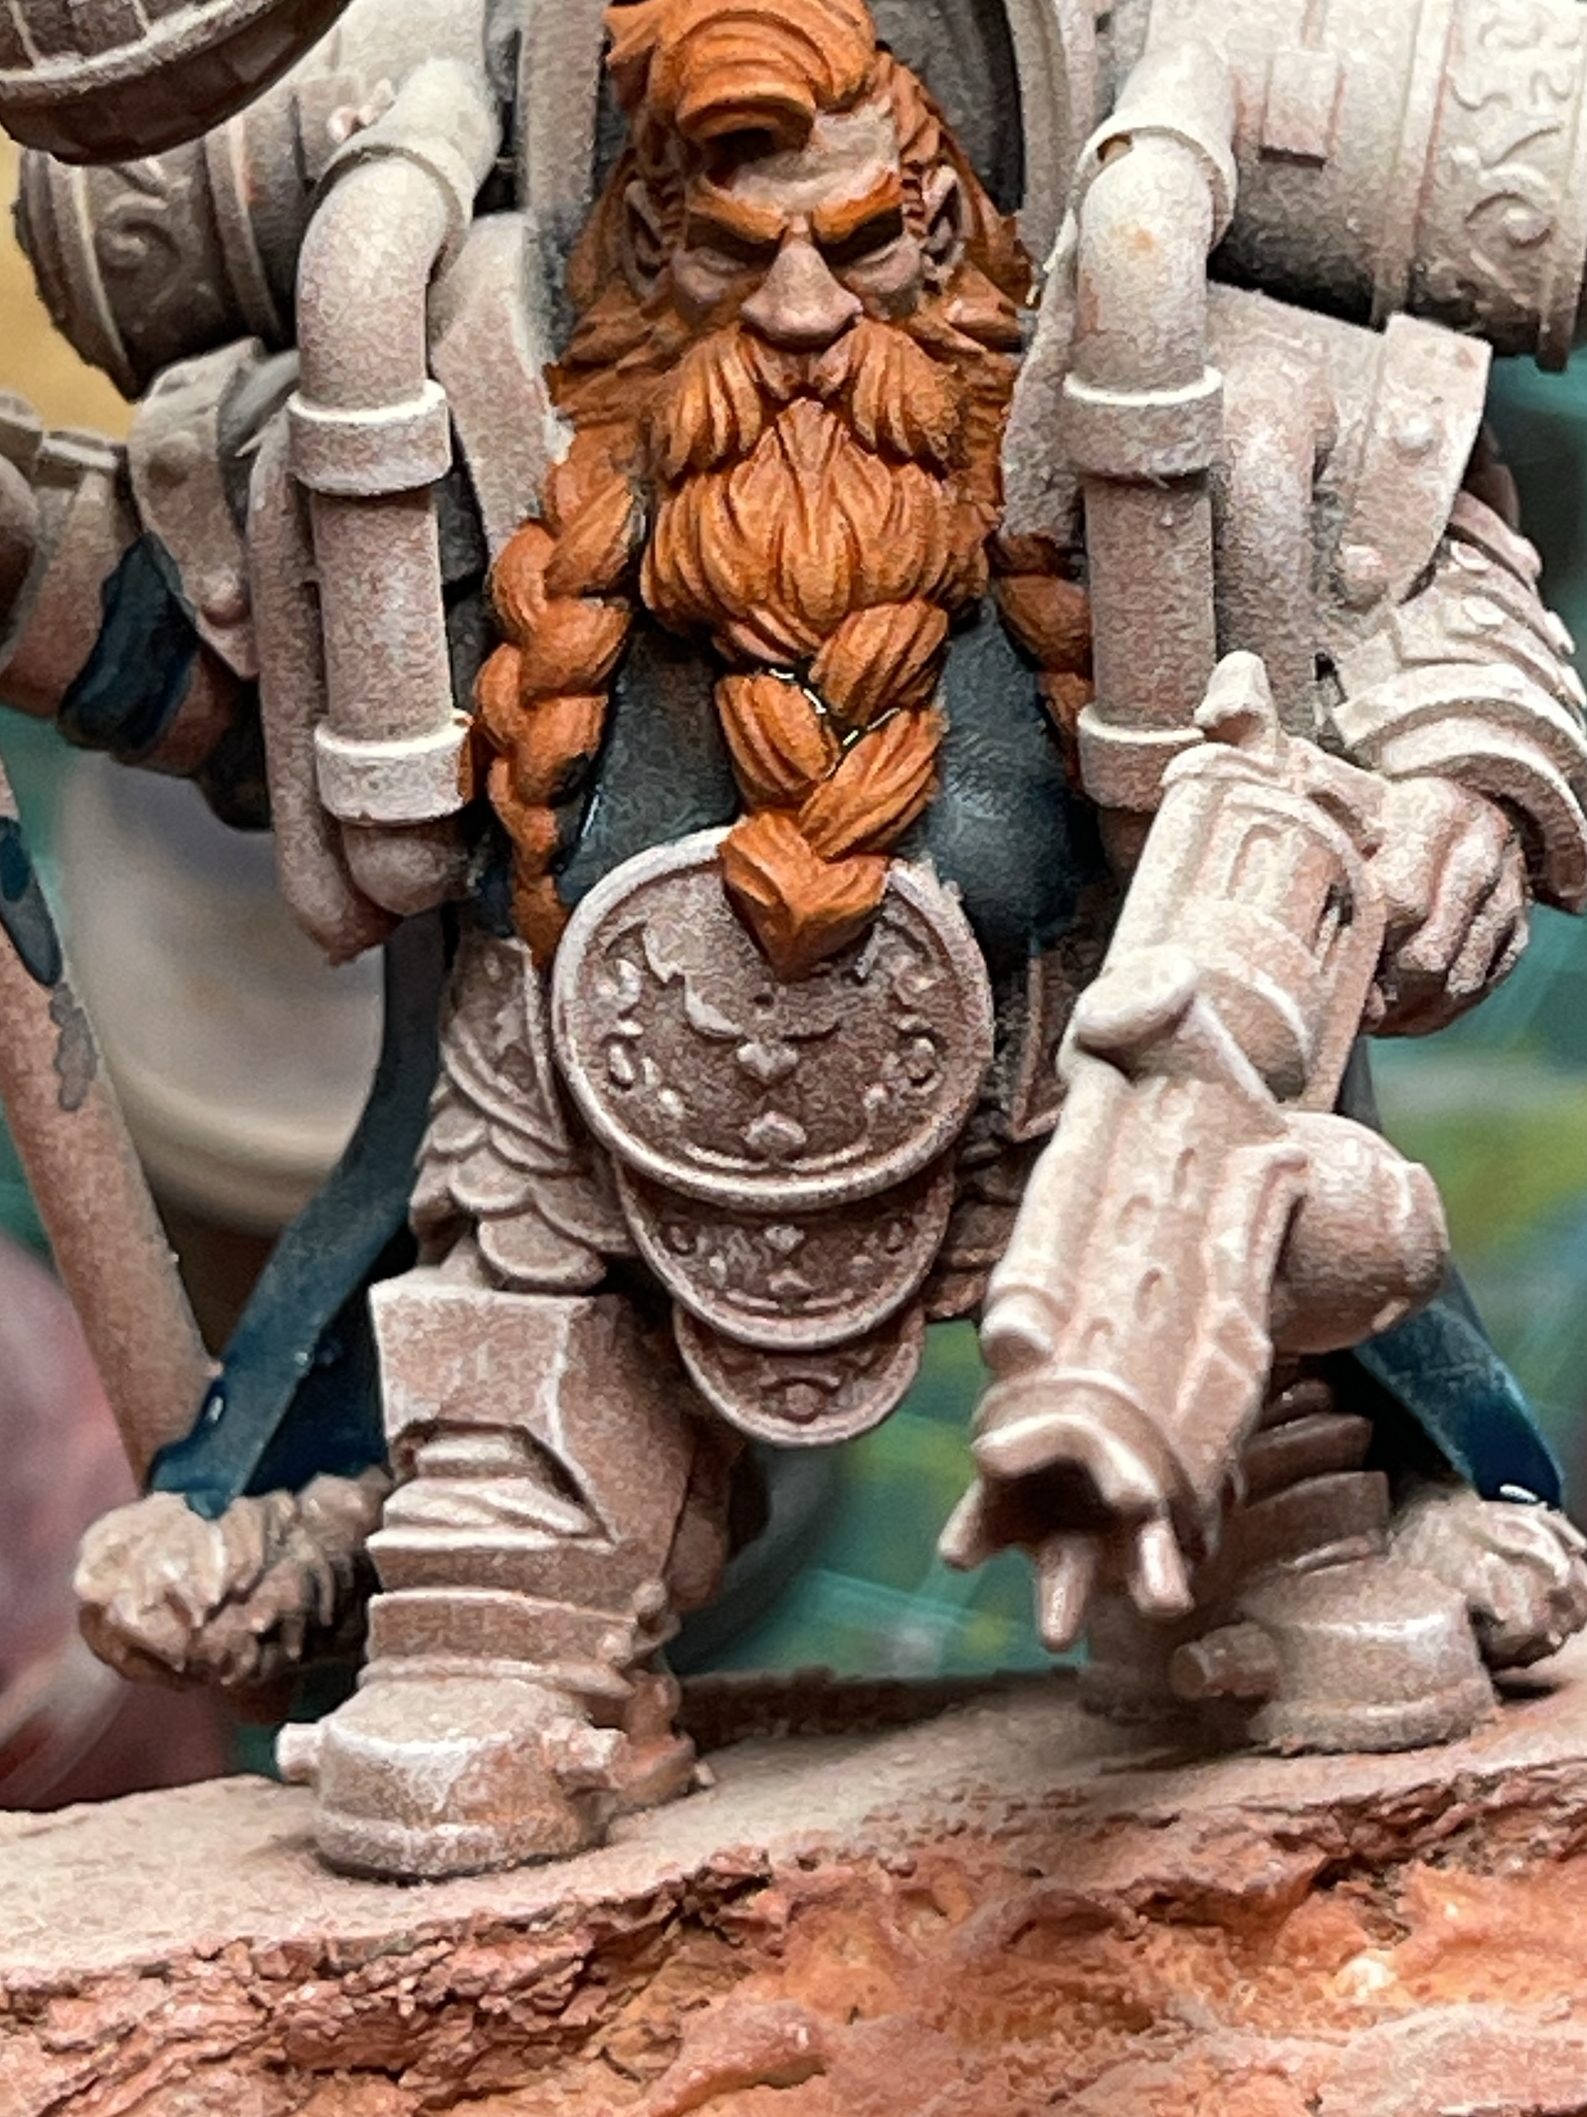
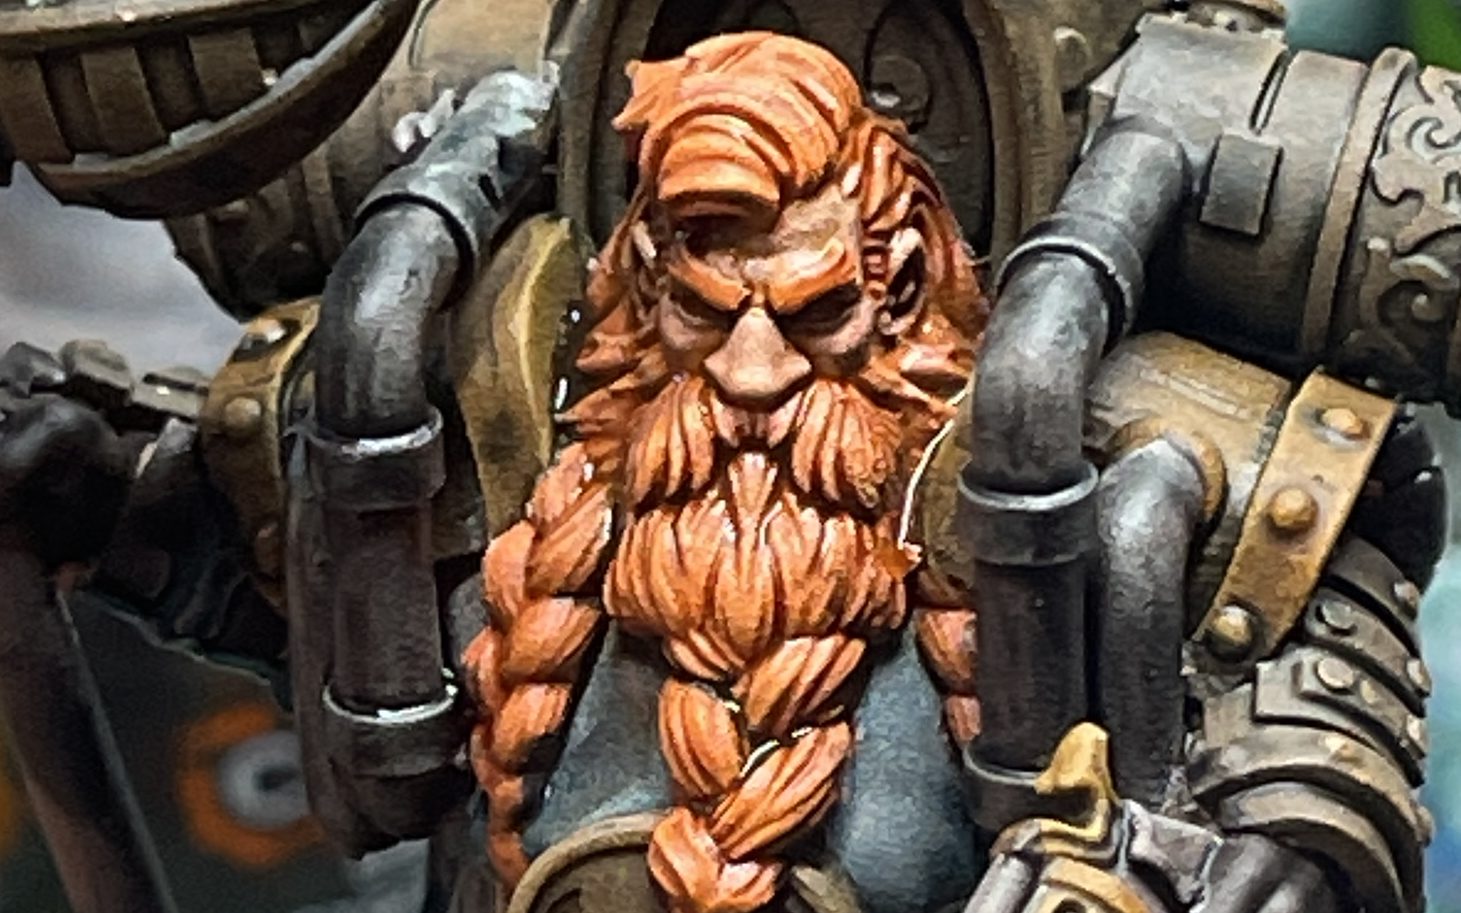
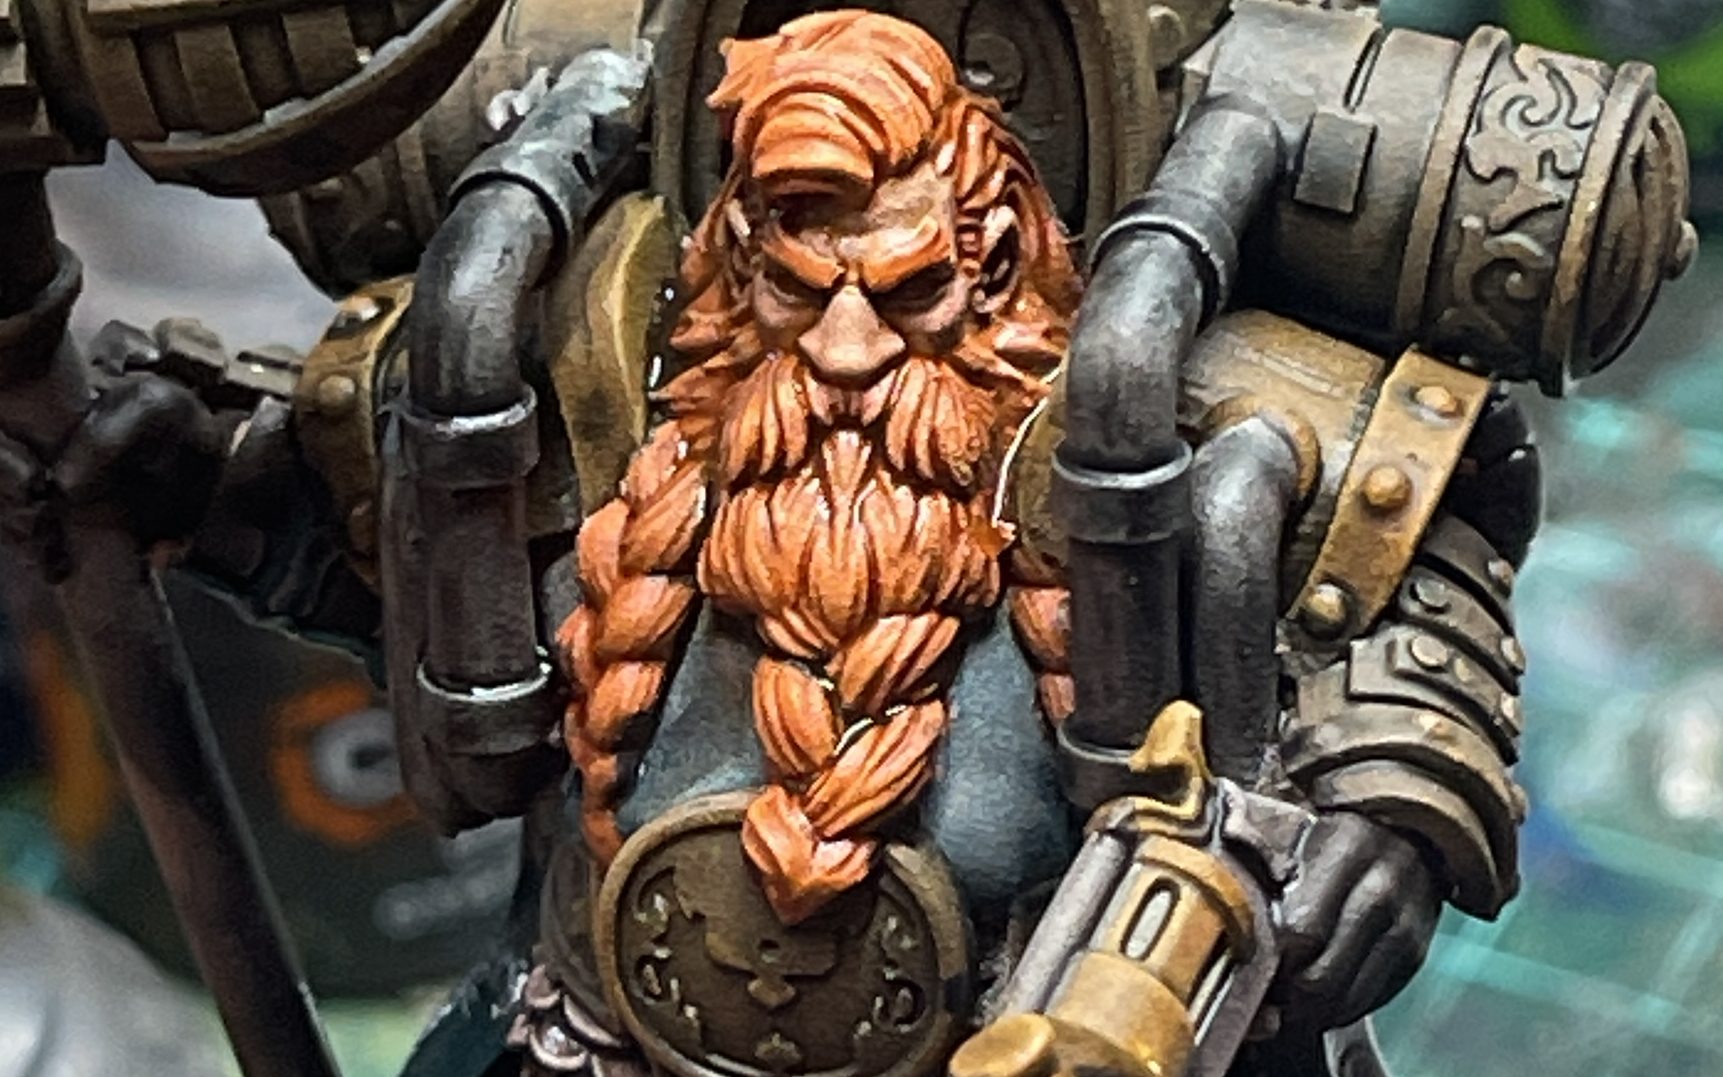
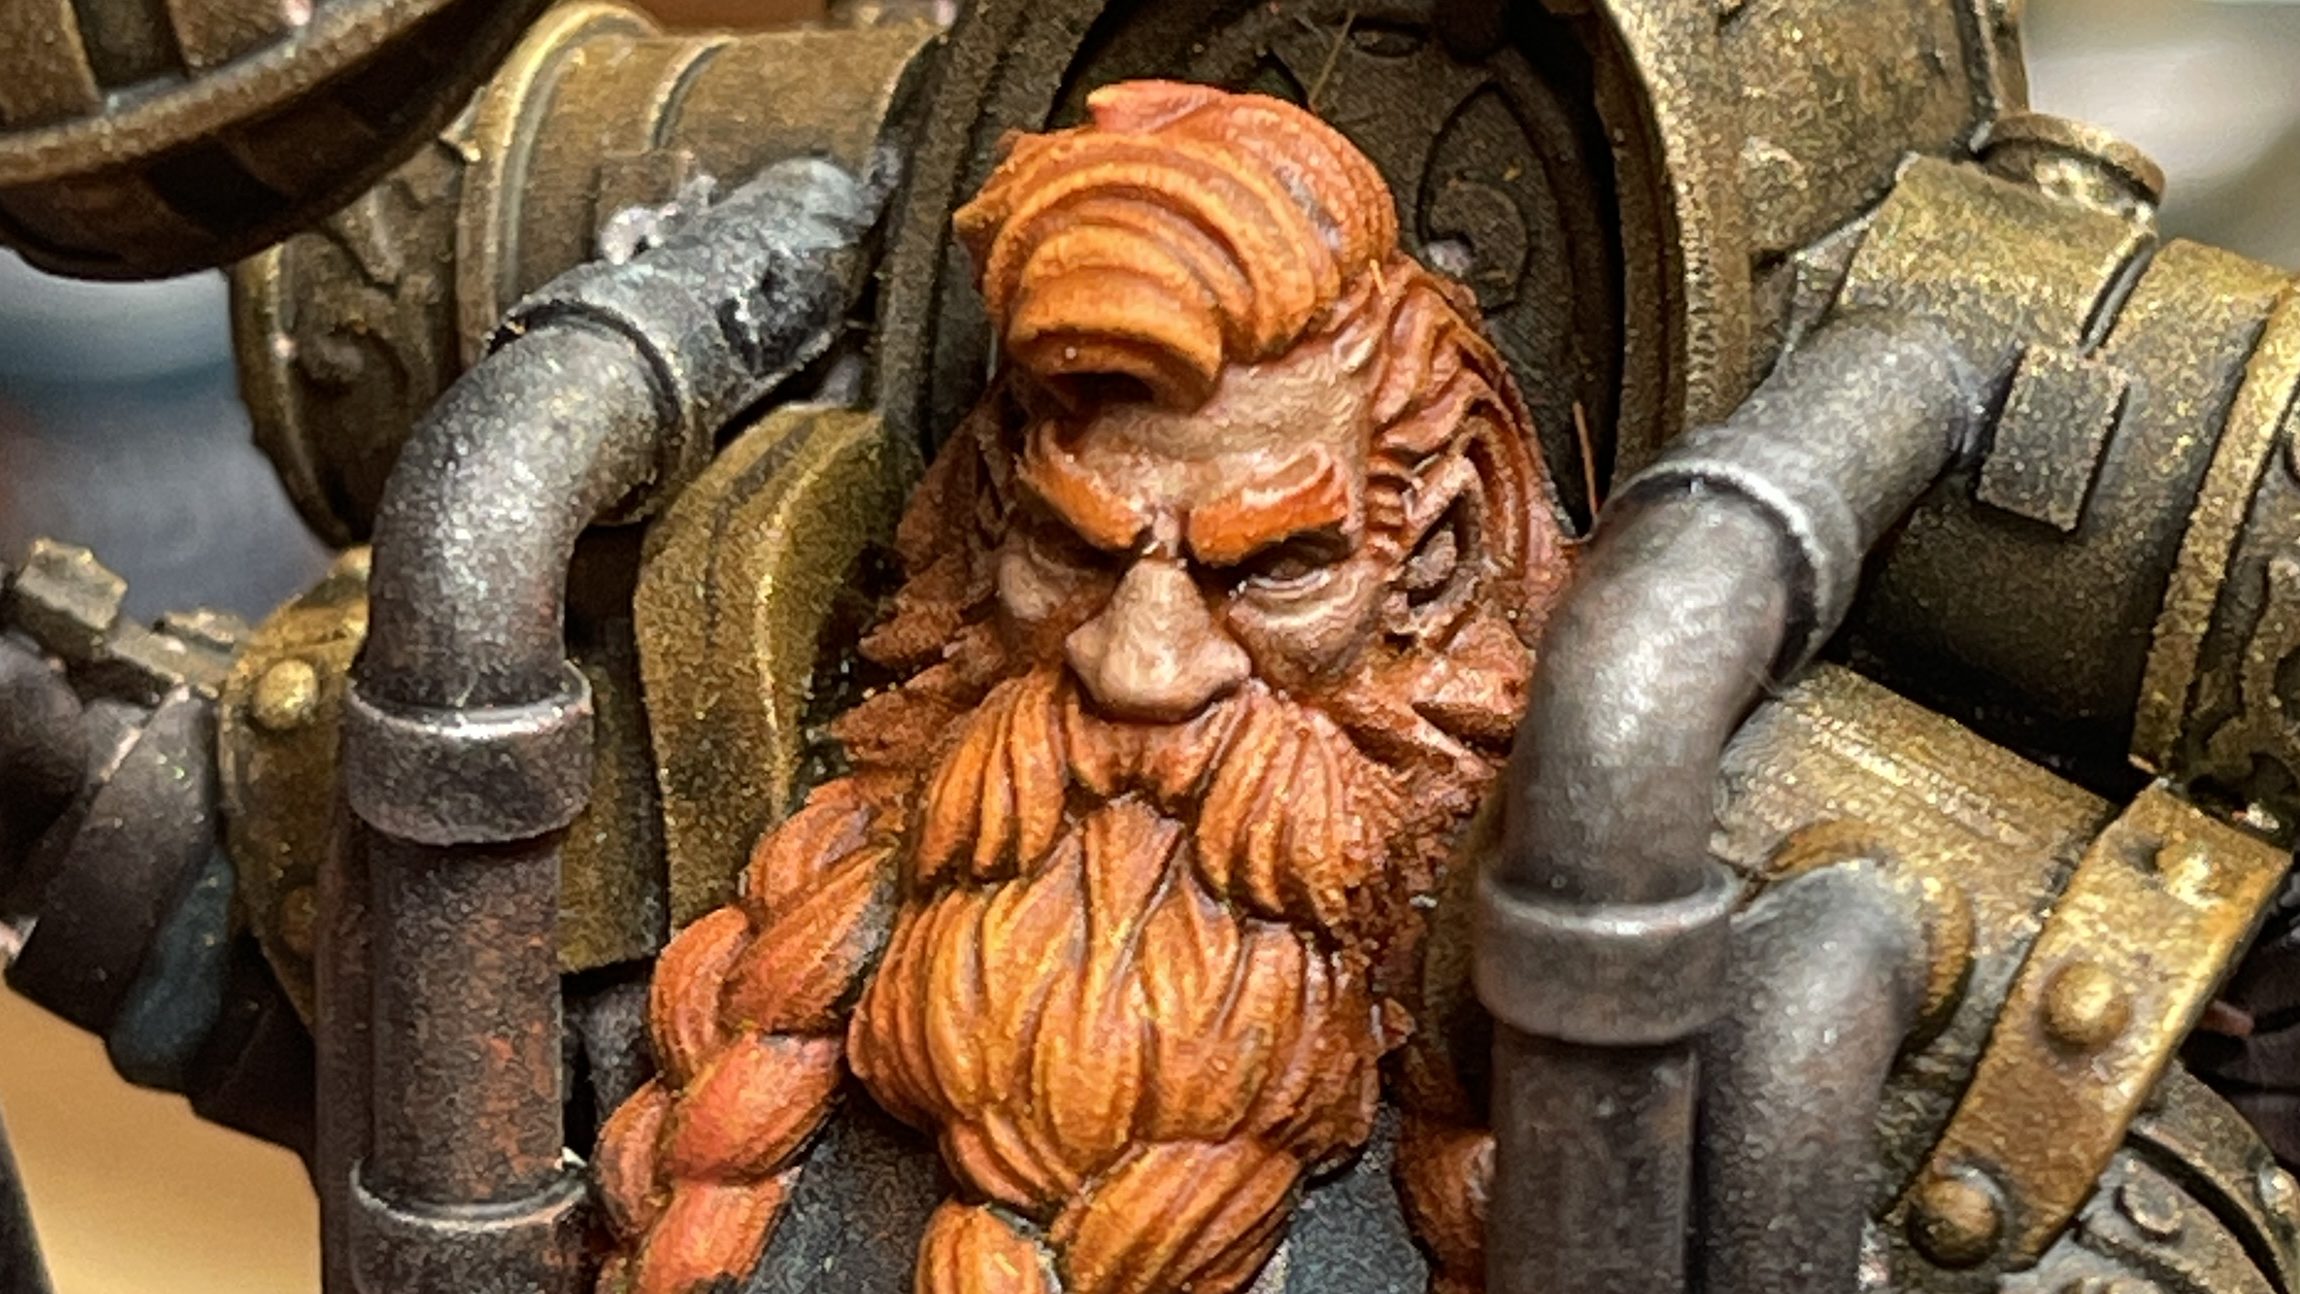
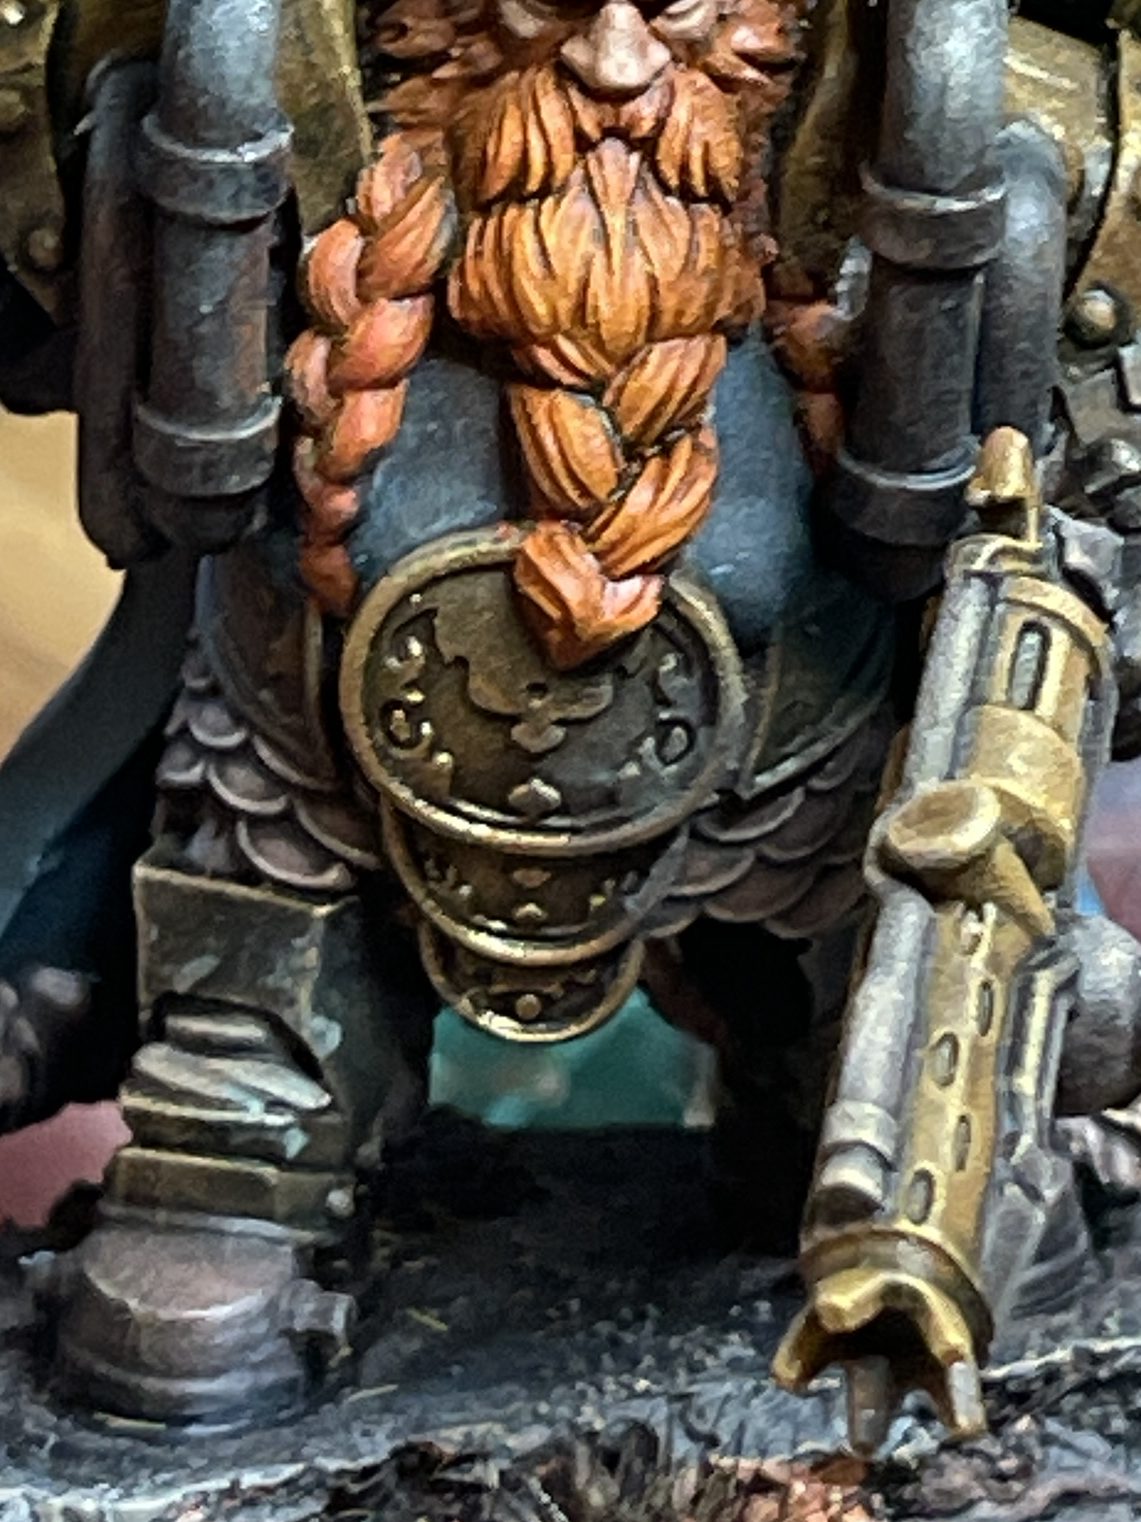
4. Apply base colour to hair and beard
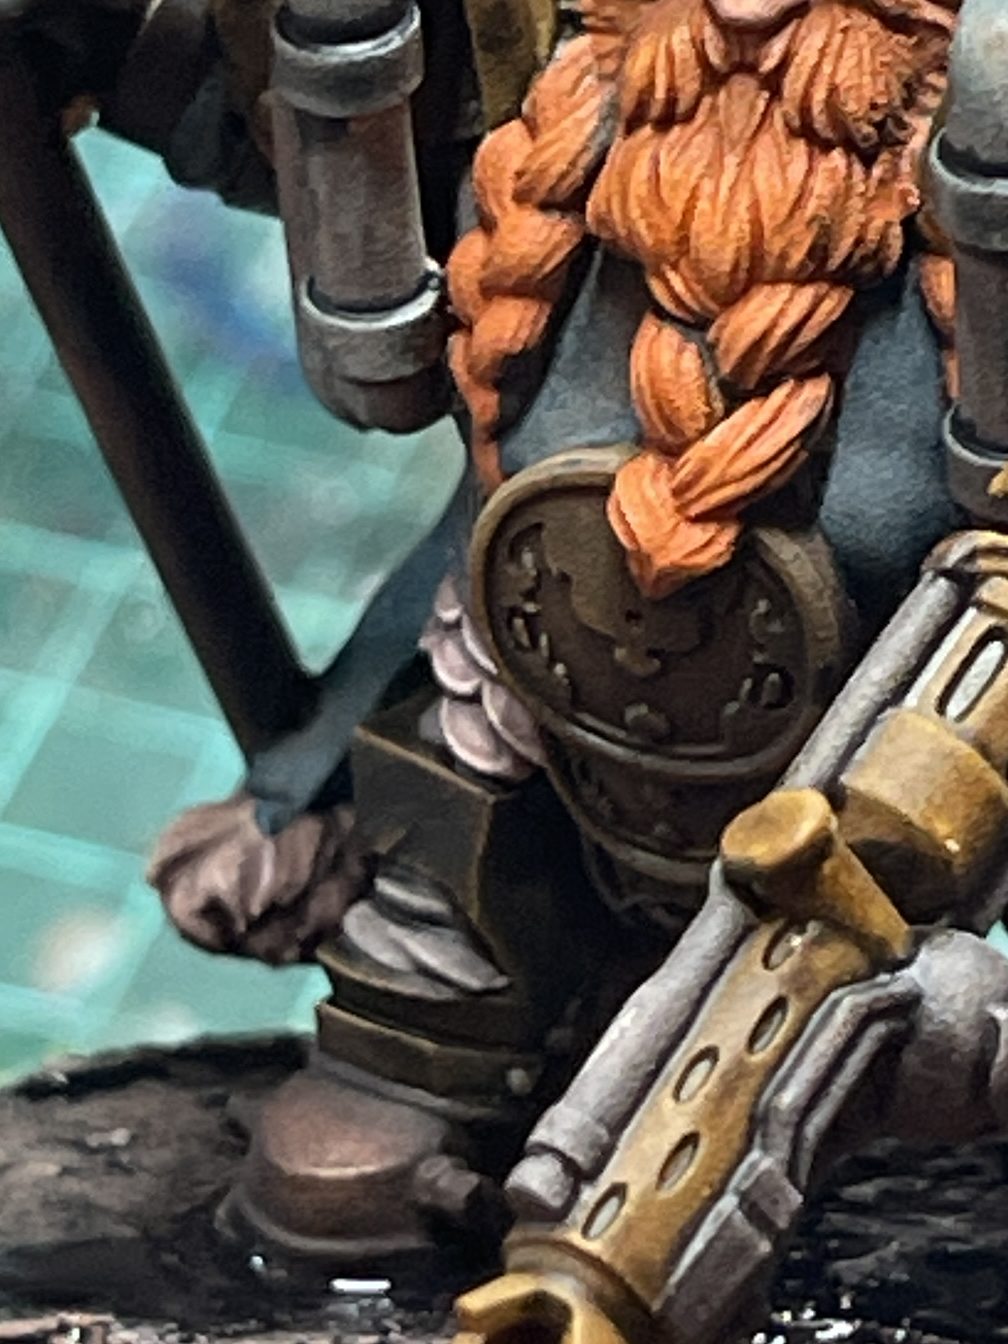
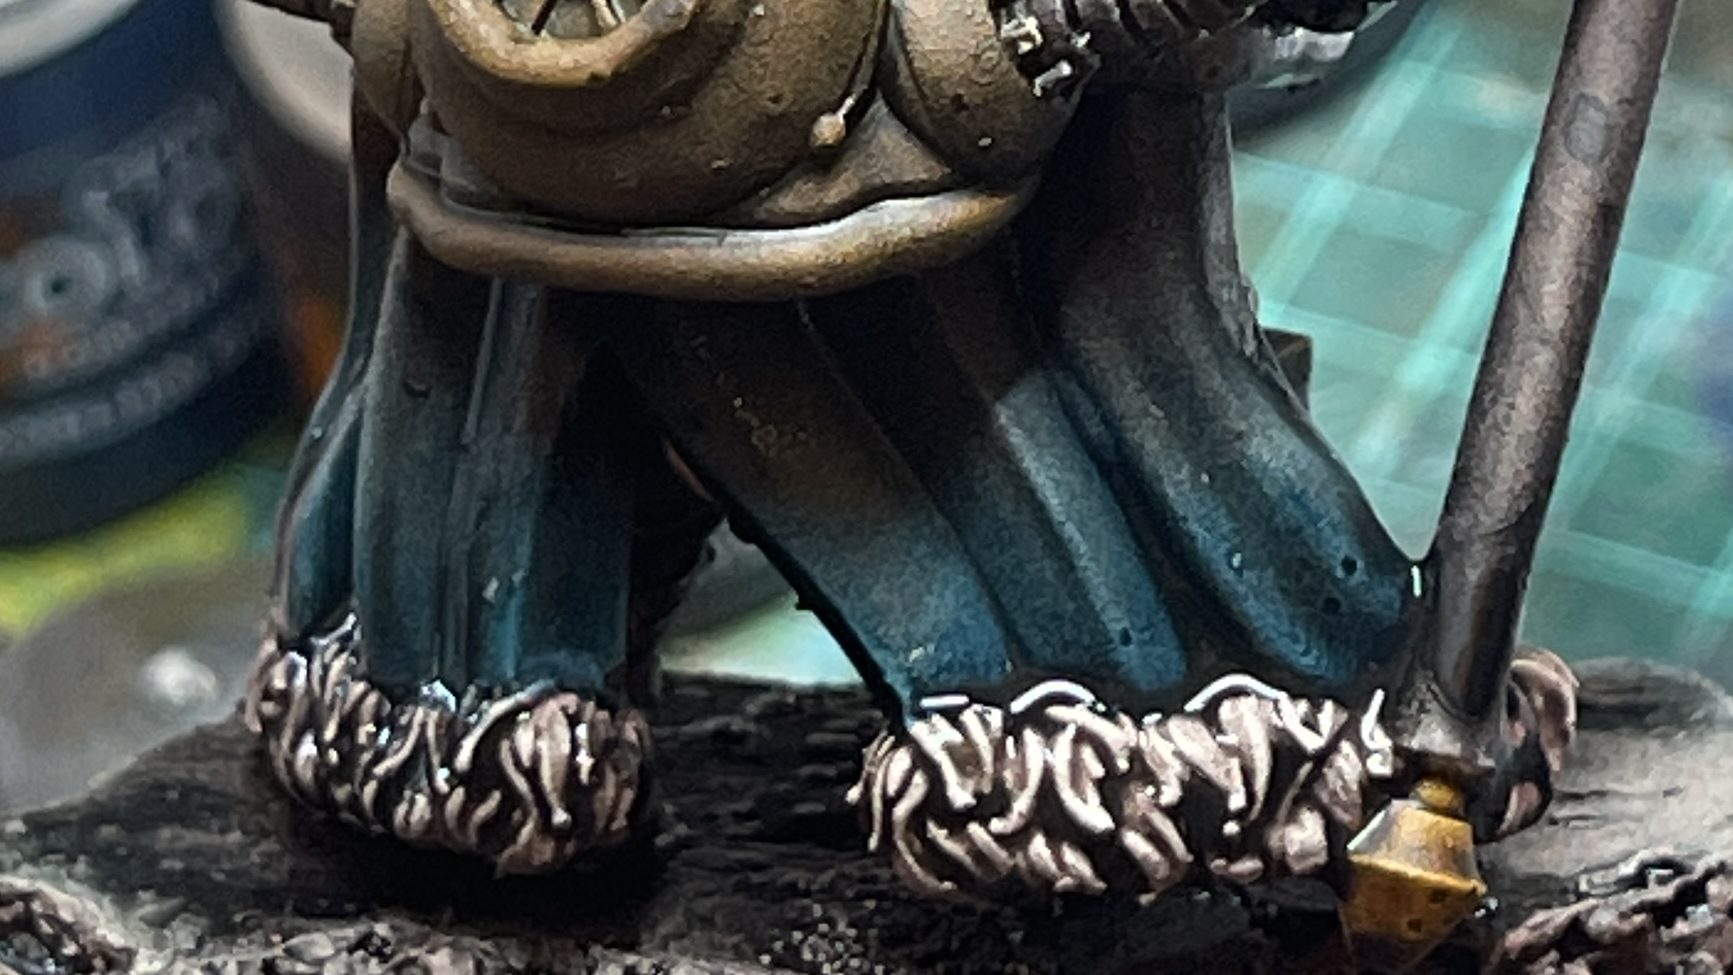
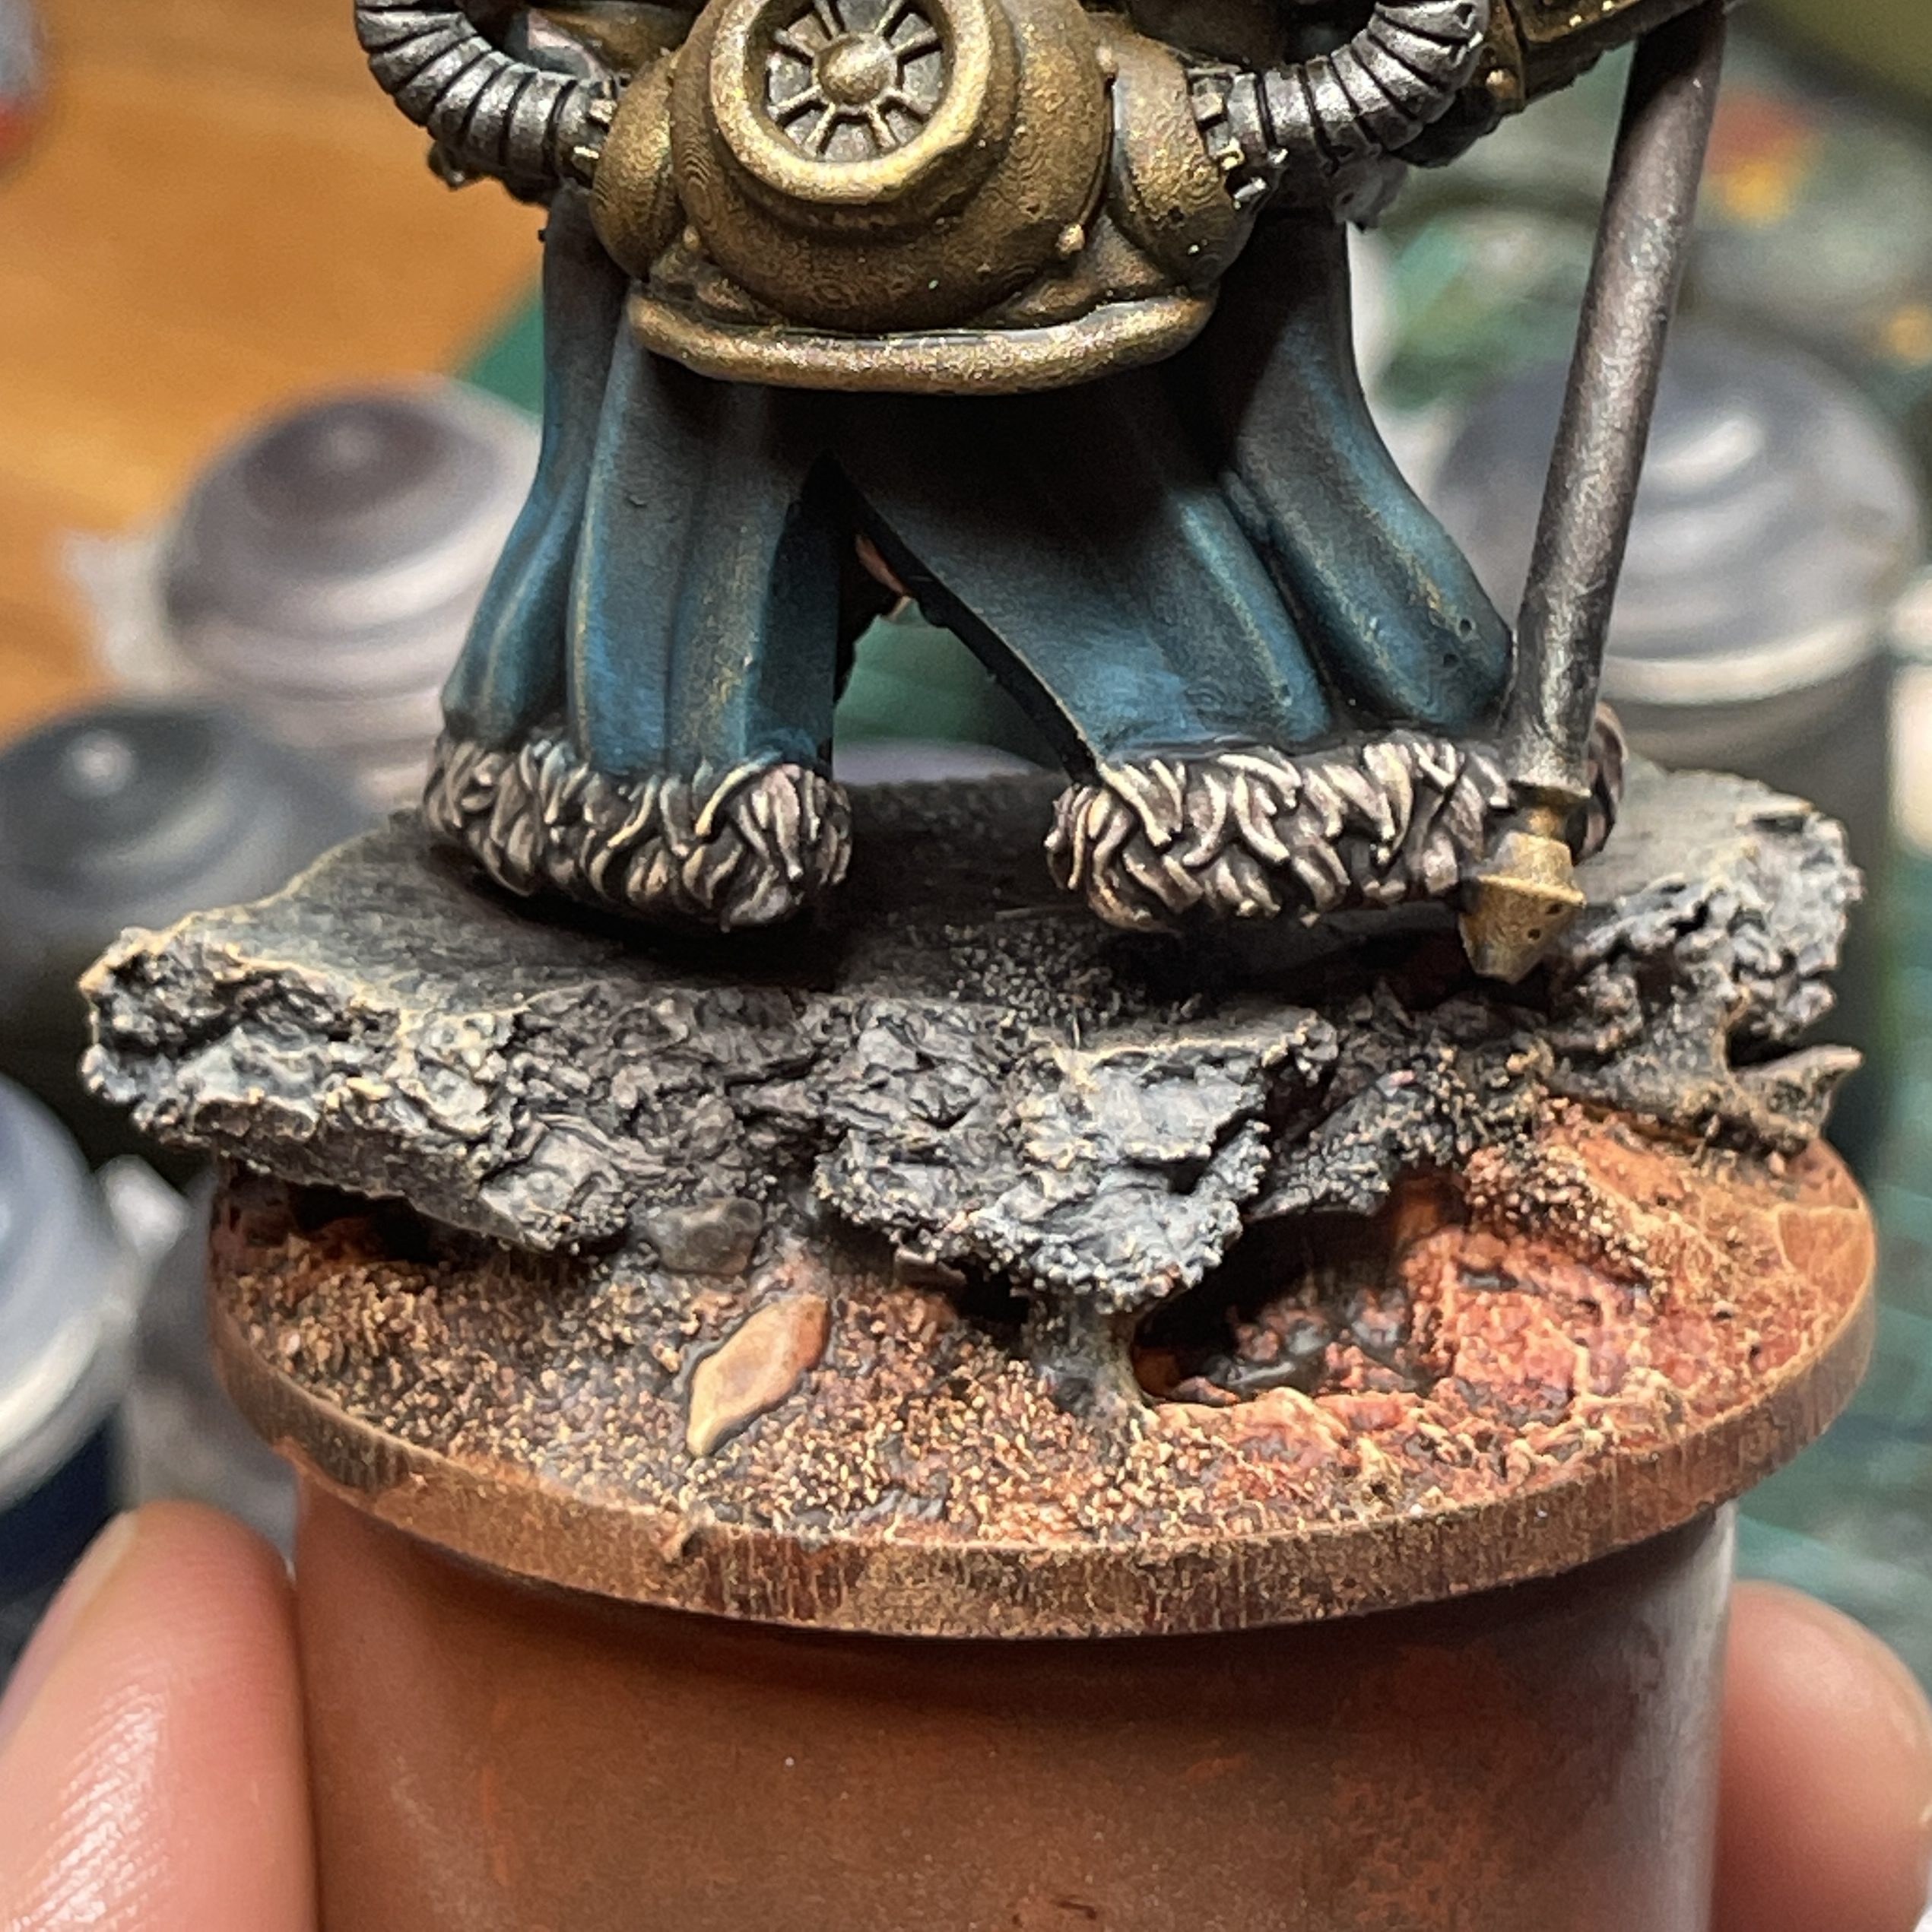
5. Paint shirt & cloak
Combine the two colours and apply to fabric areas.
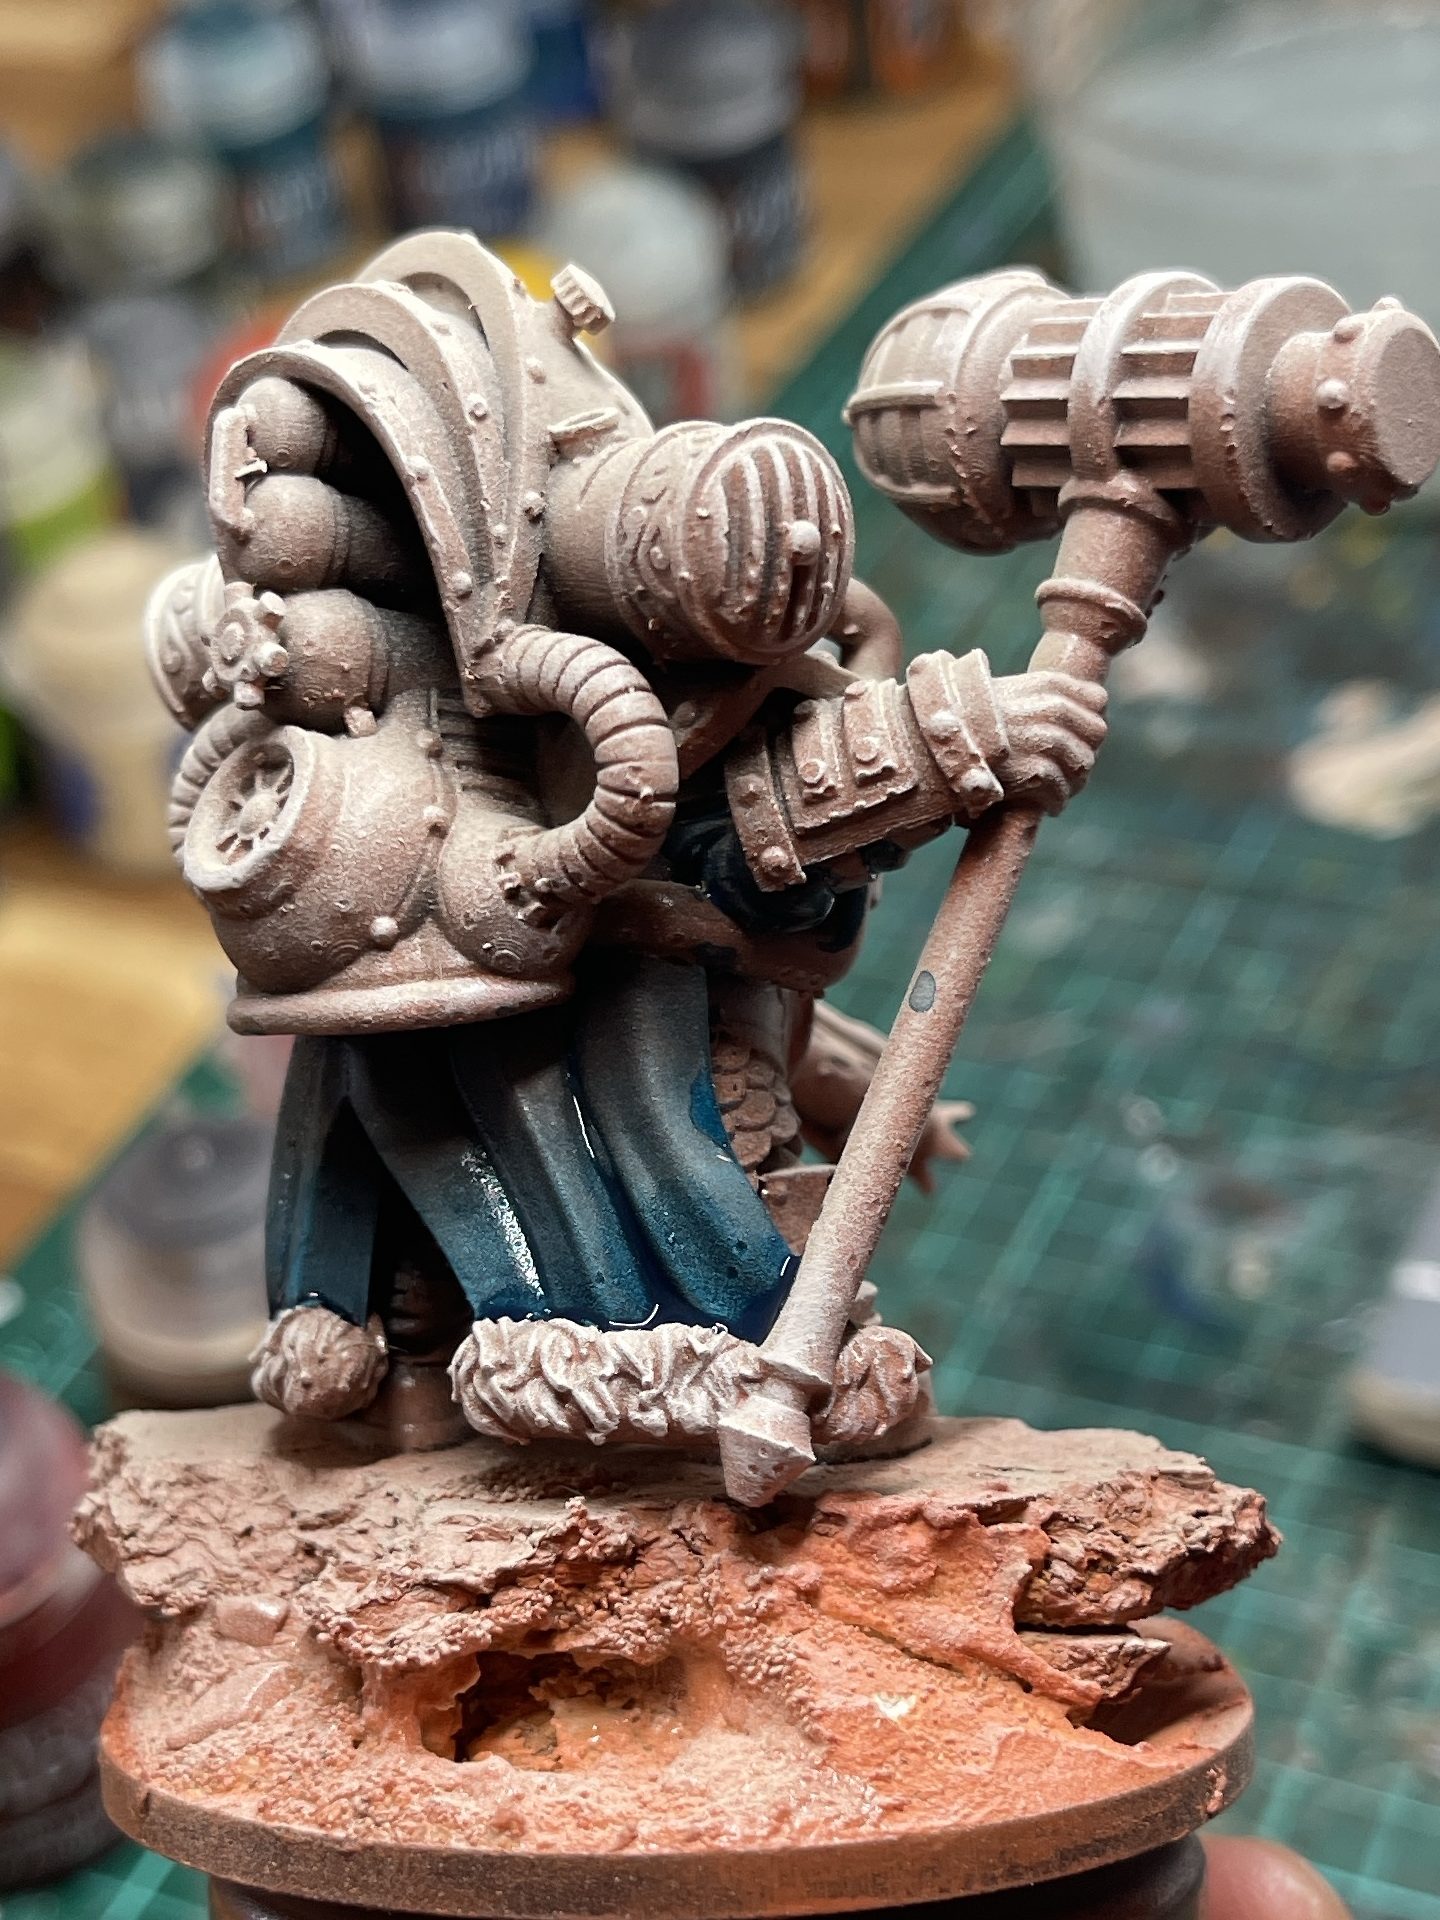
6. Apply the base colour to armour and hammer head
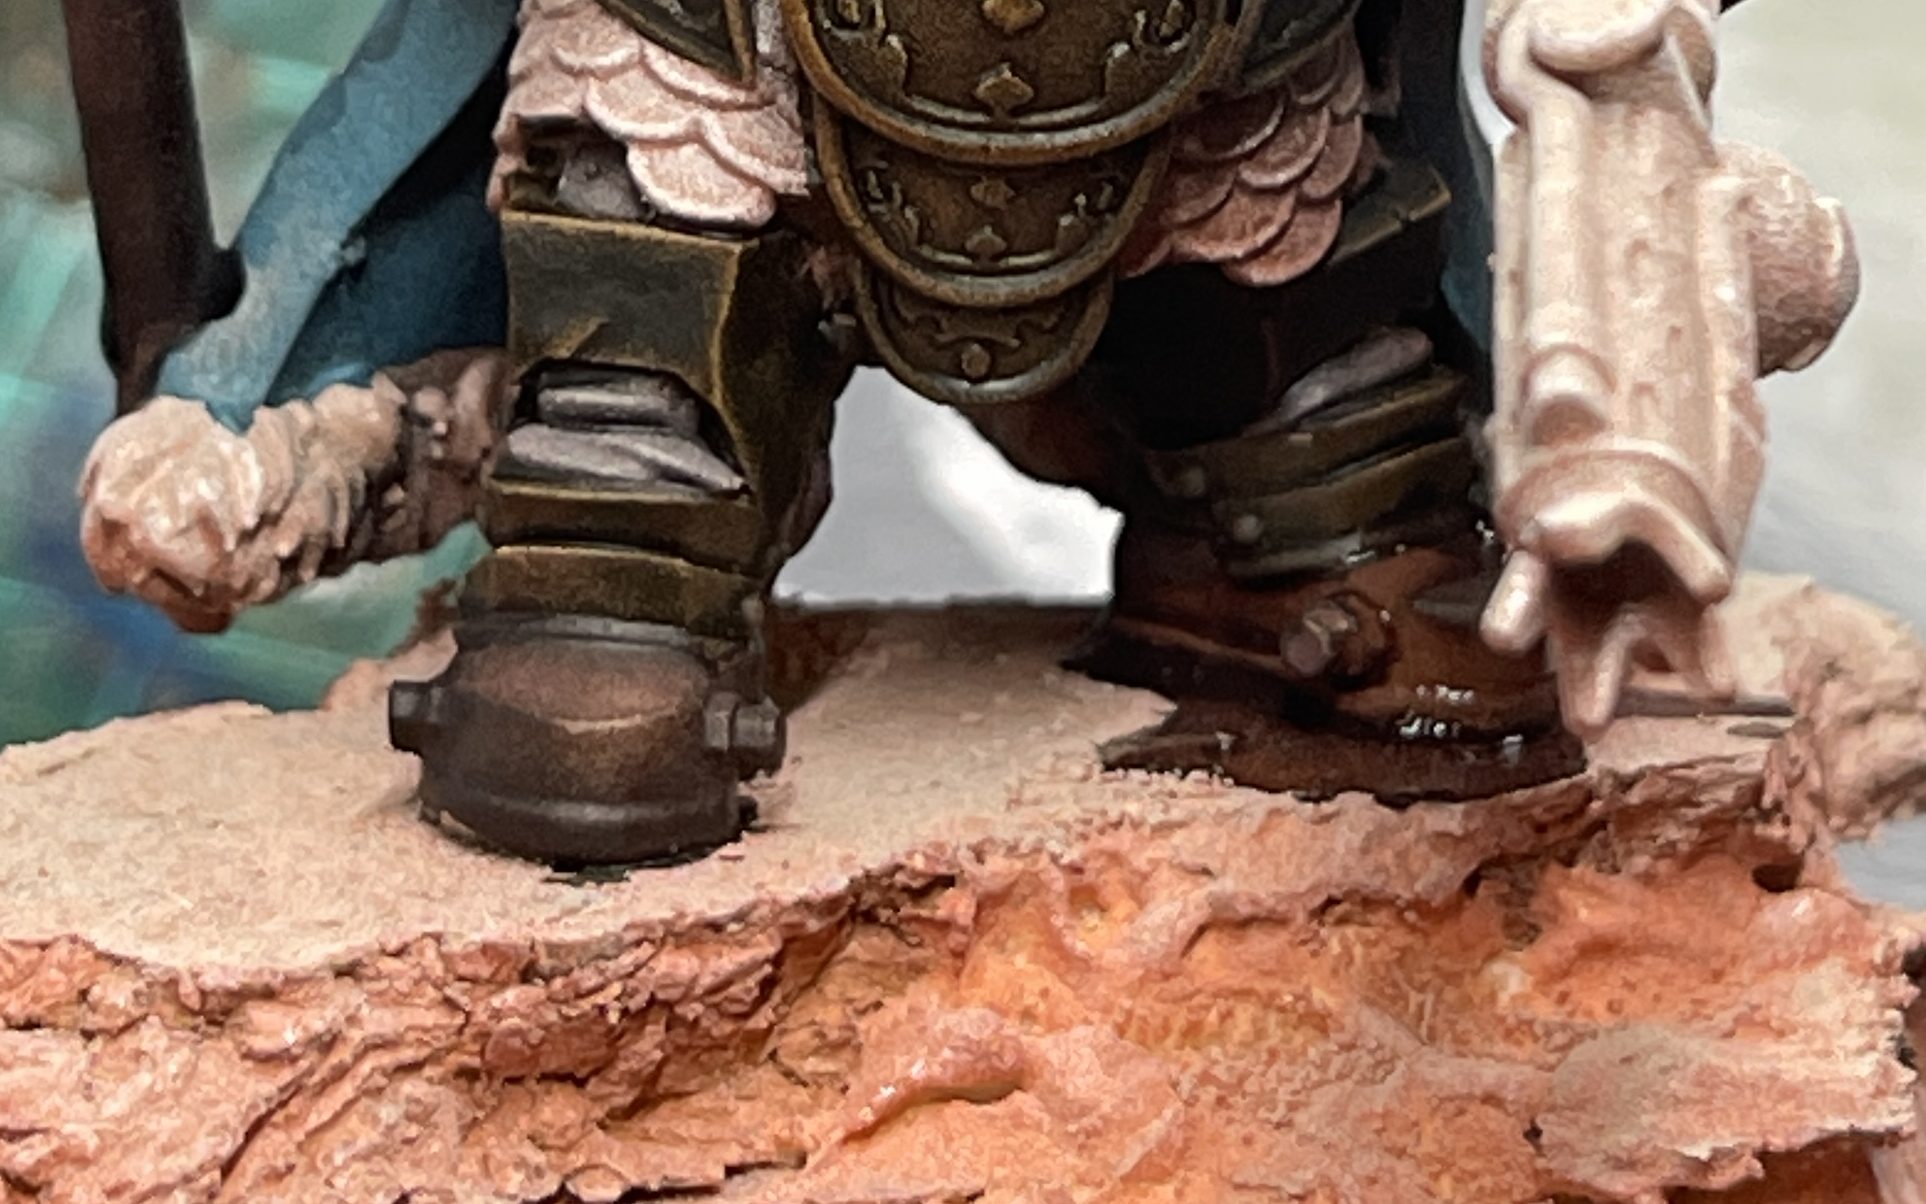
7. Paint pants fabric
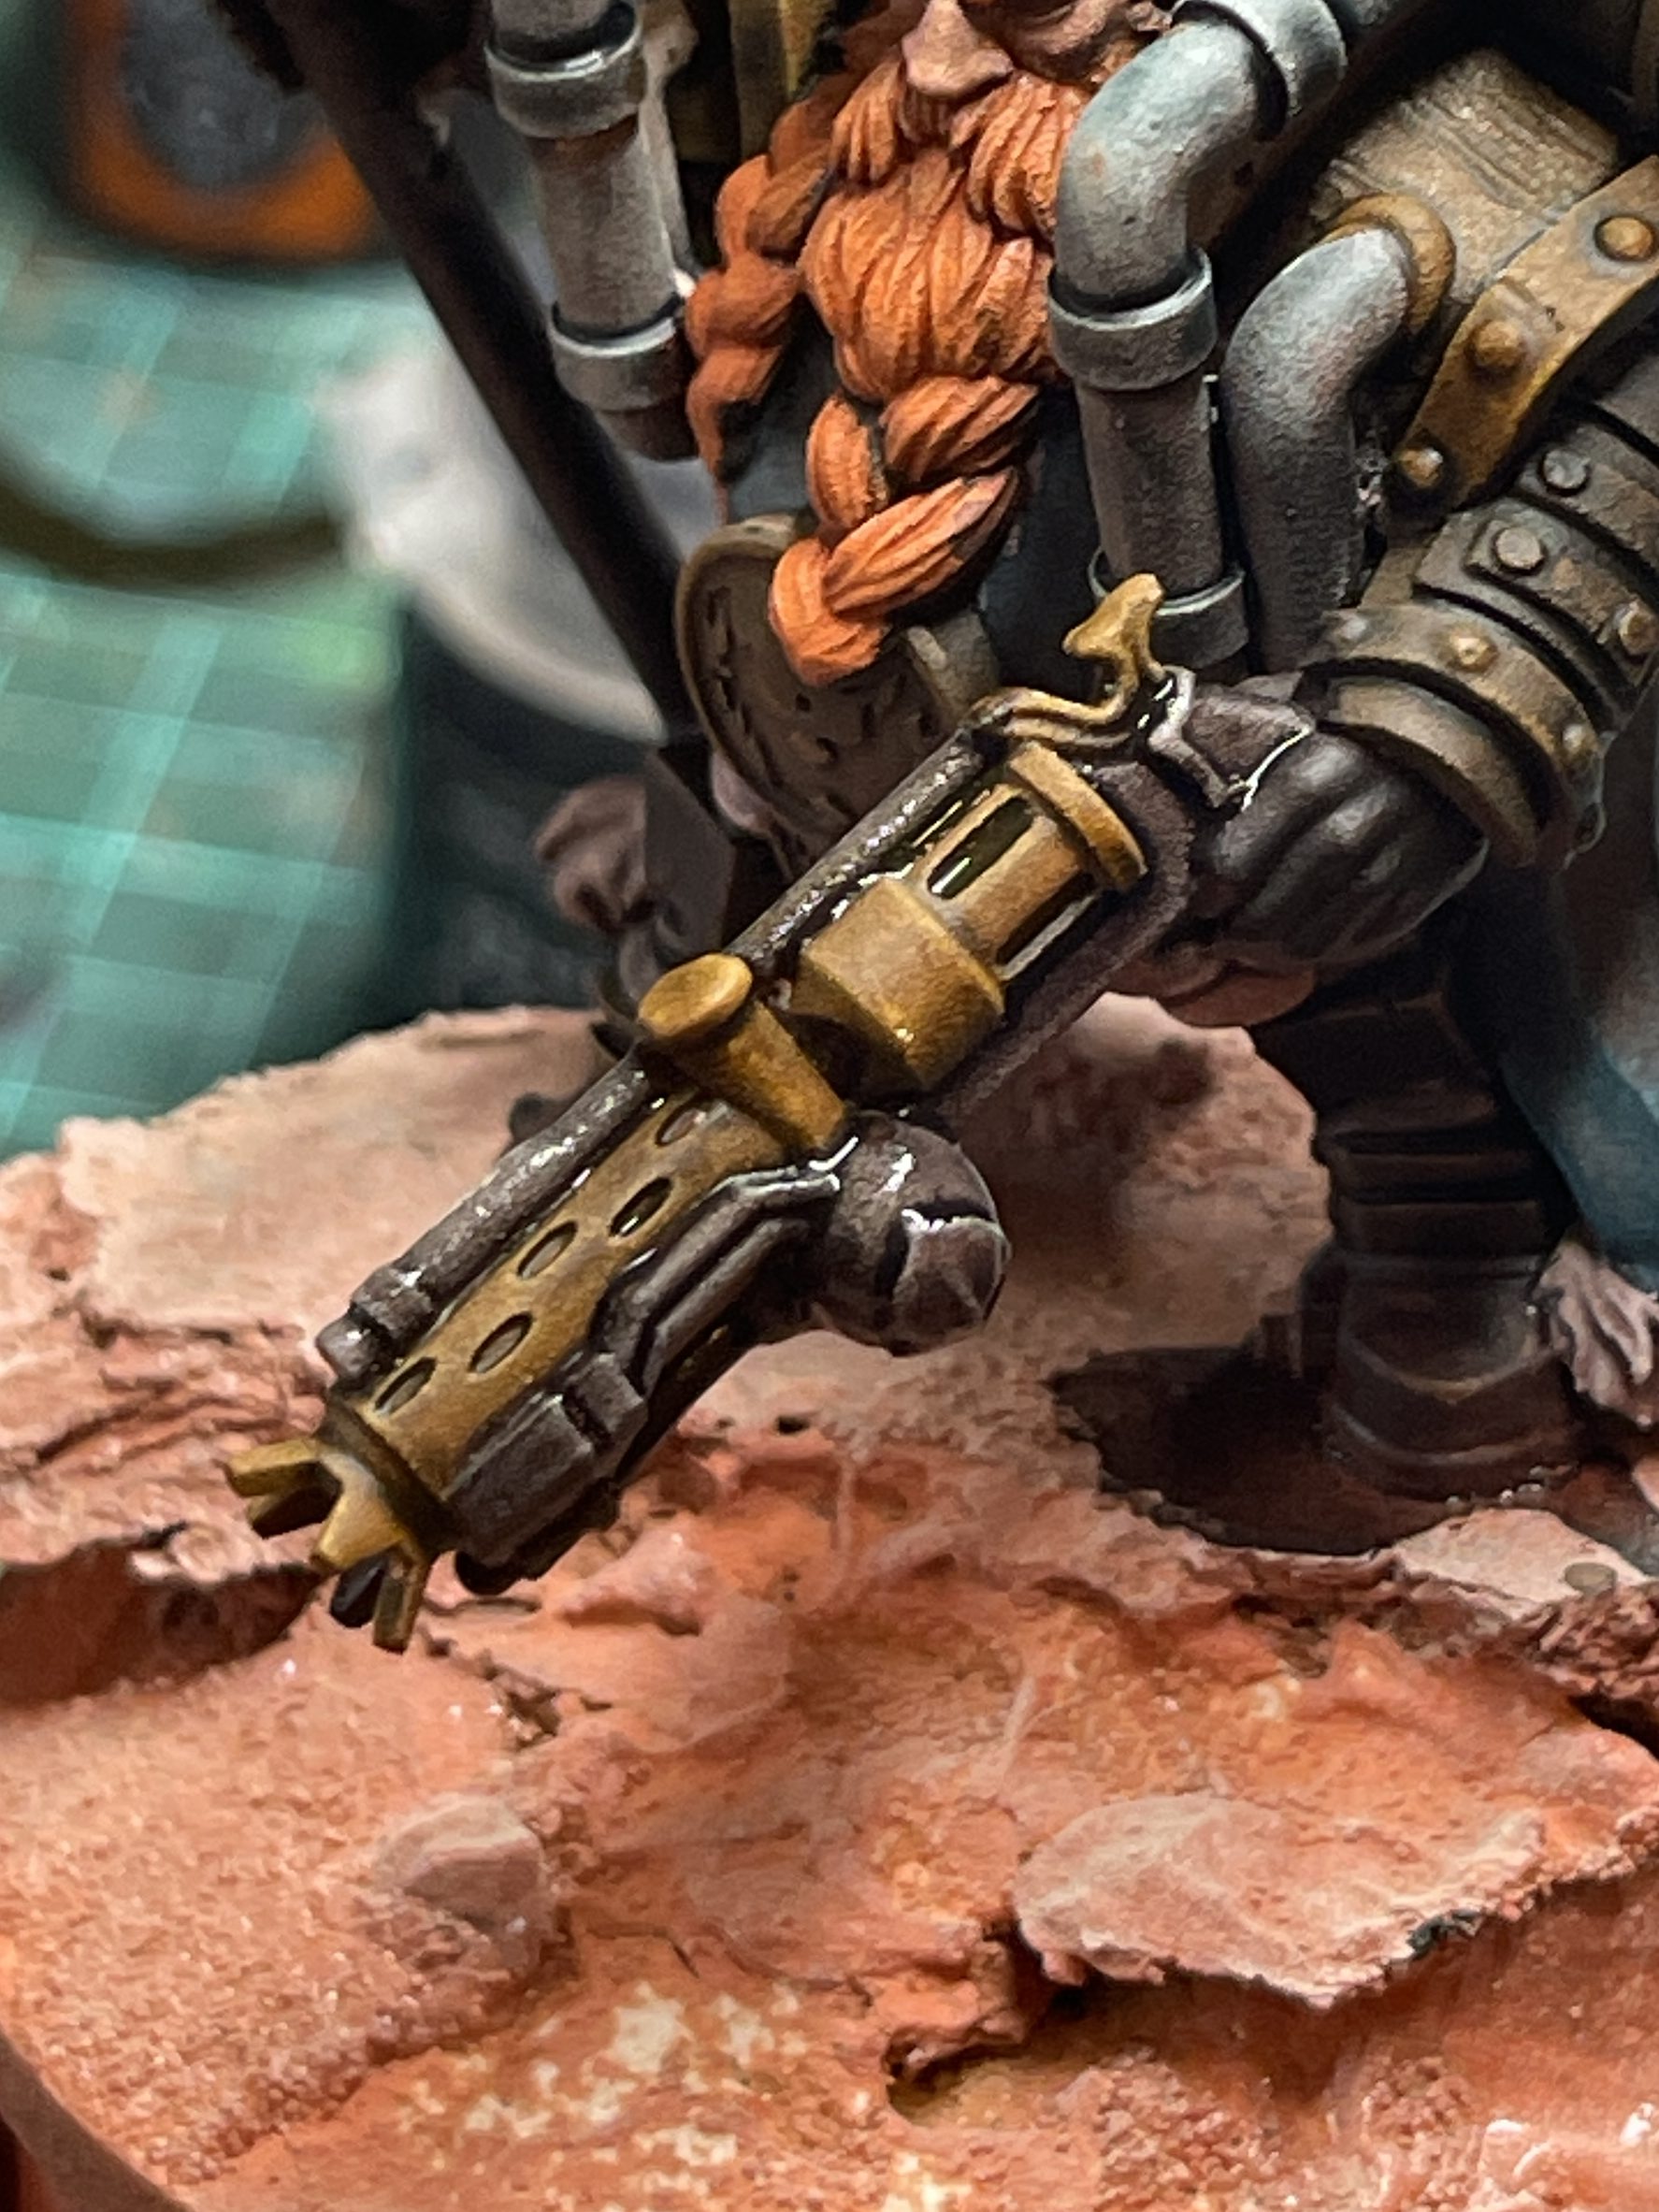
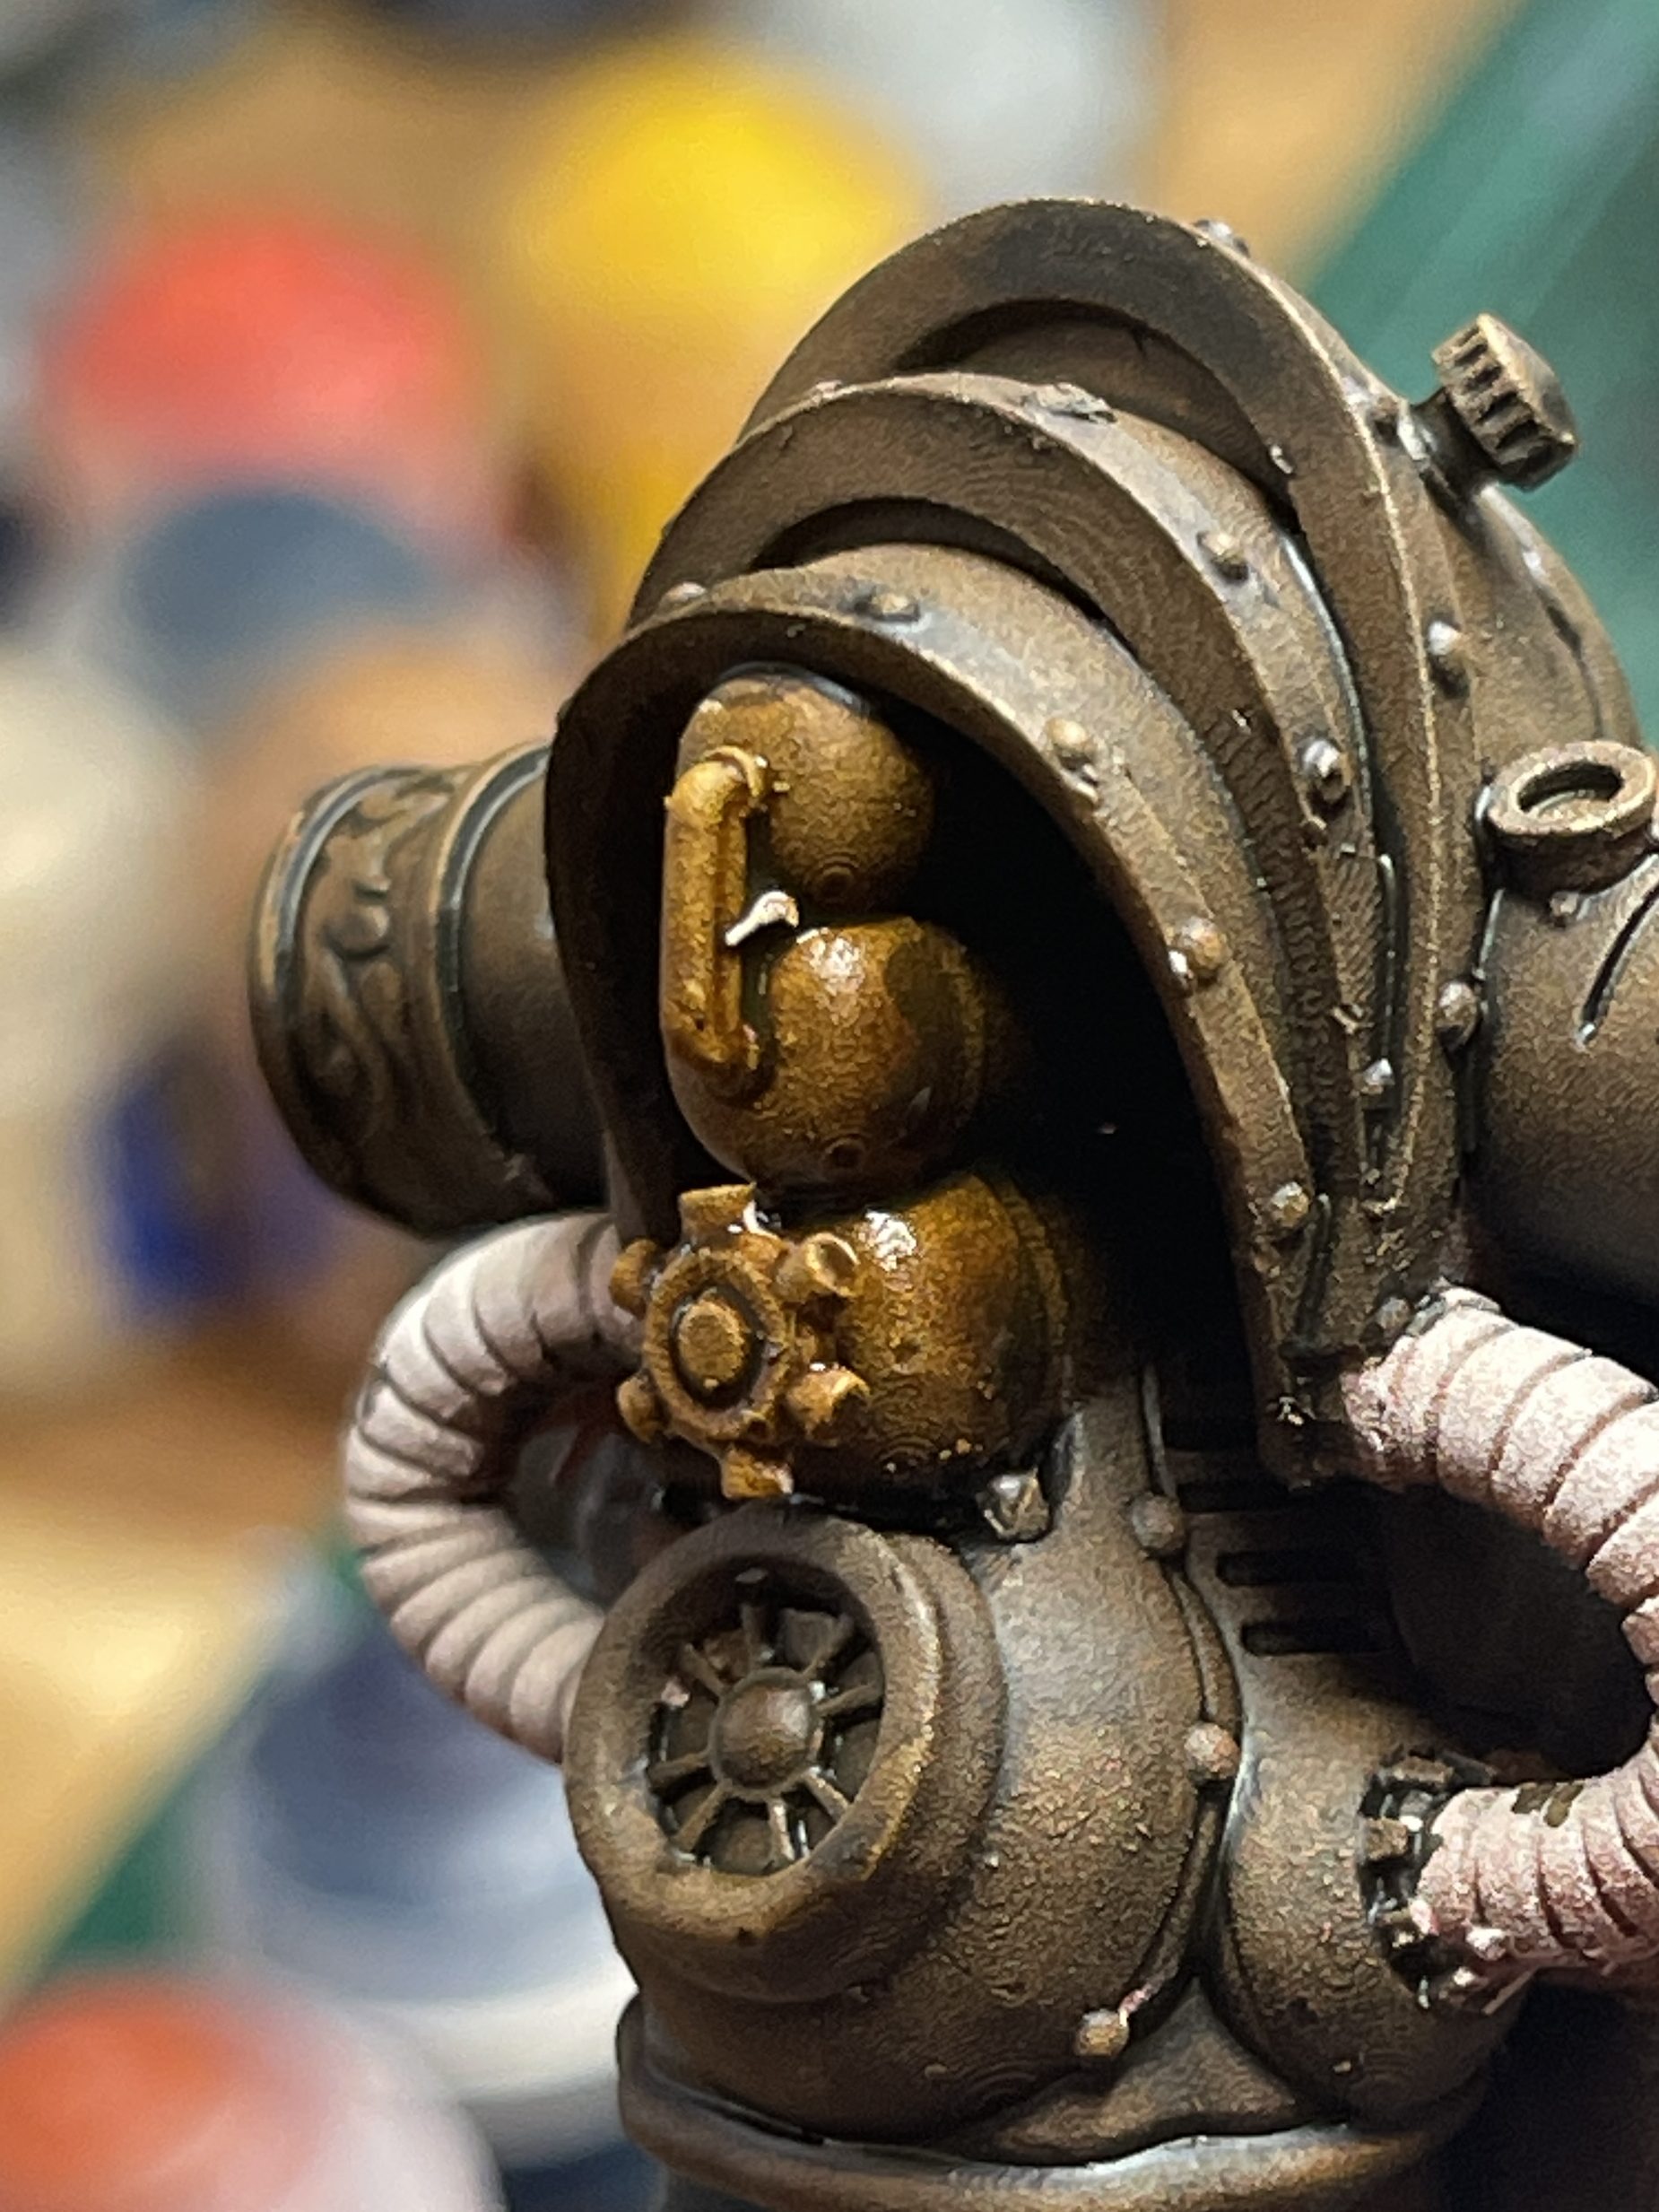
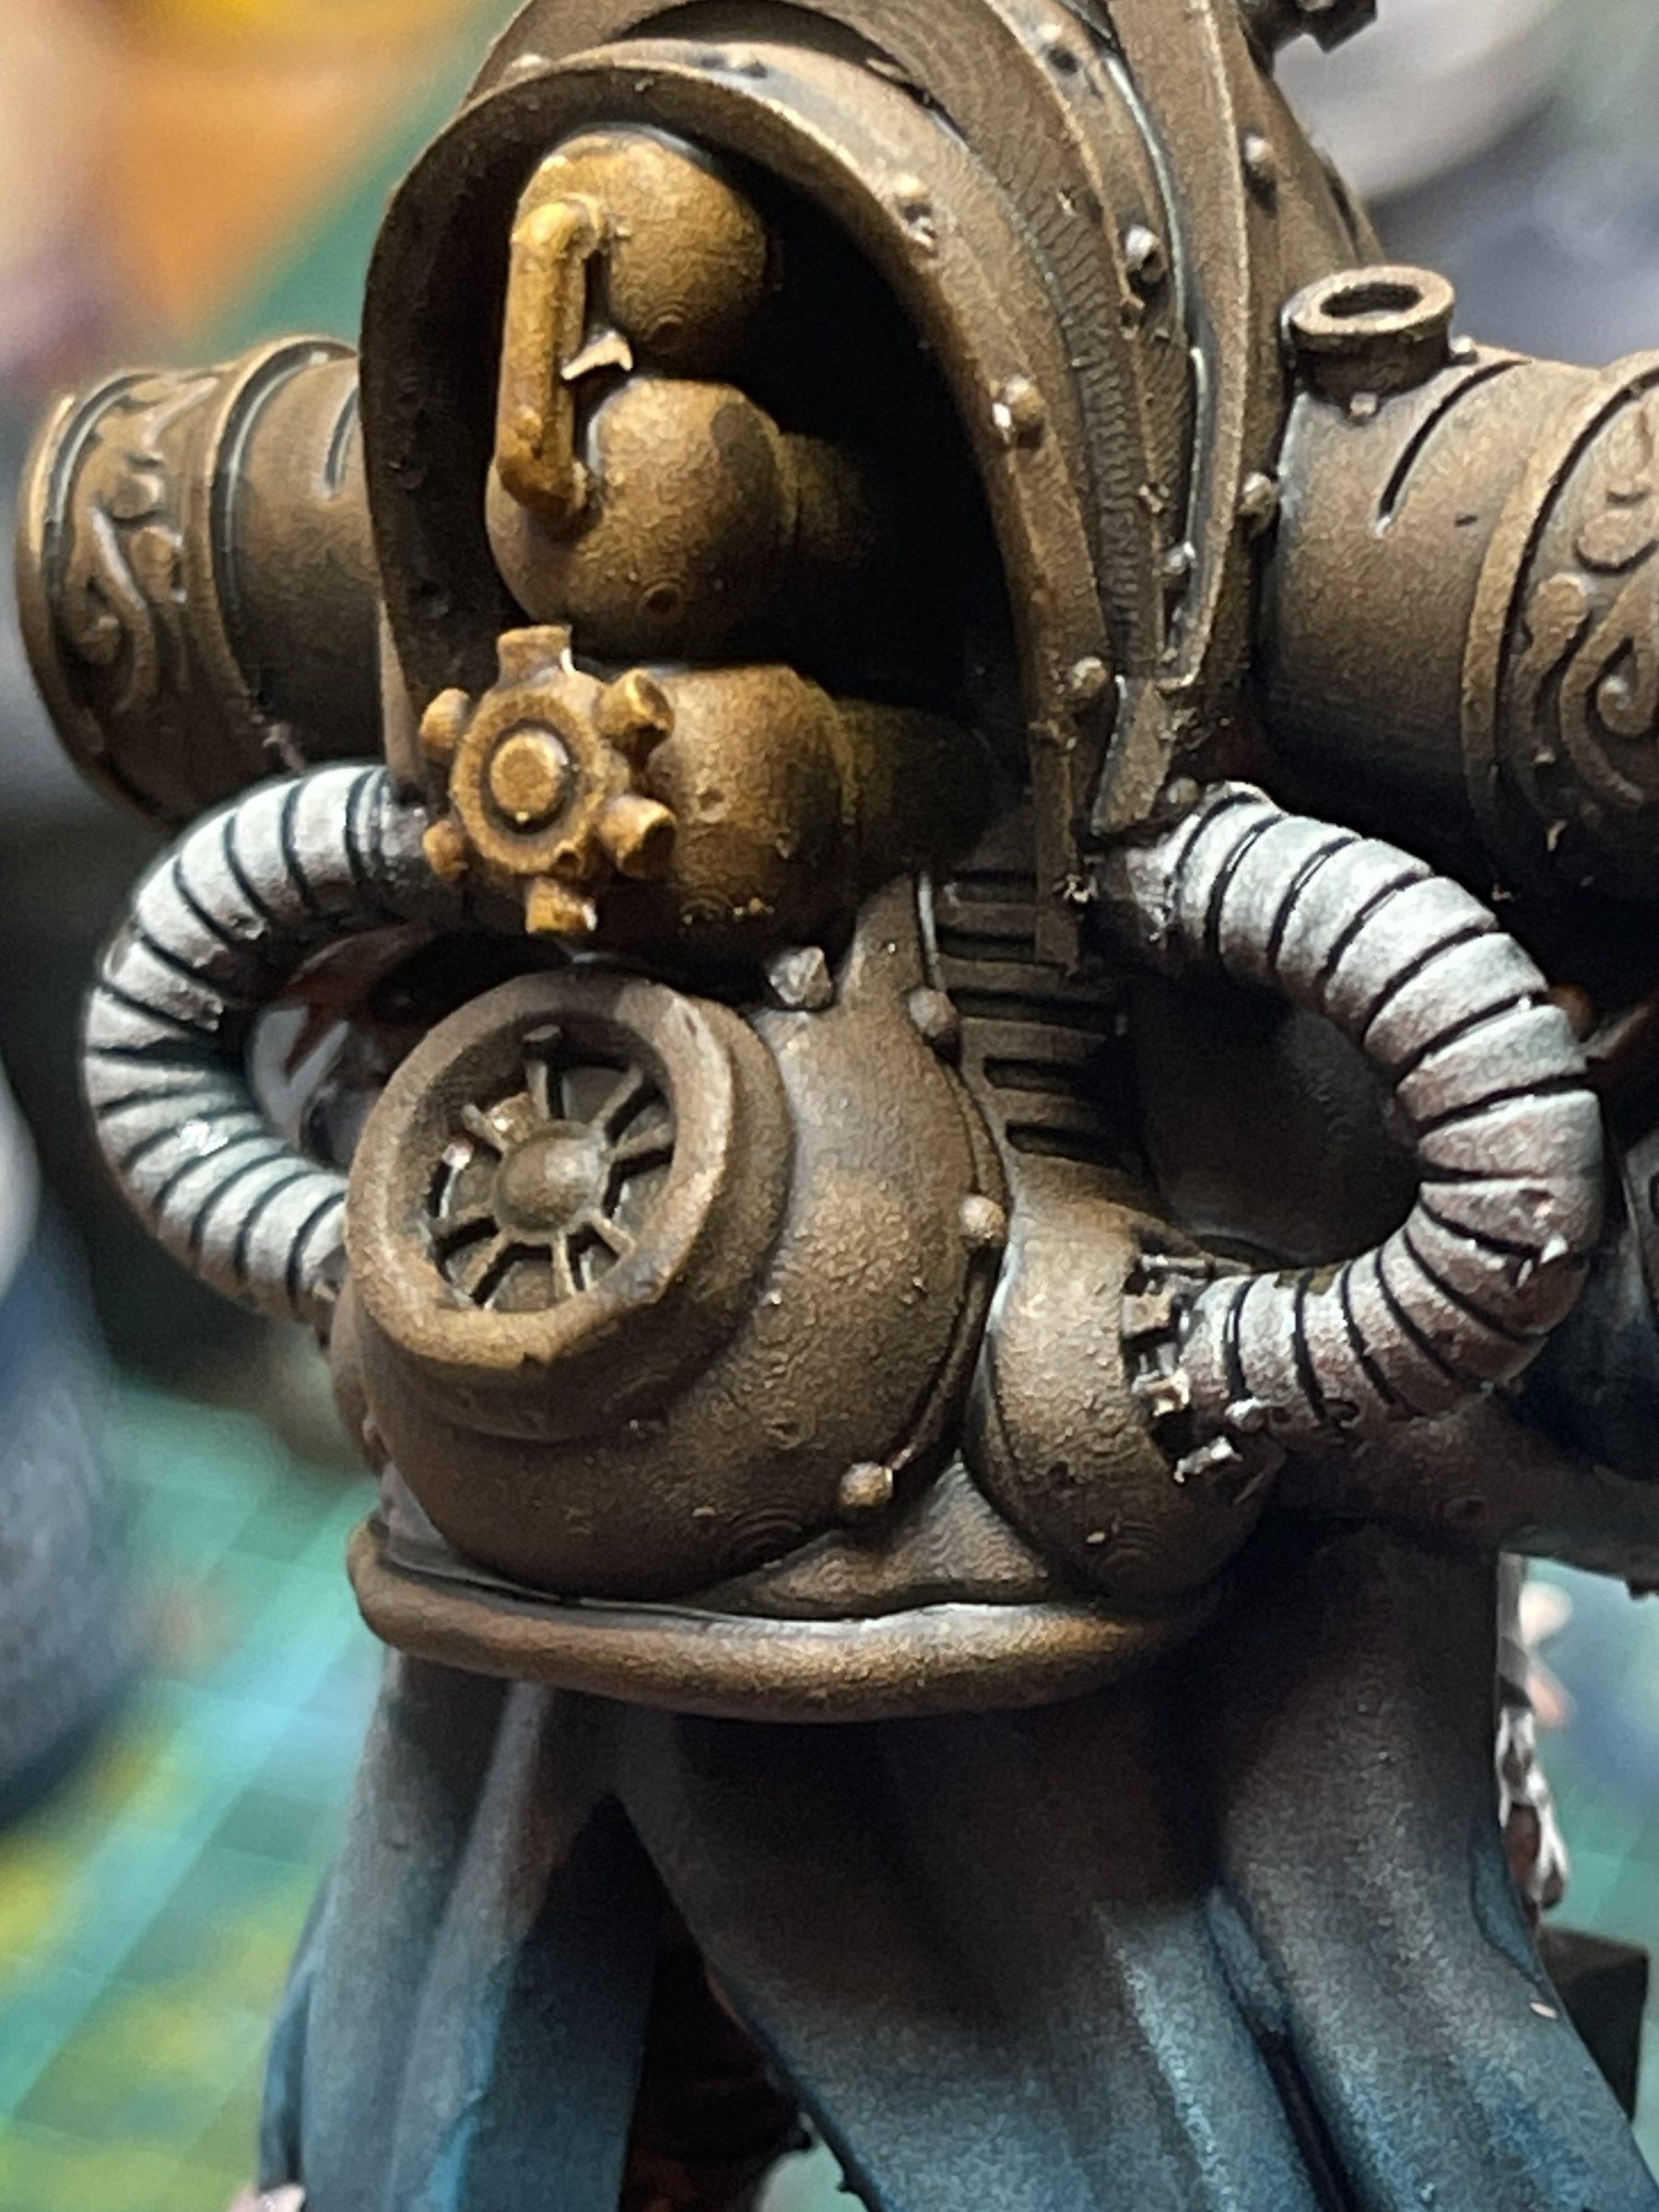
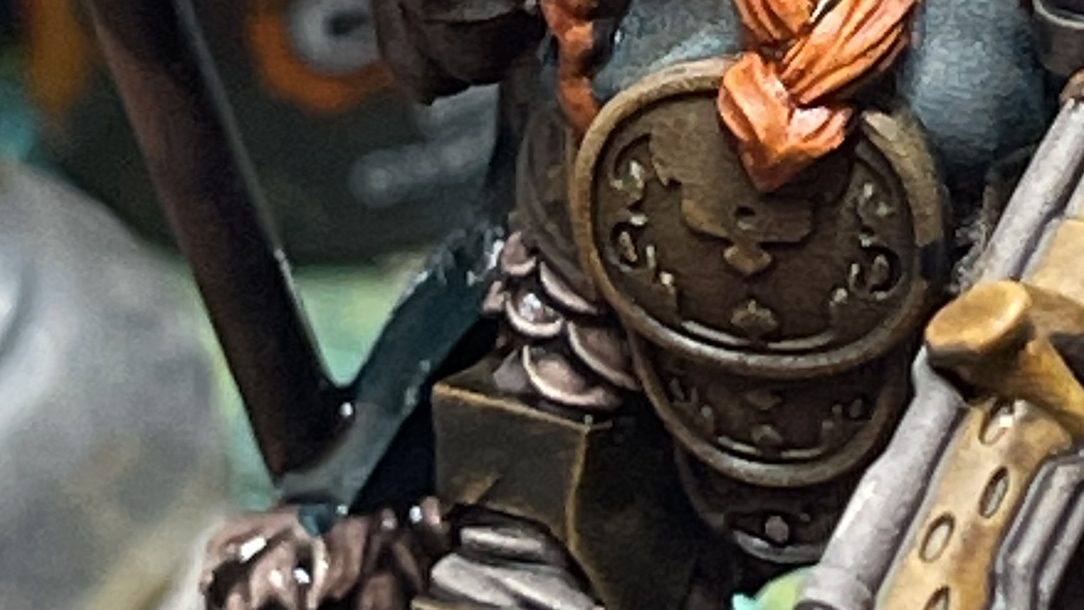
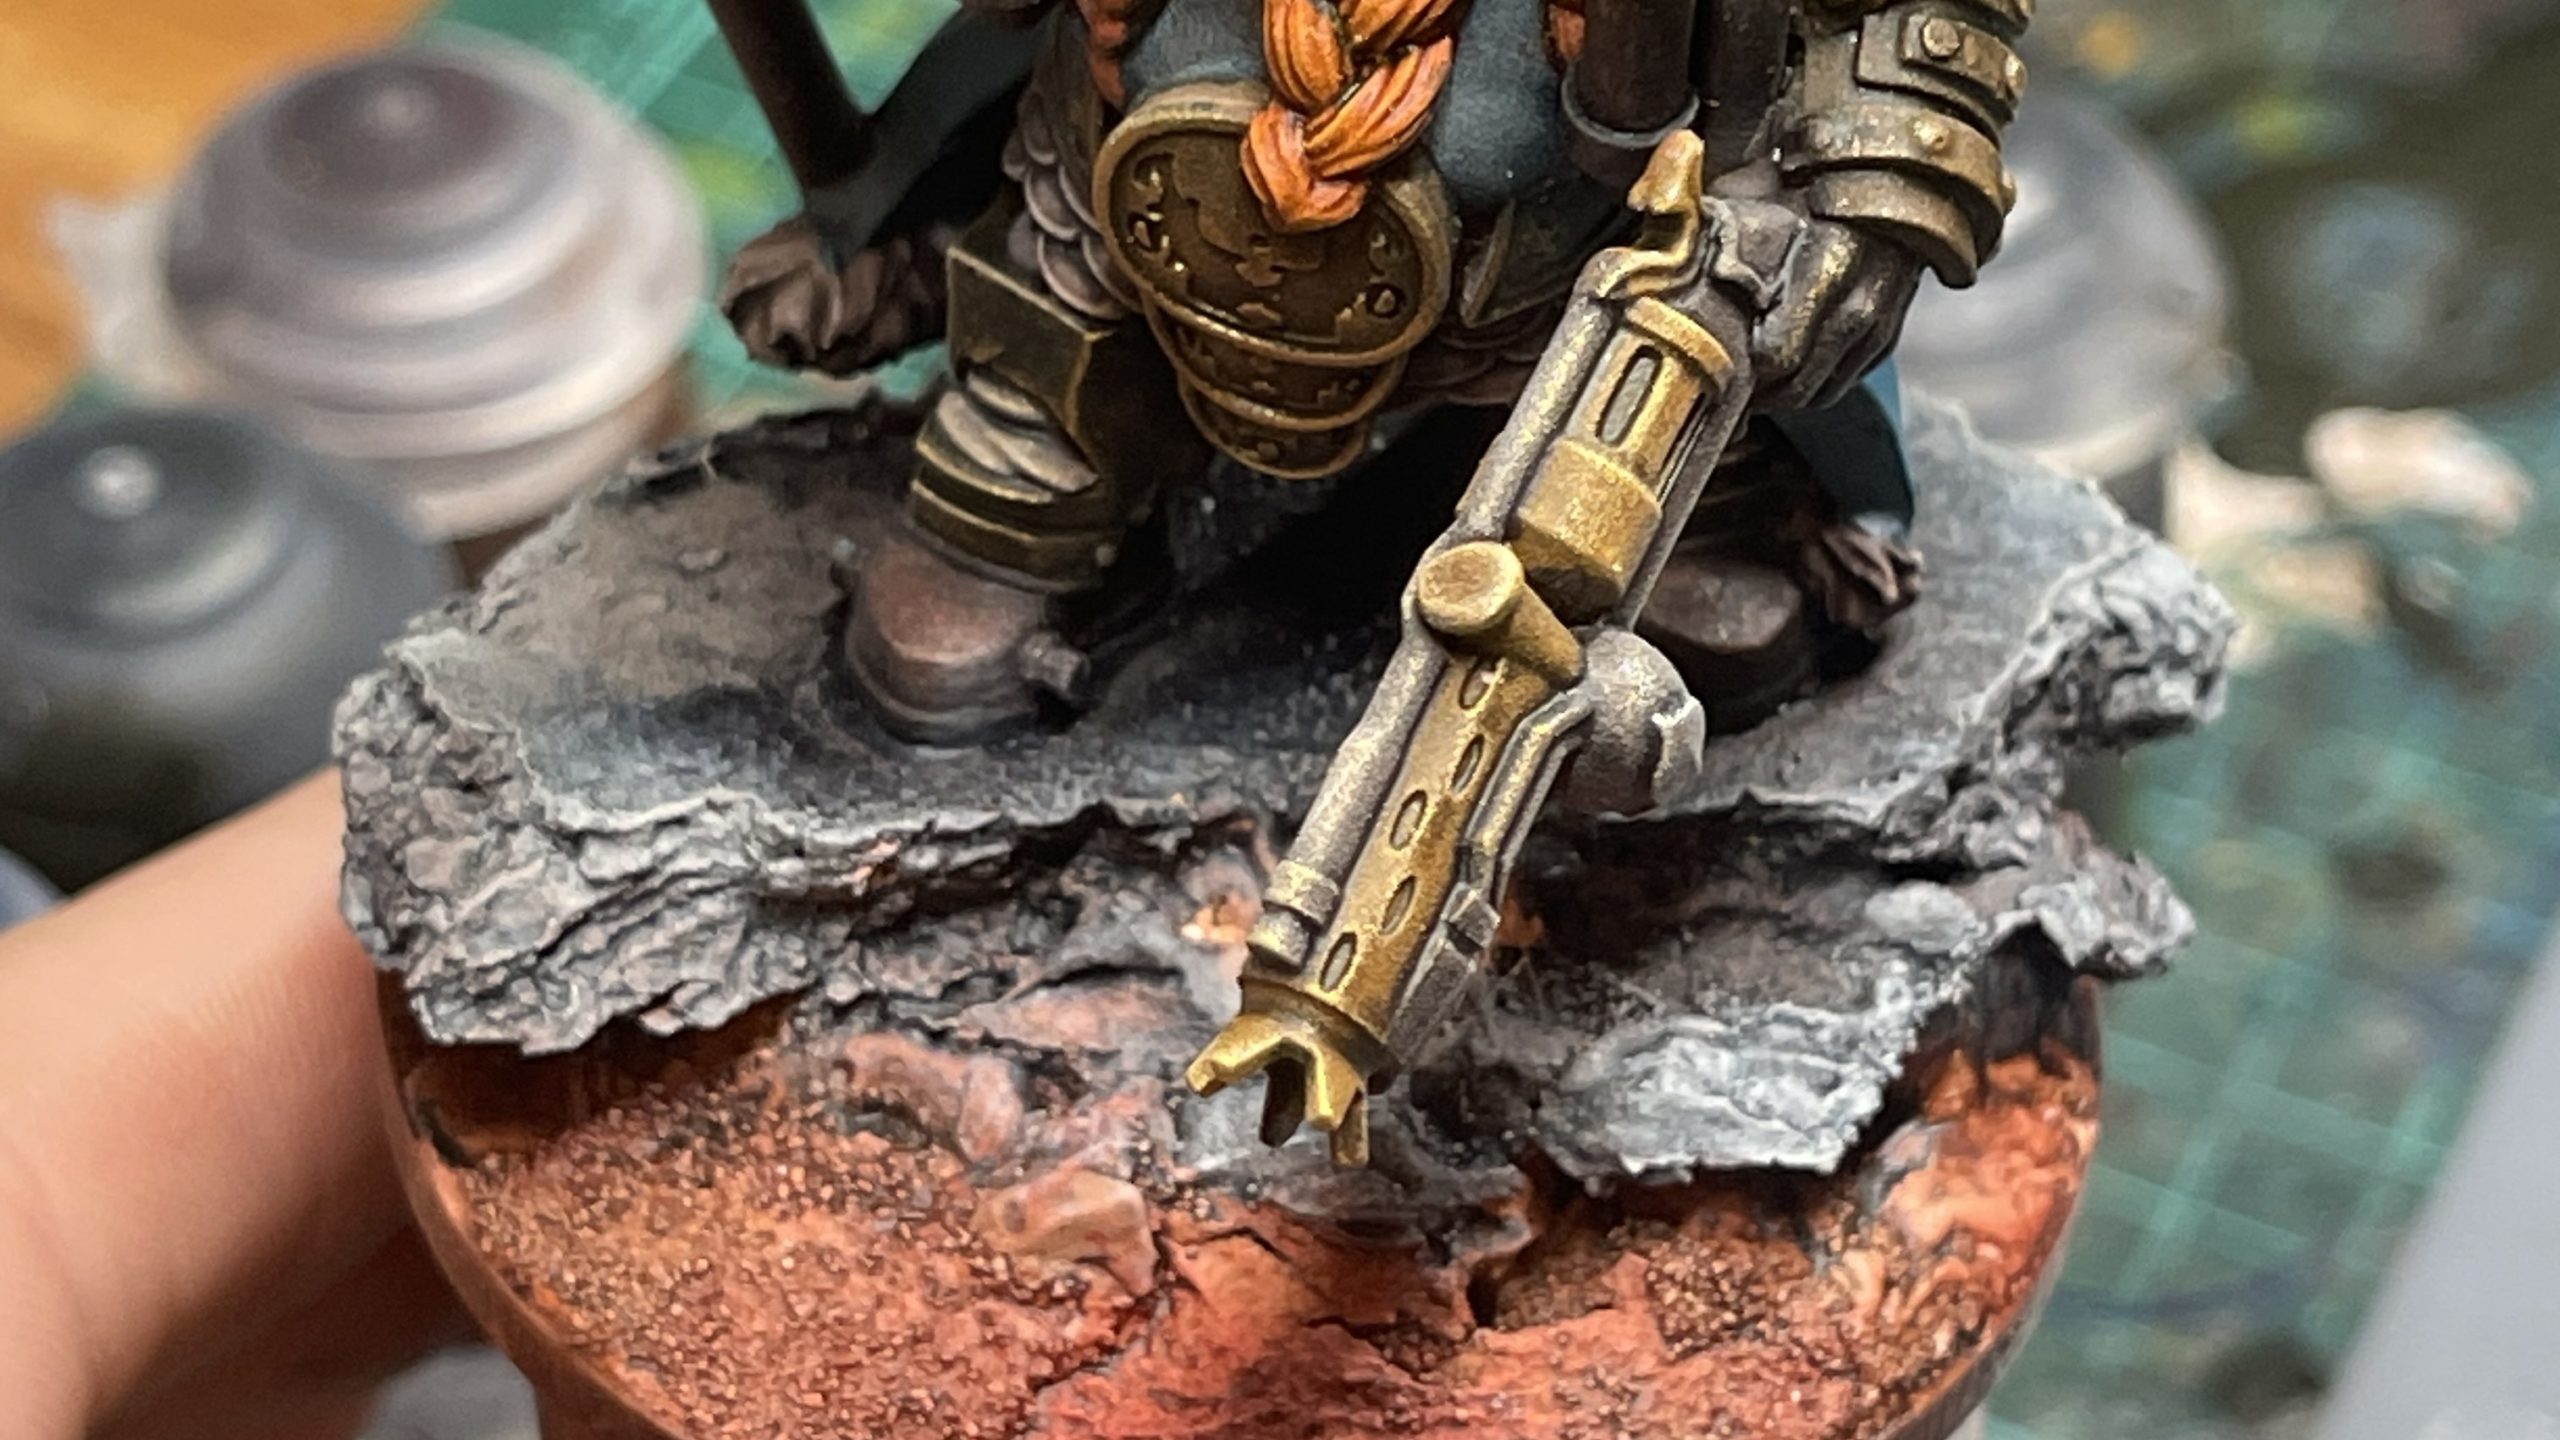
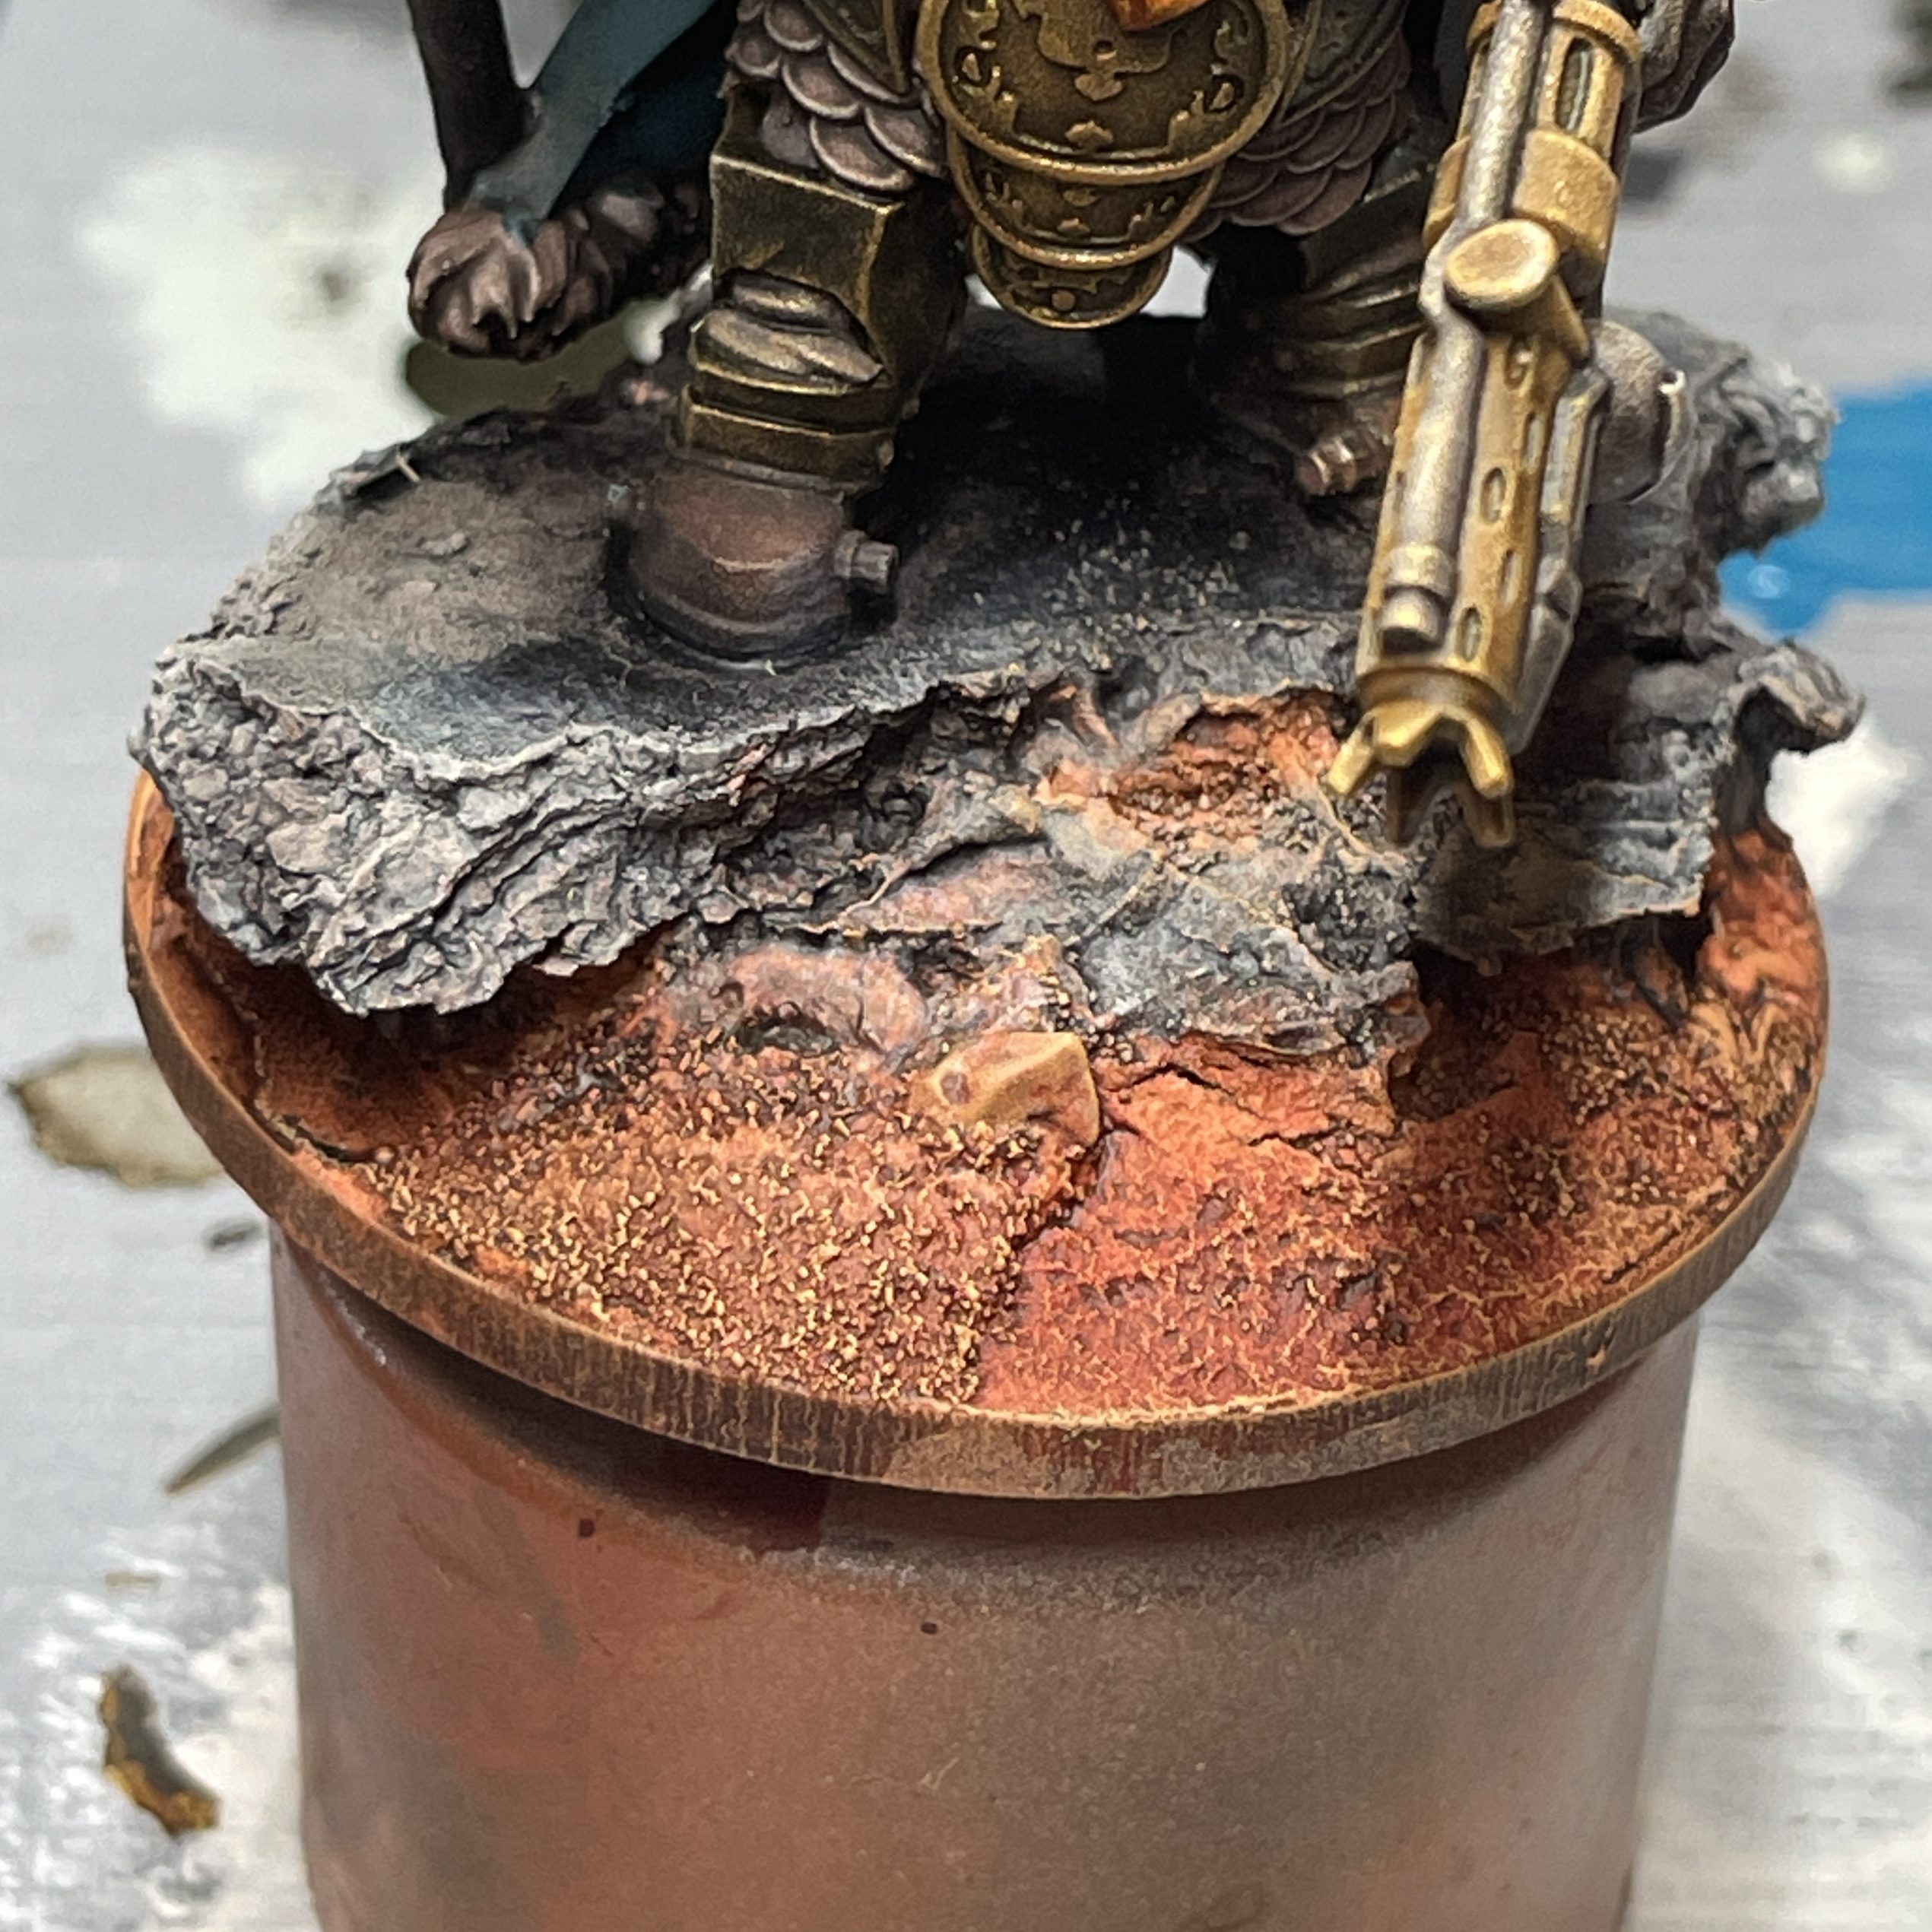
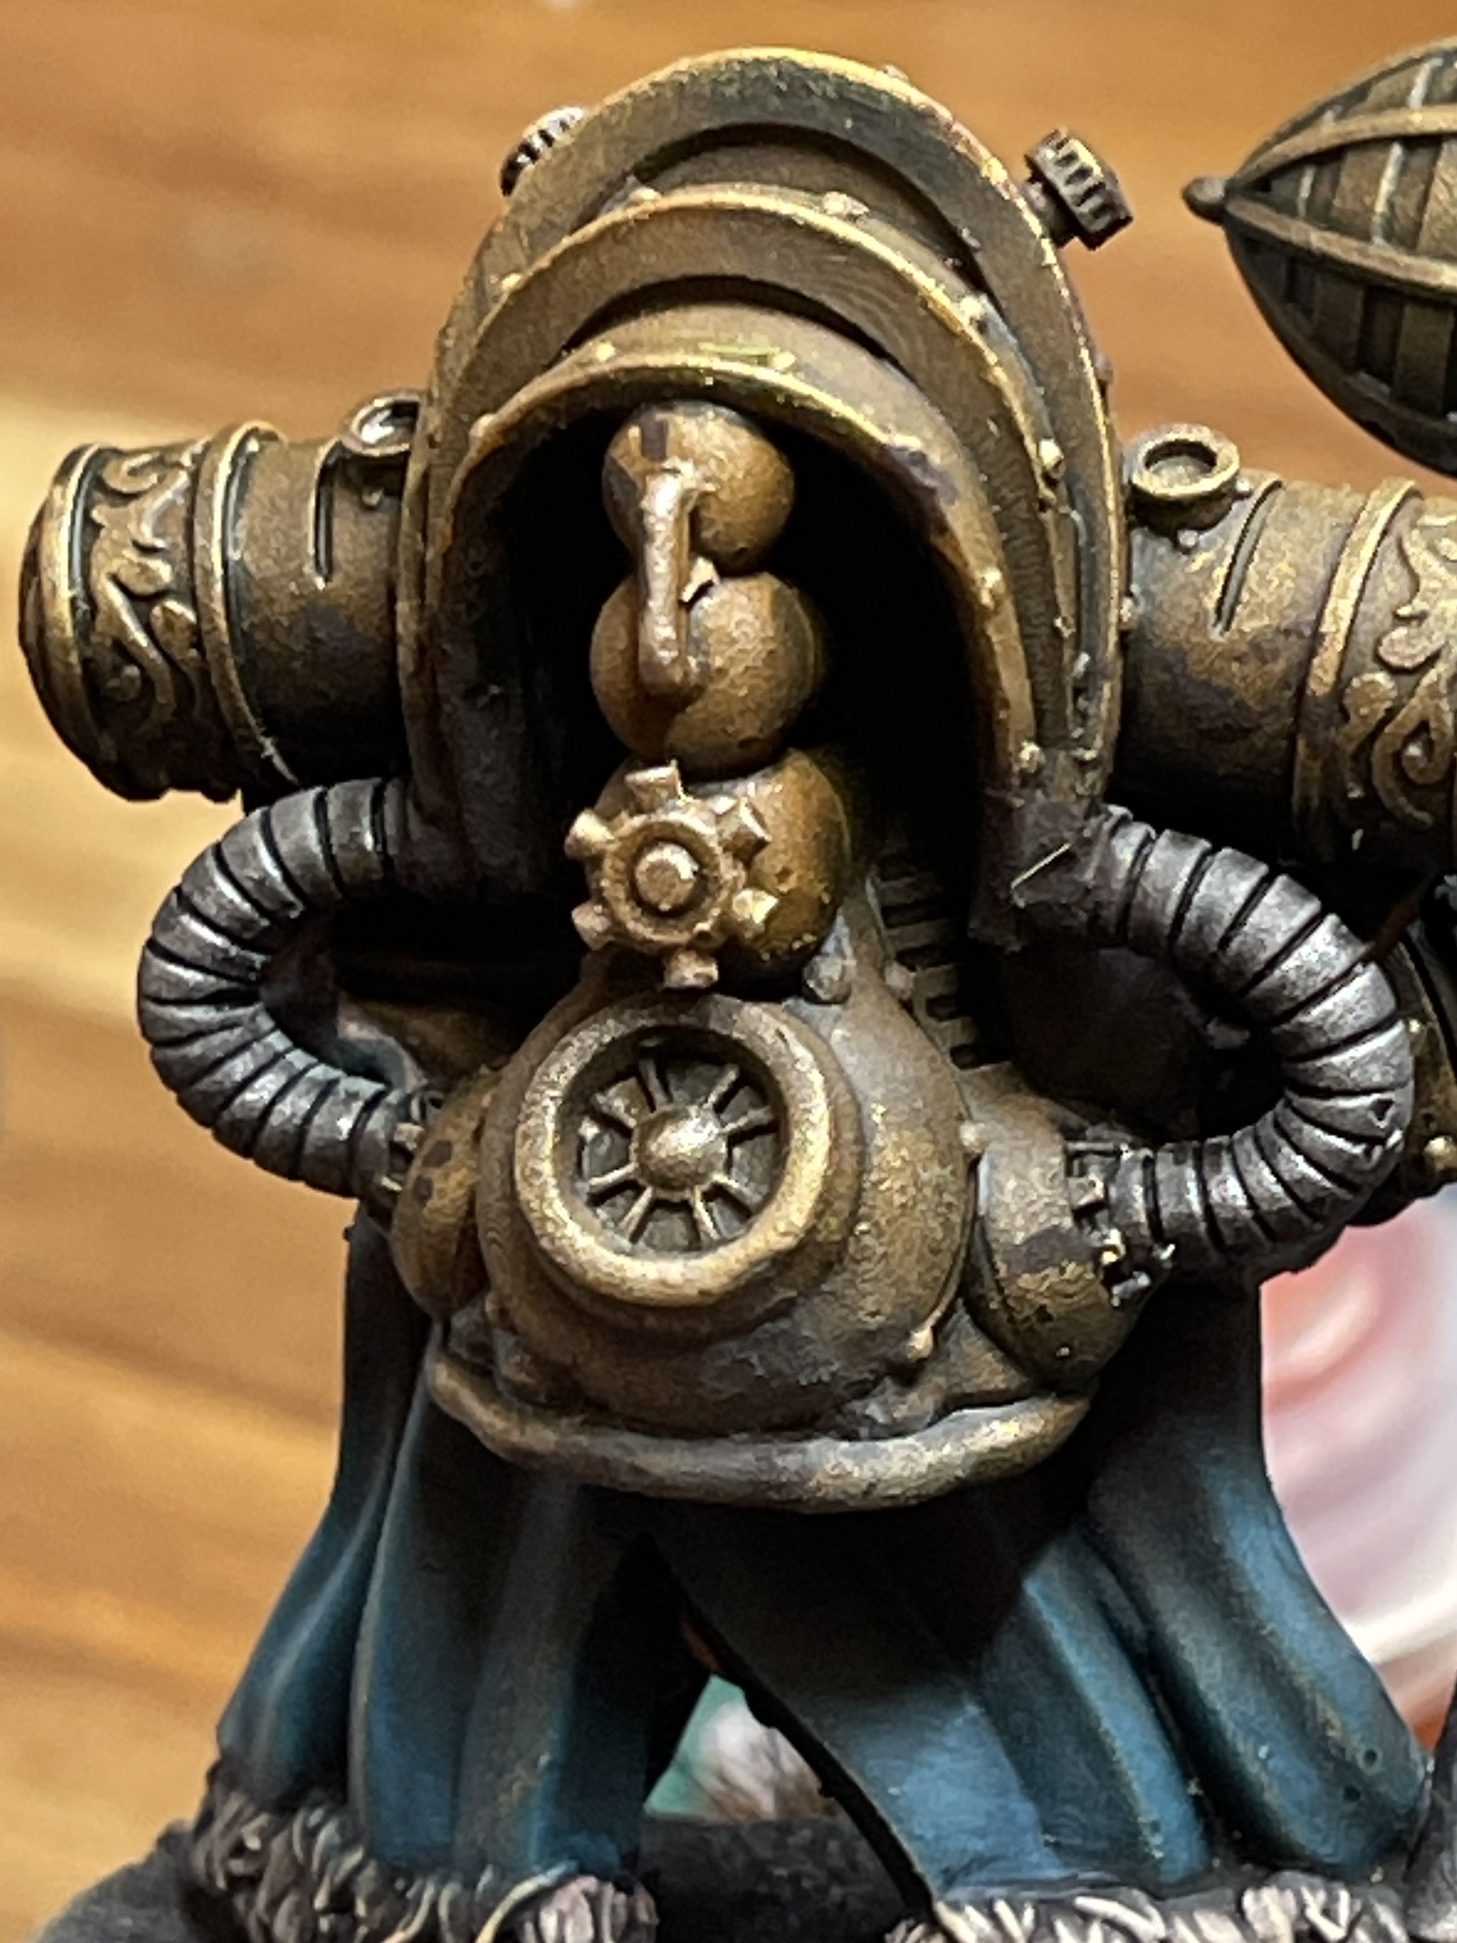
8. Paint pauldrons, gun barrels and tank
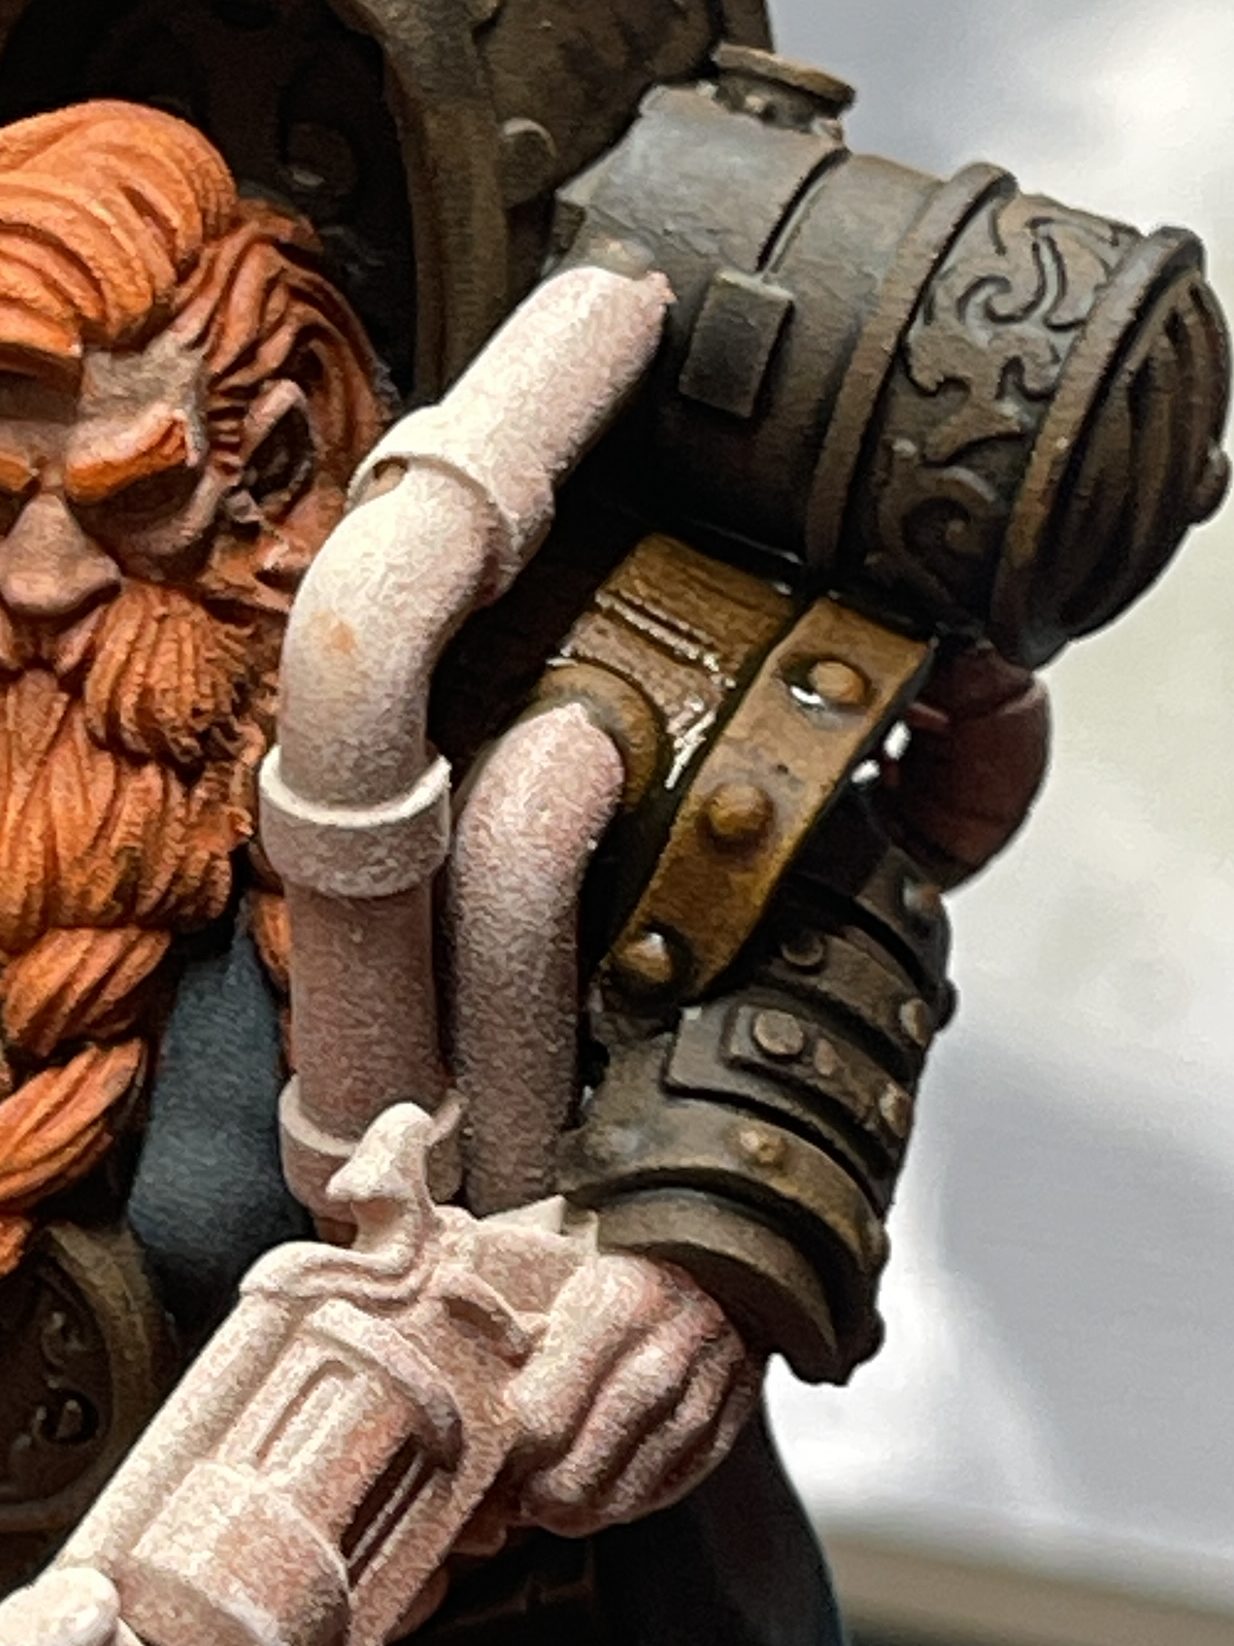
9. Paint pauldron straps and leather boots
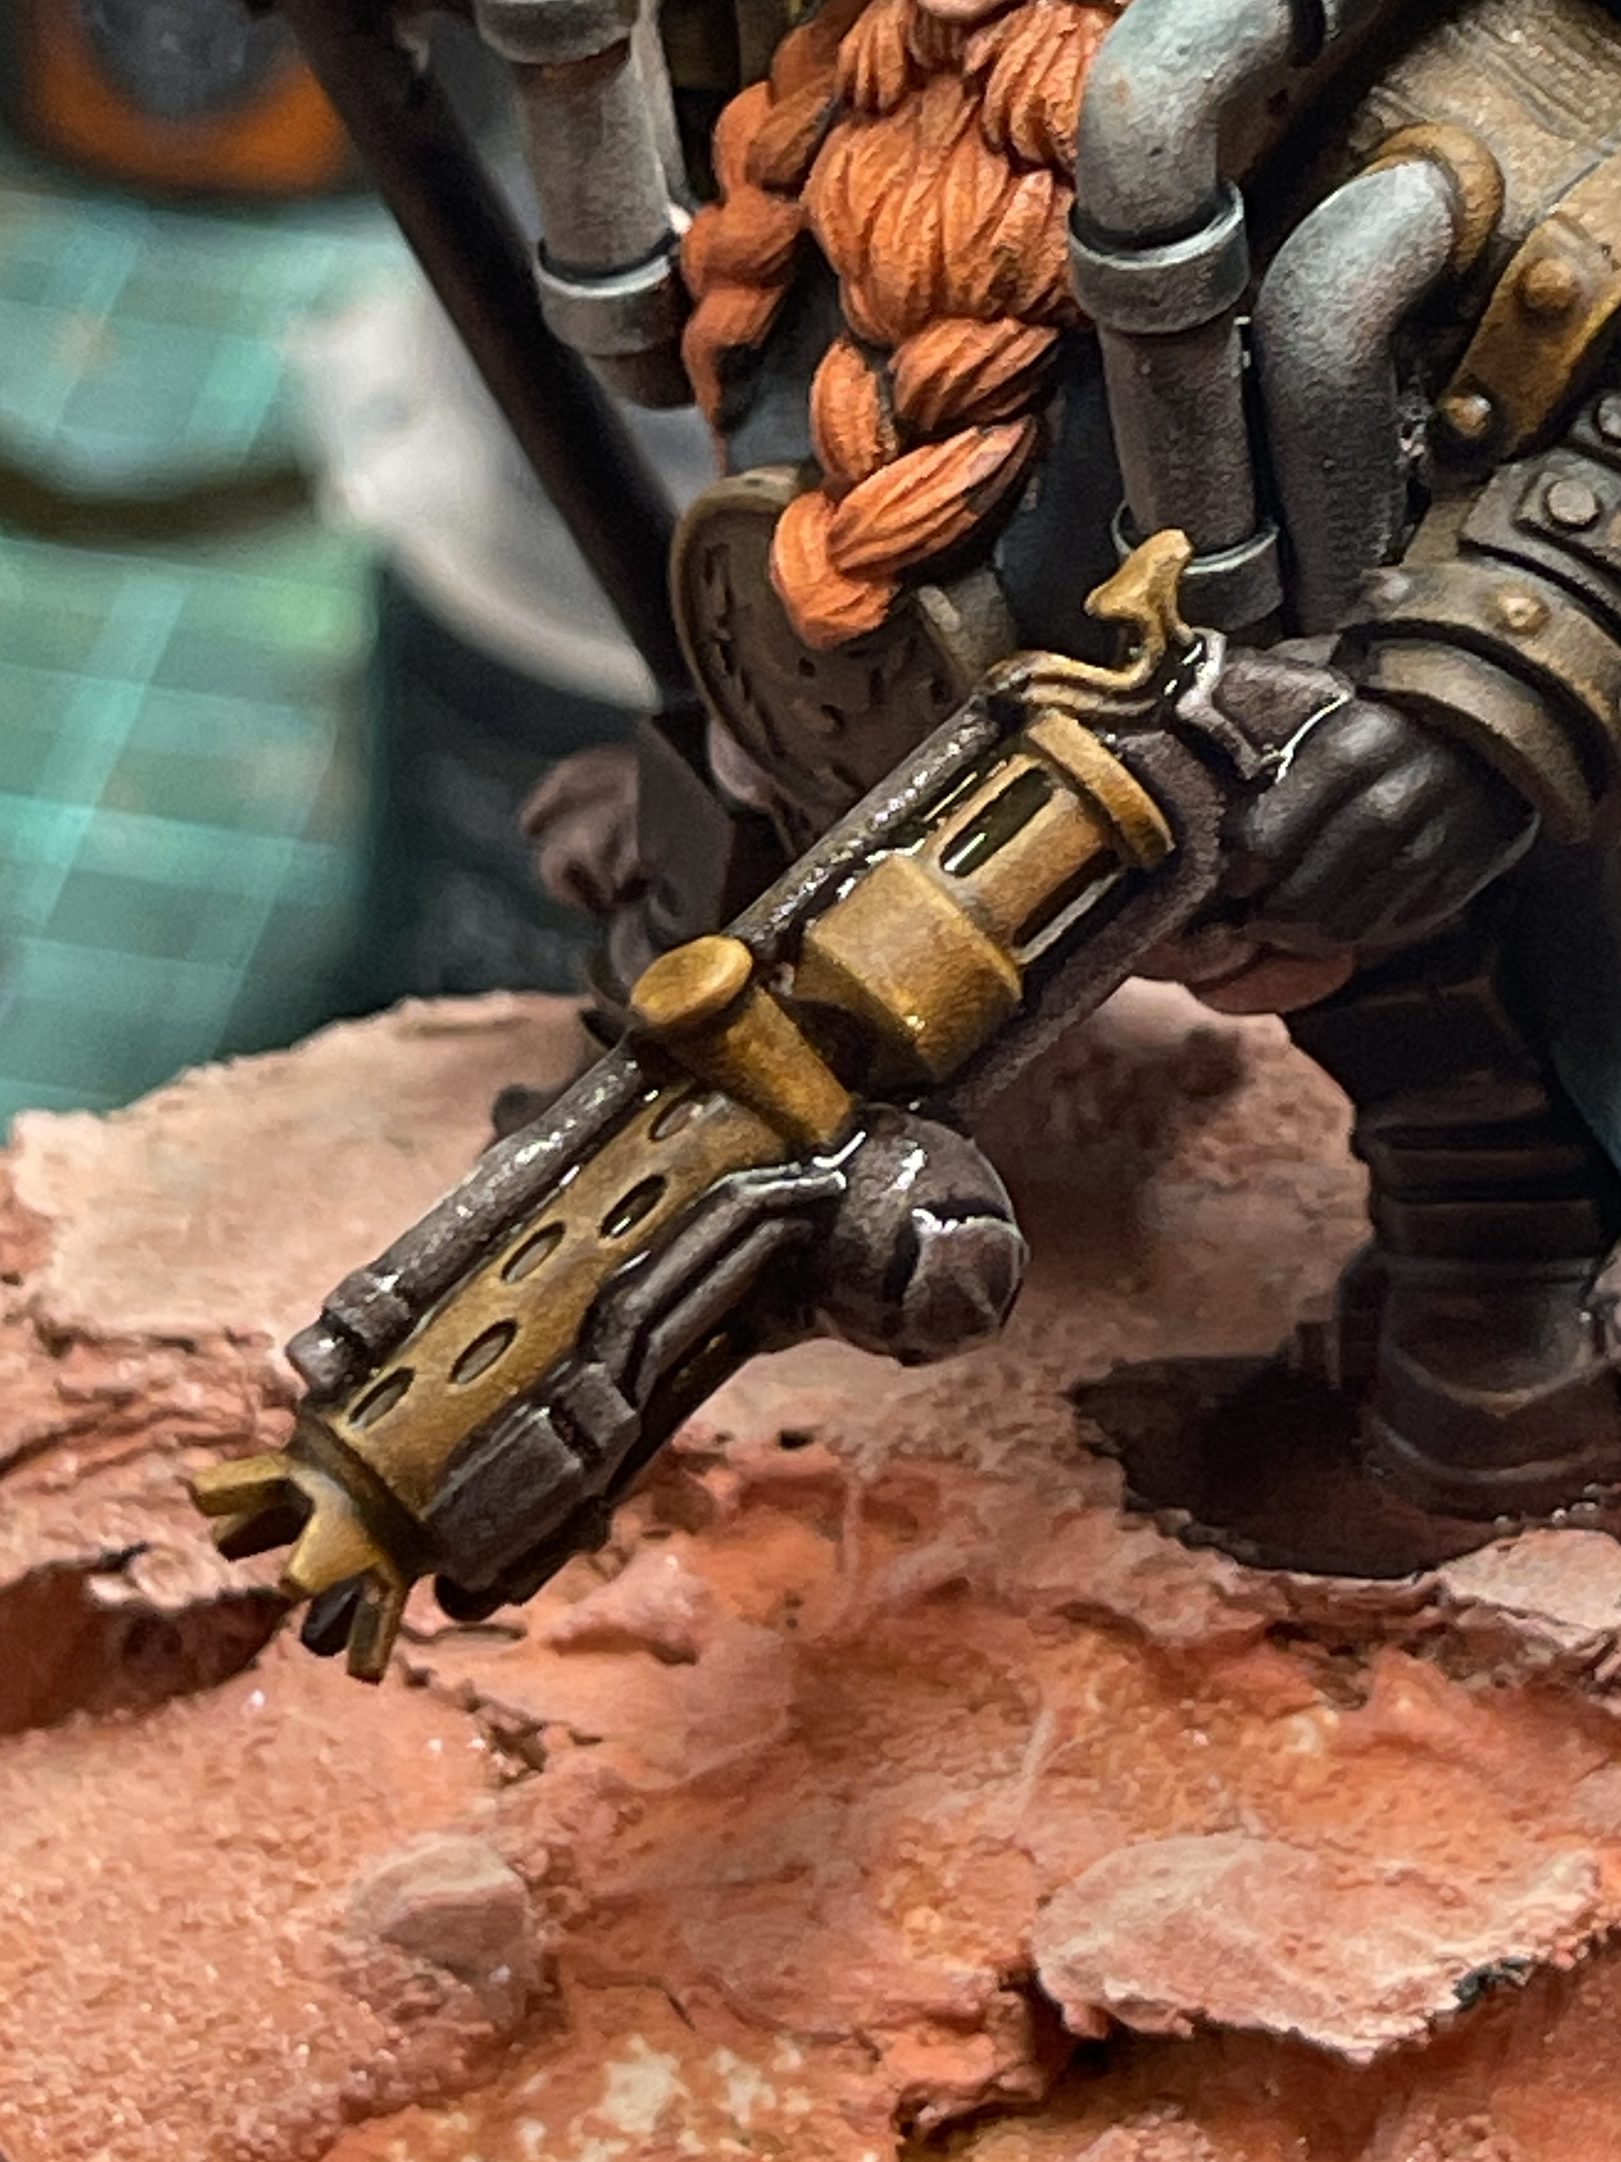
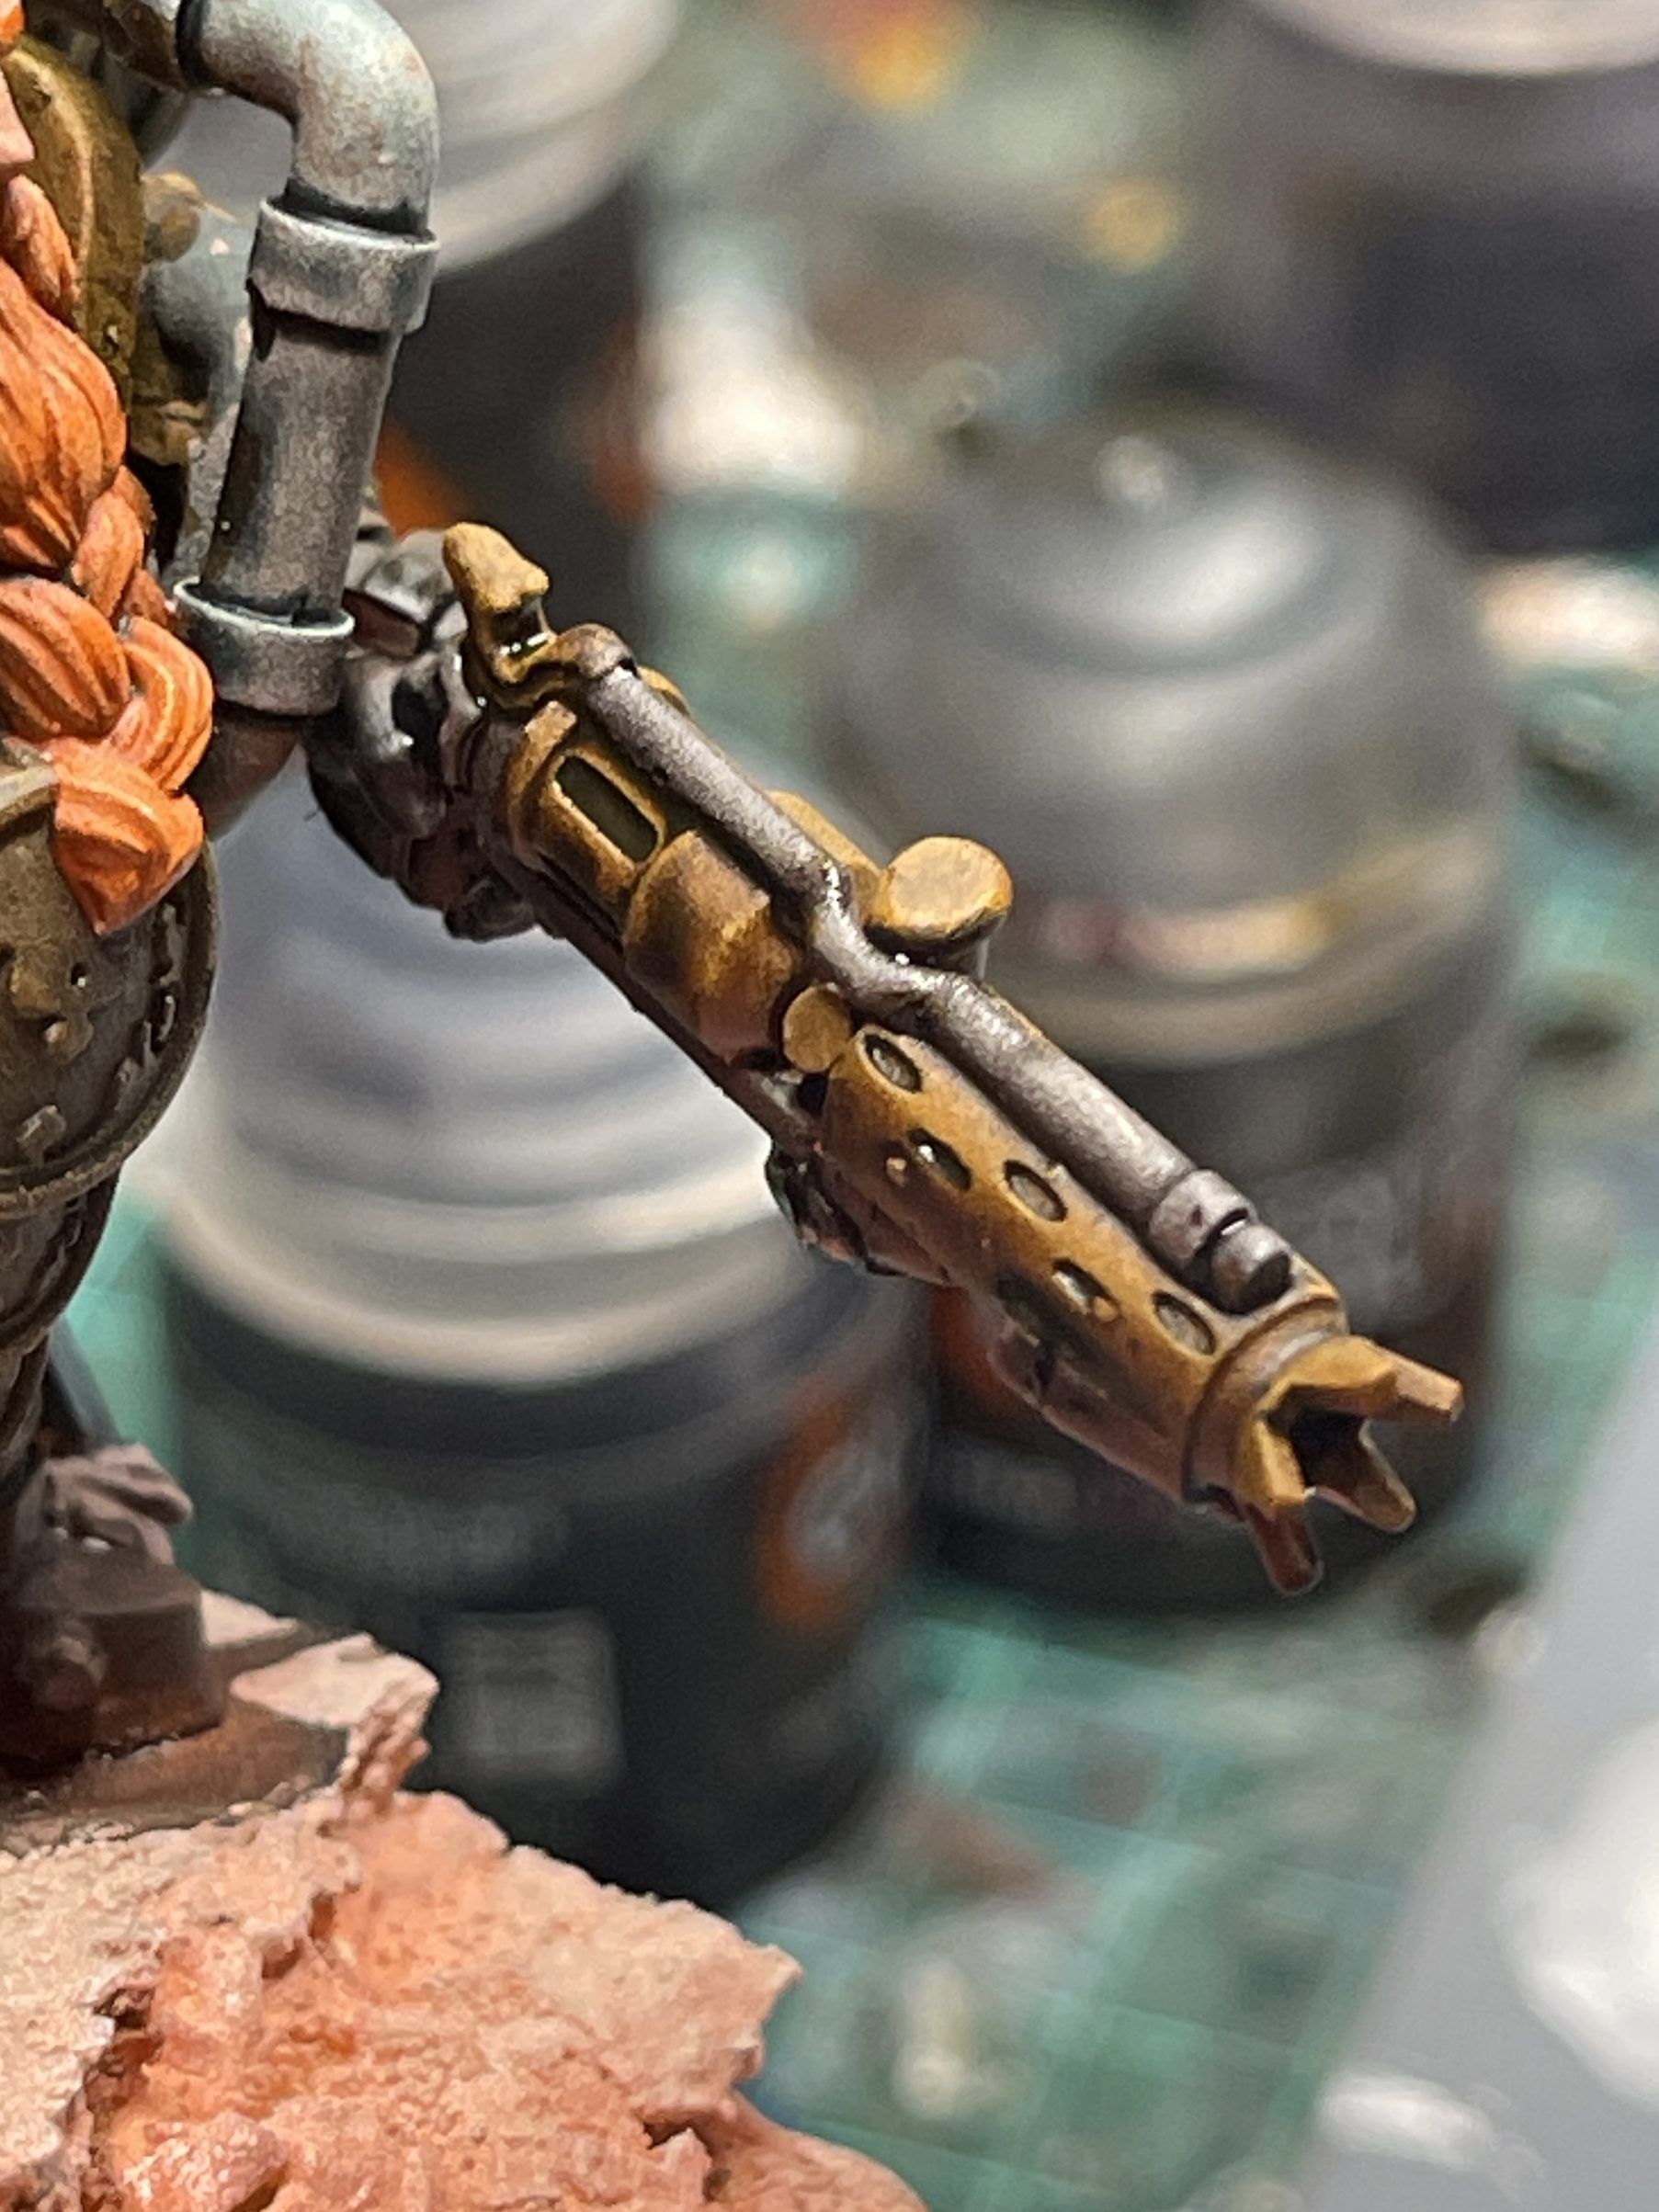
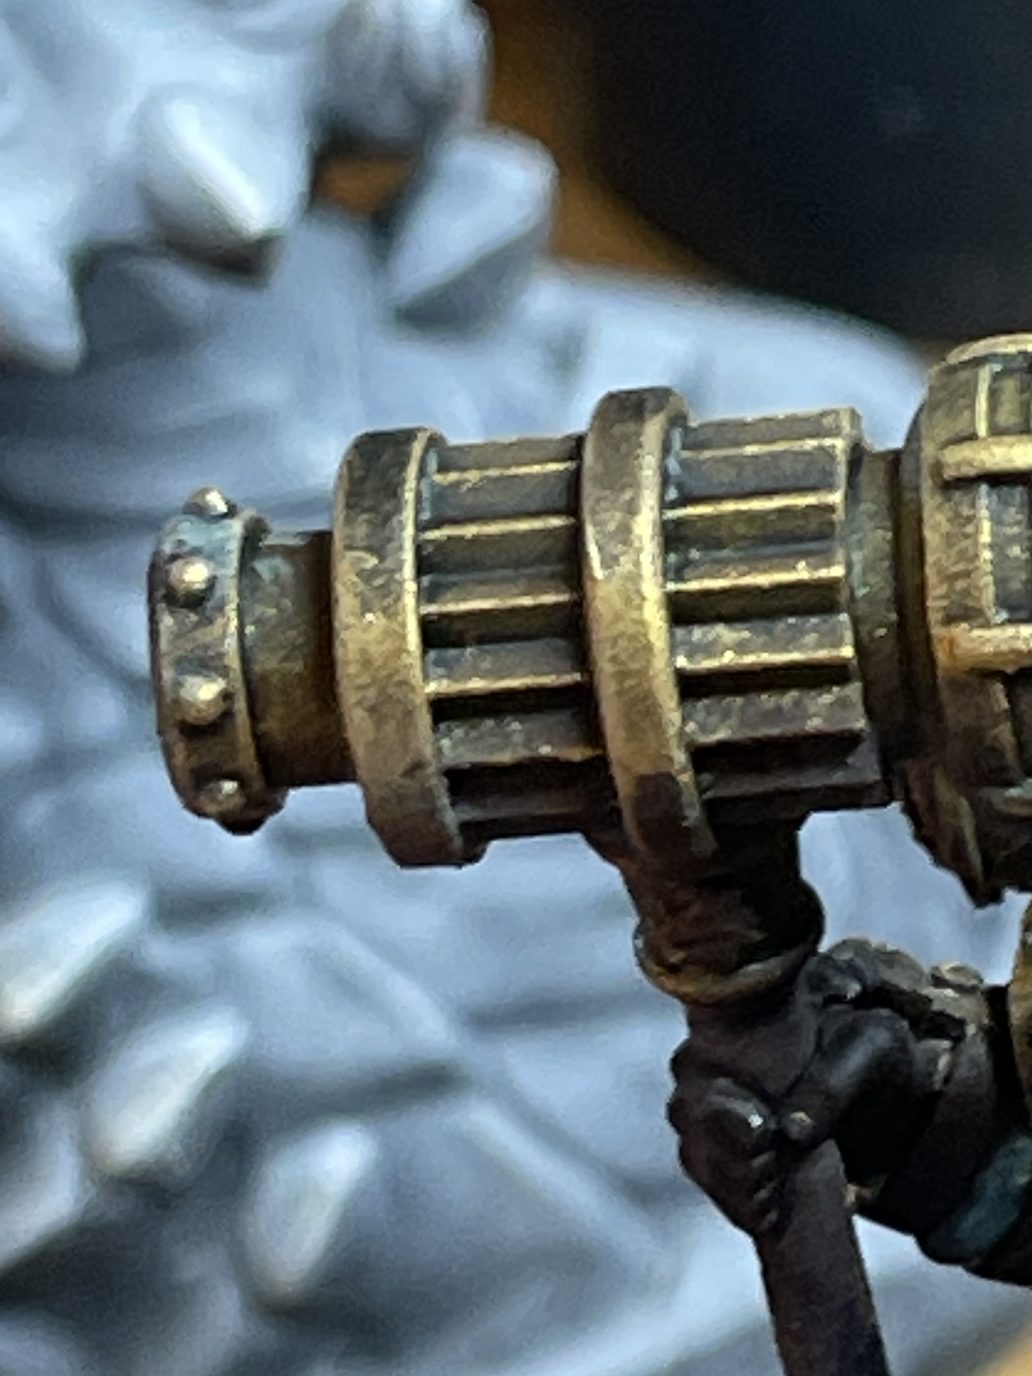
10. Paint hammer shaft and gun details
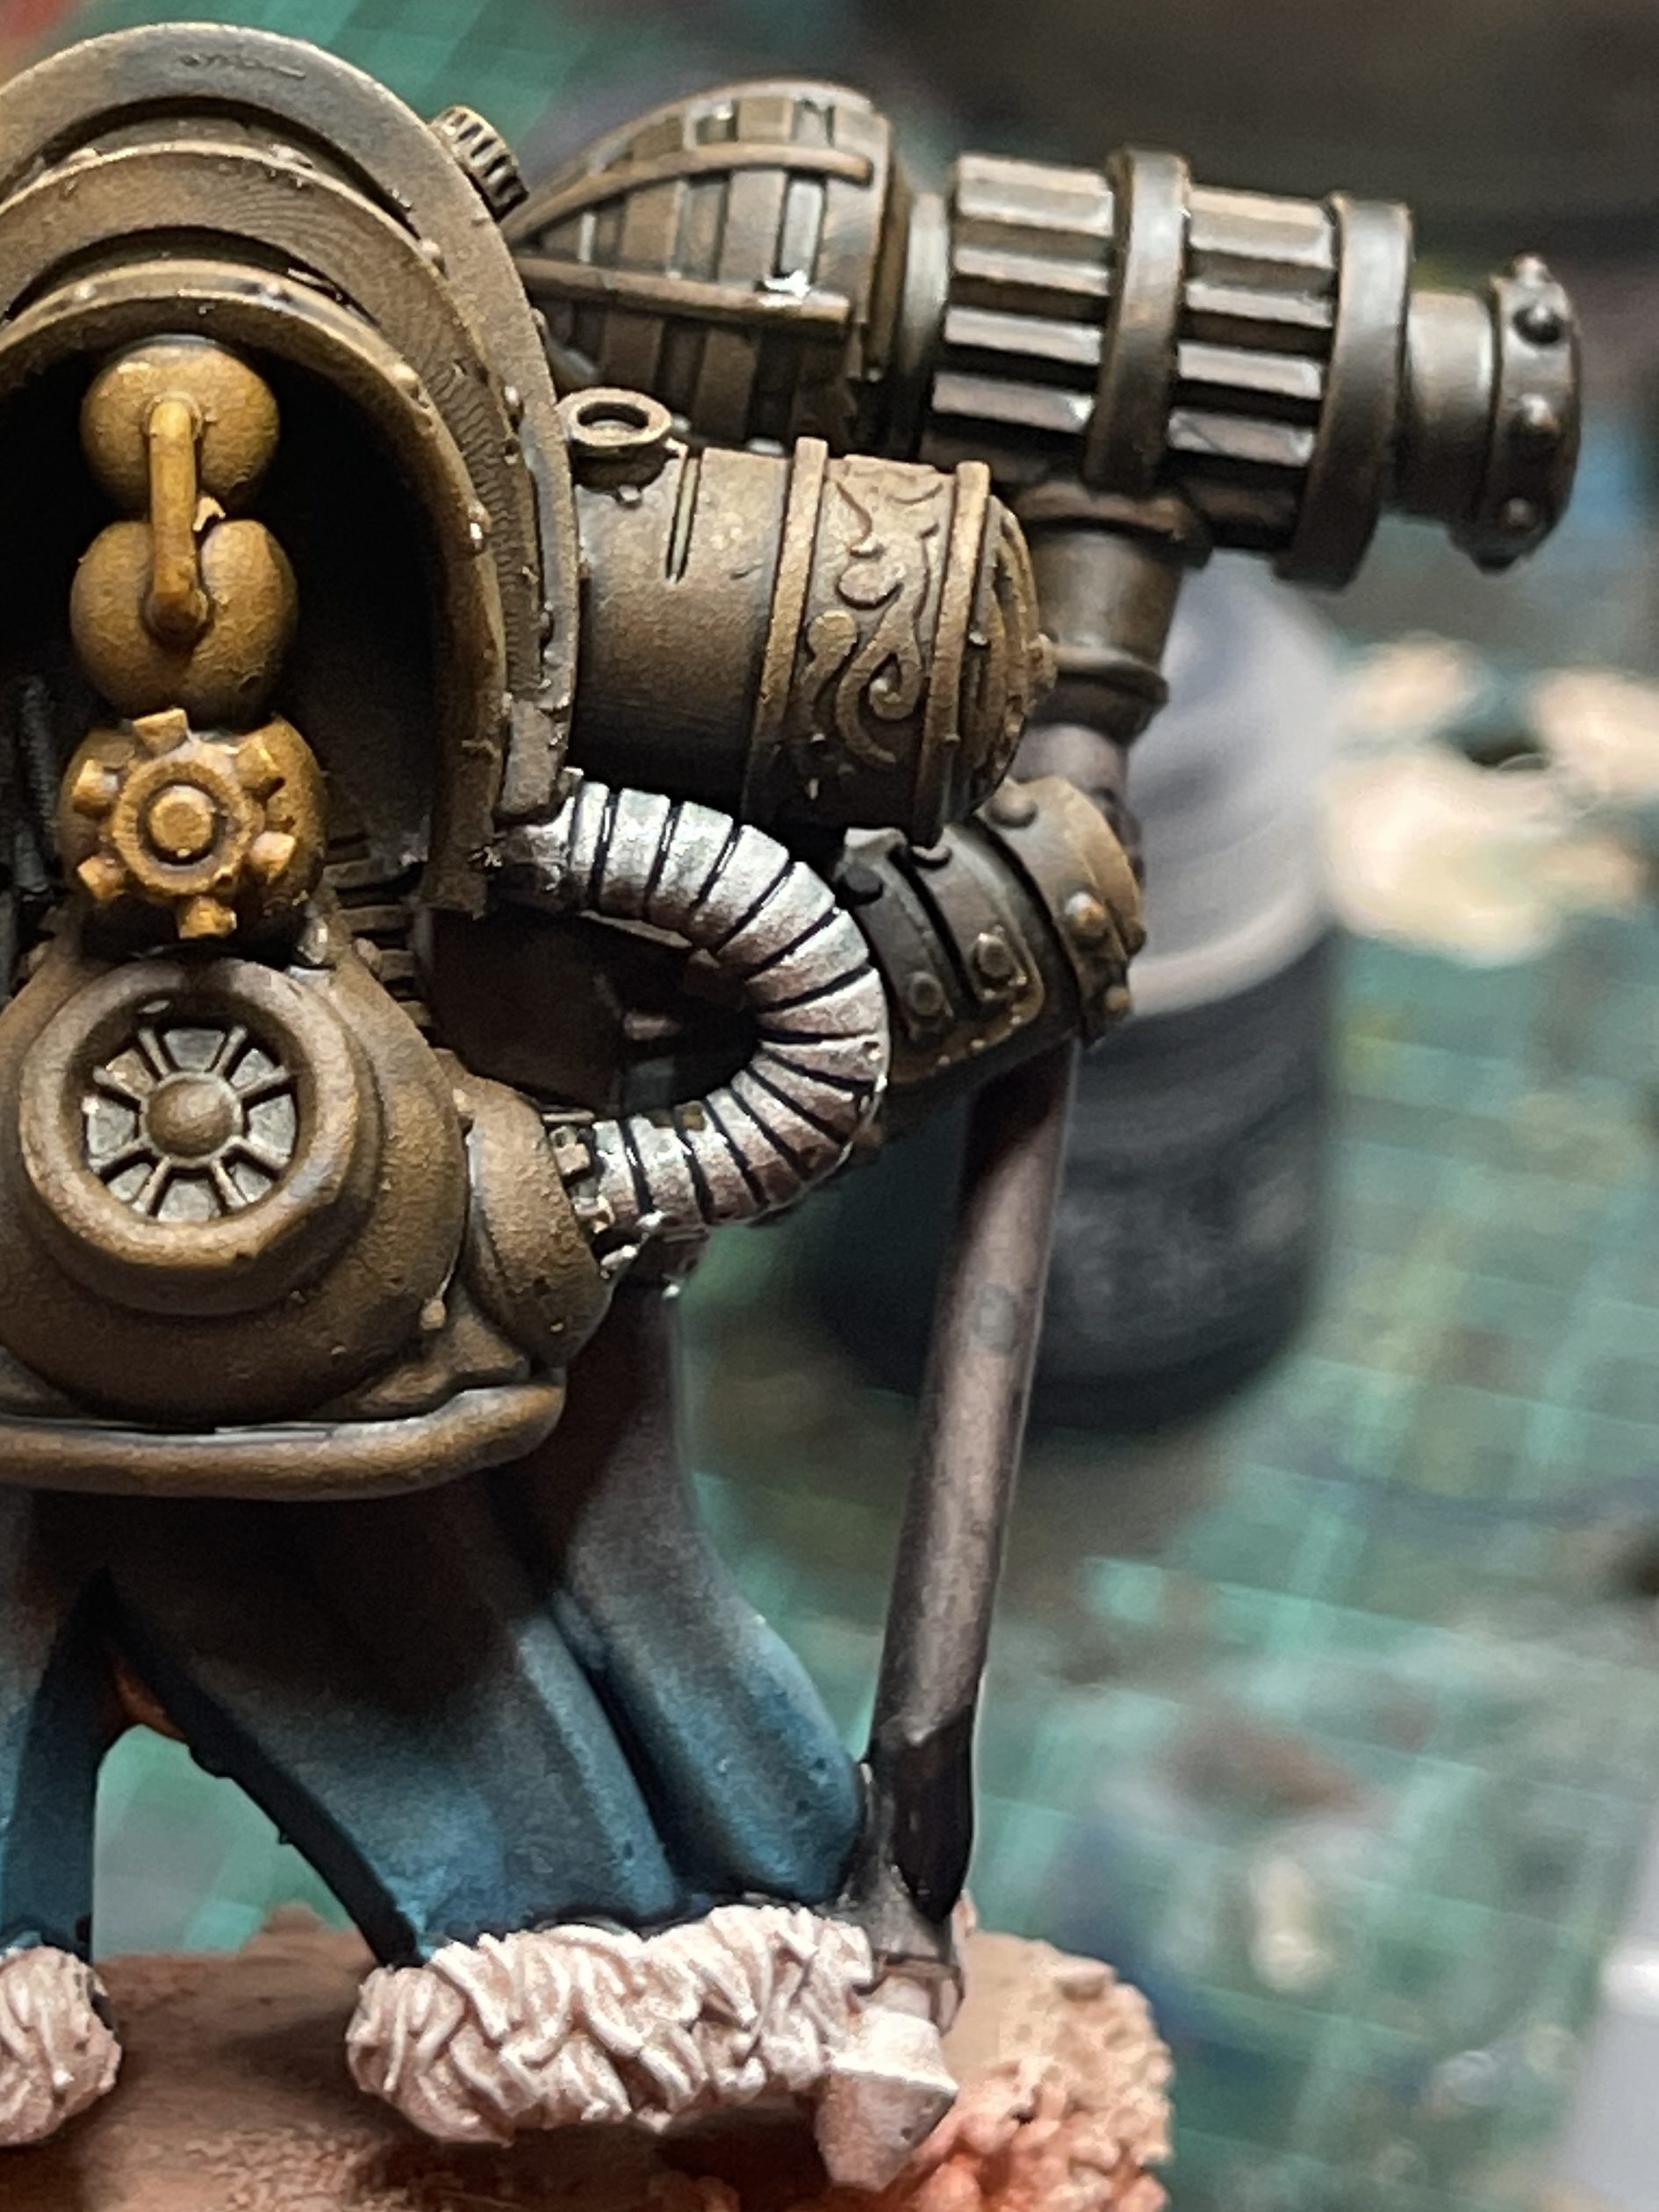
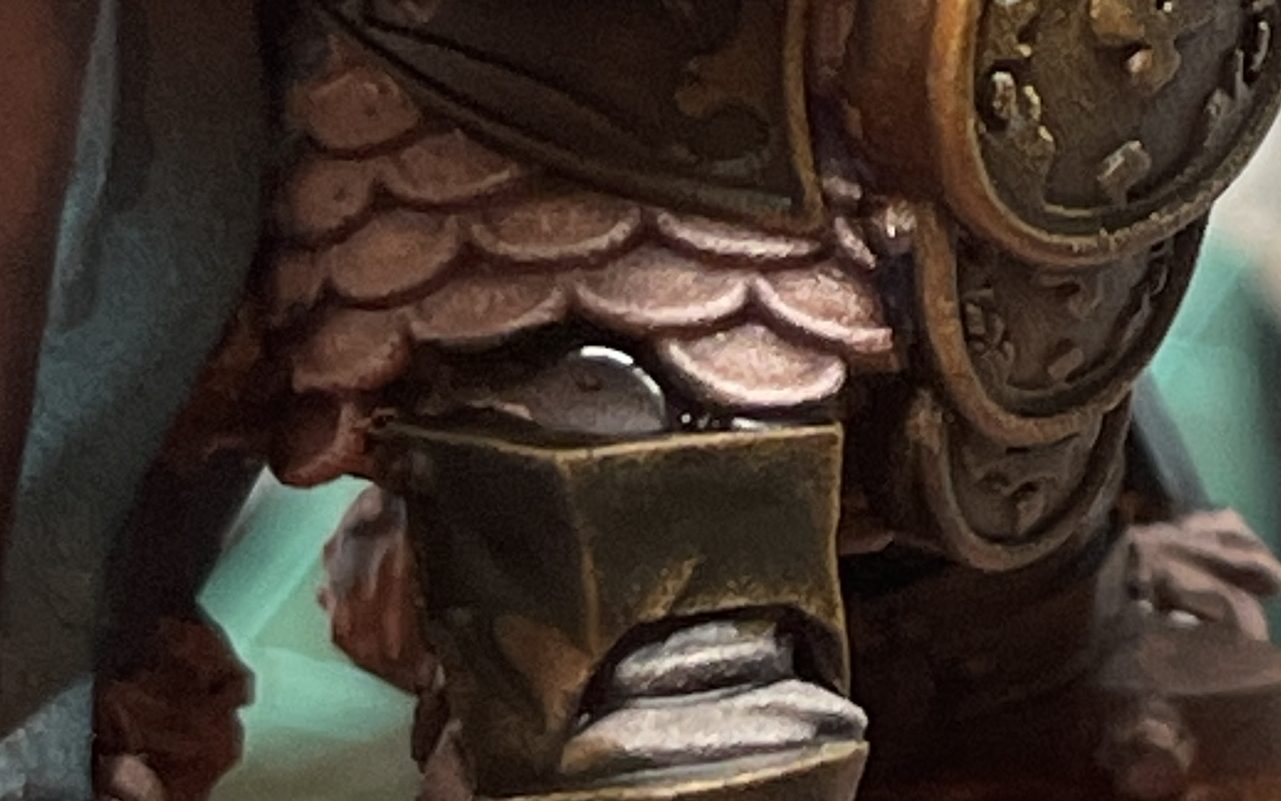
11. Paint Pipes and Chain Mail
12. Apply wash to cloak trimming & pipes
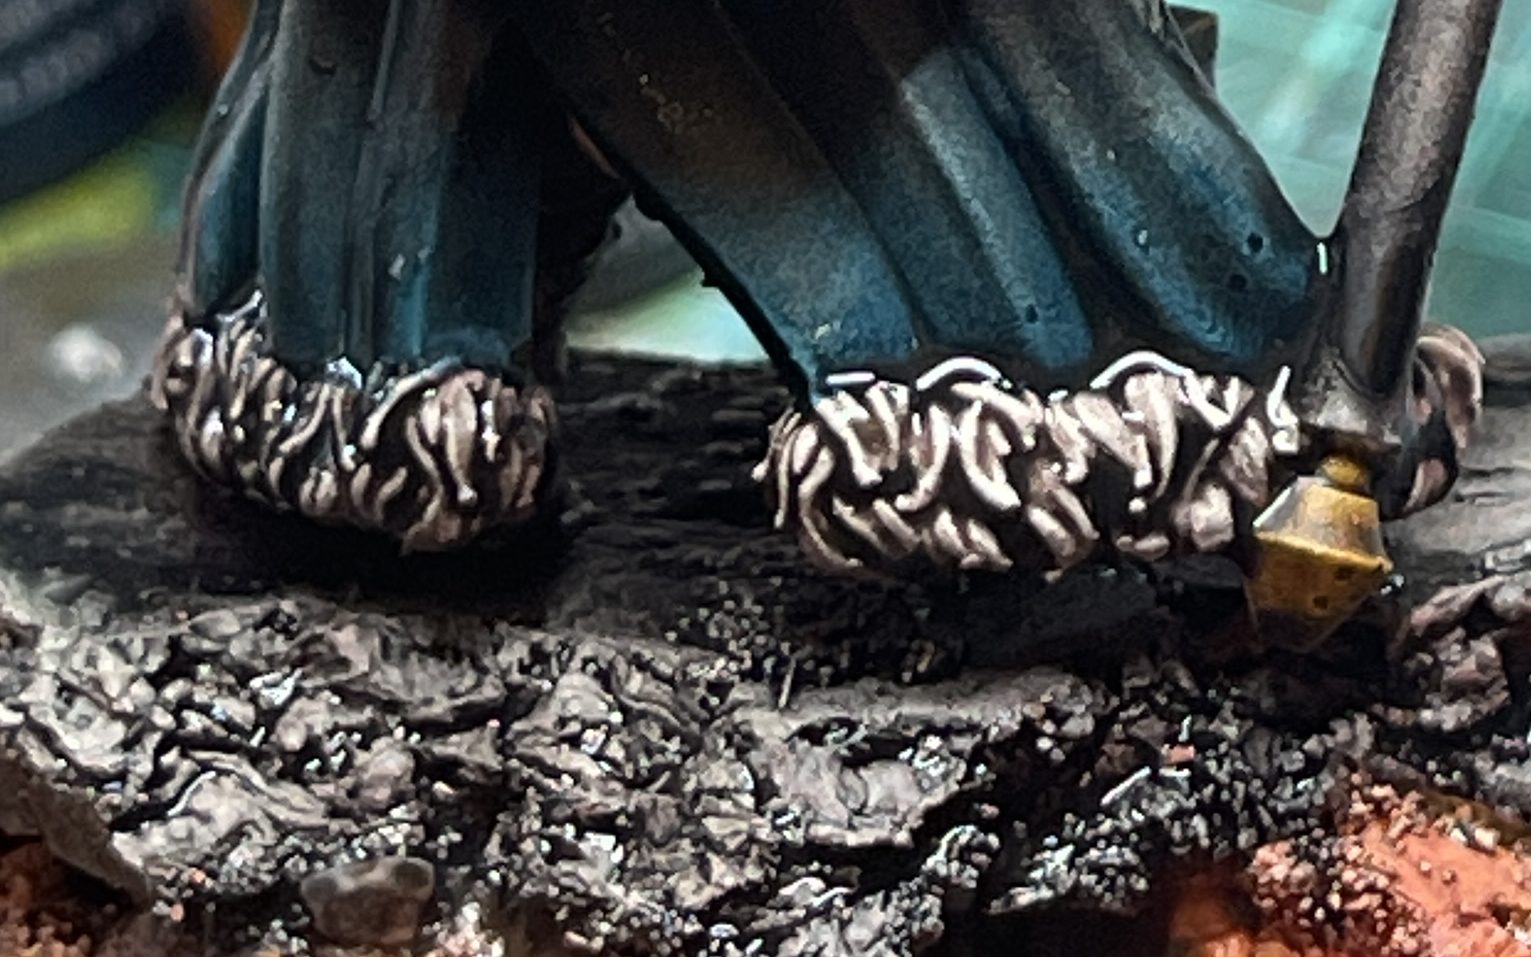
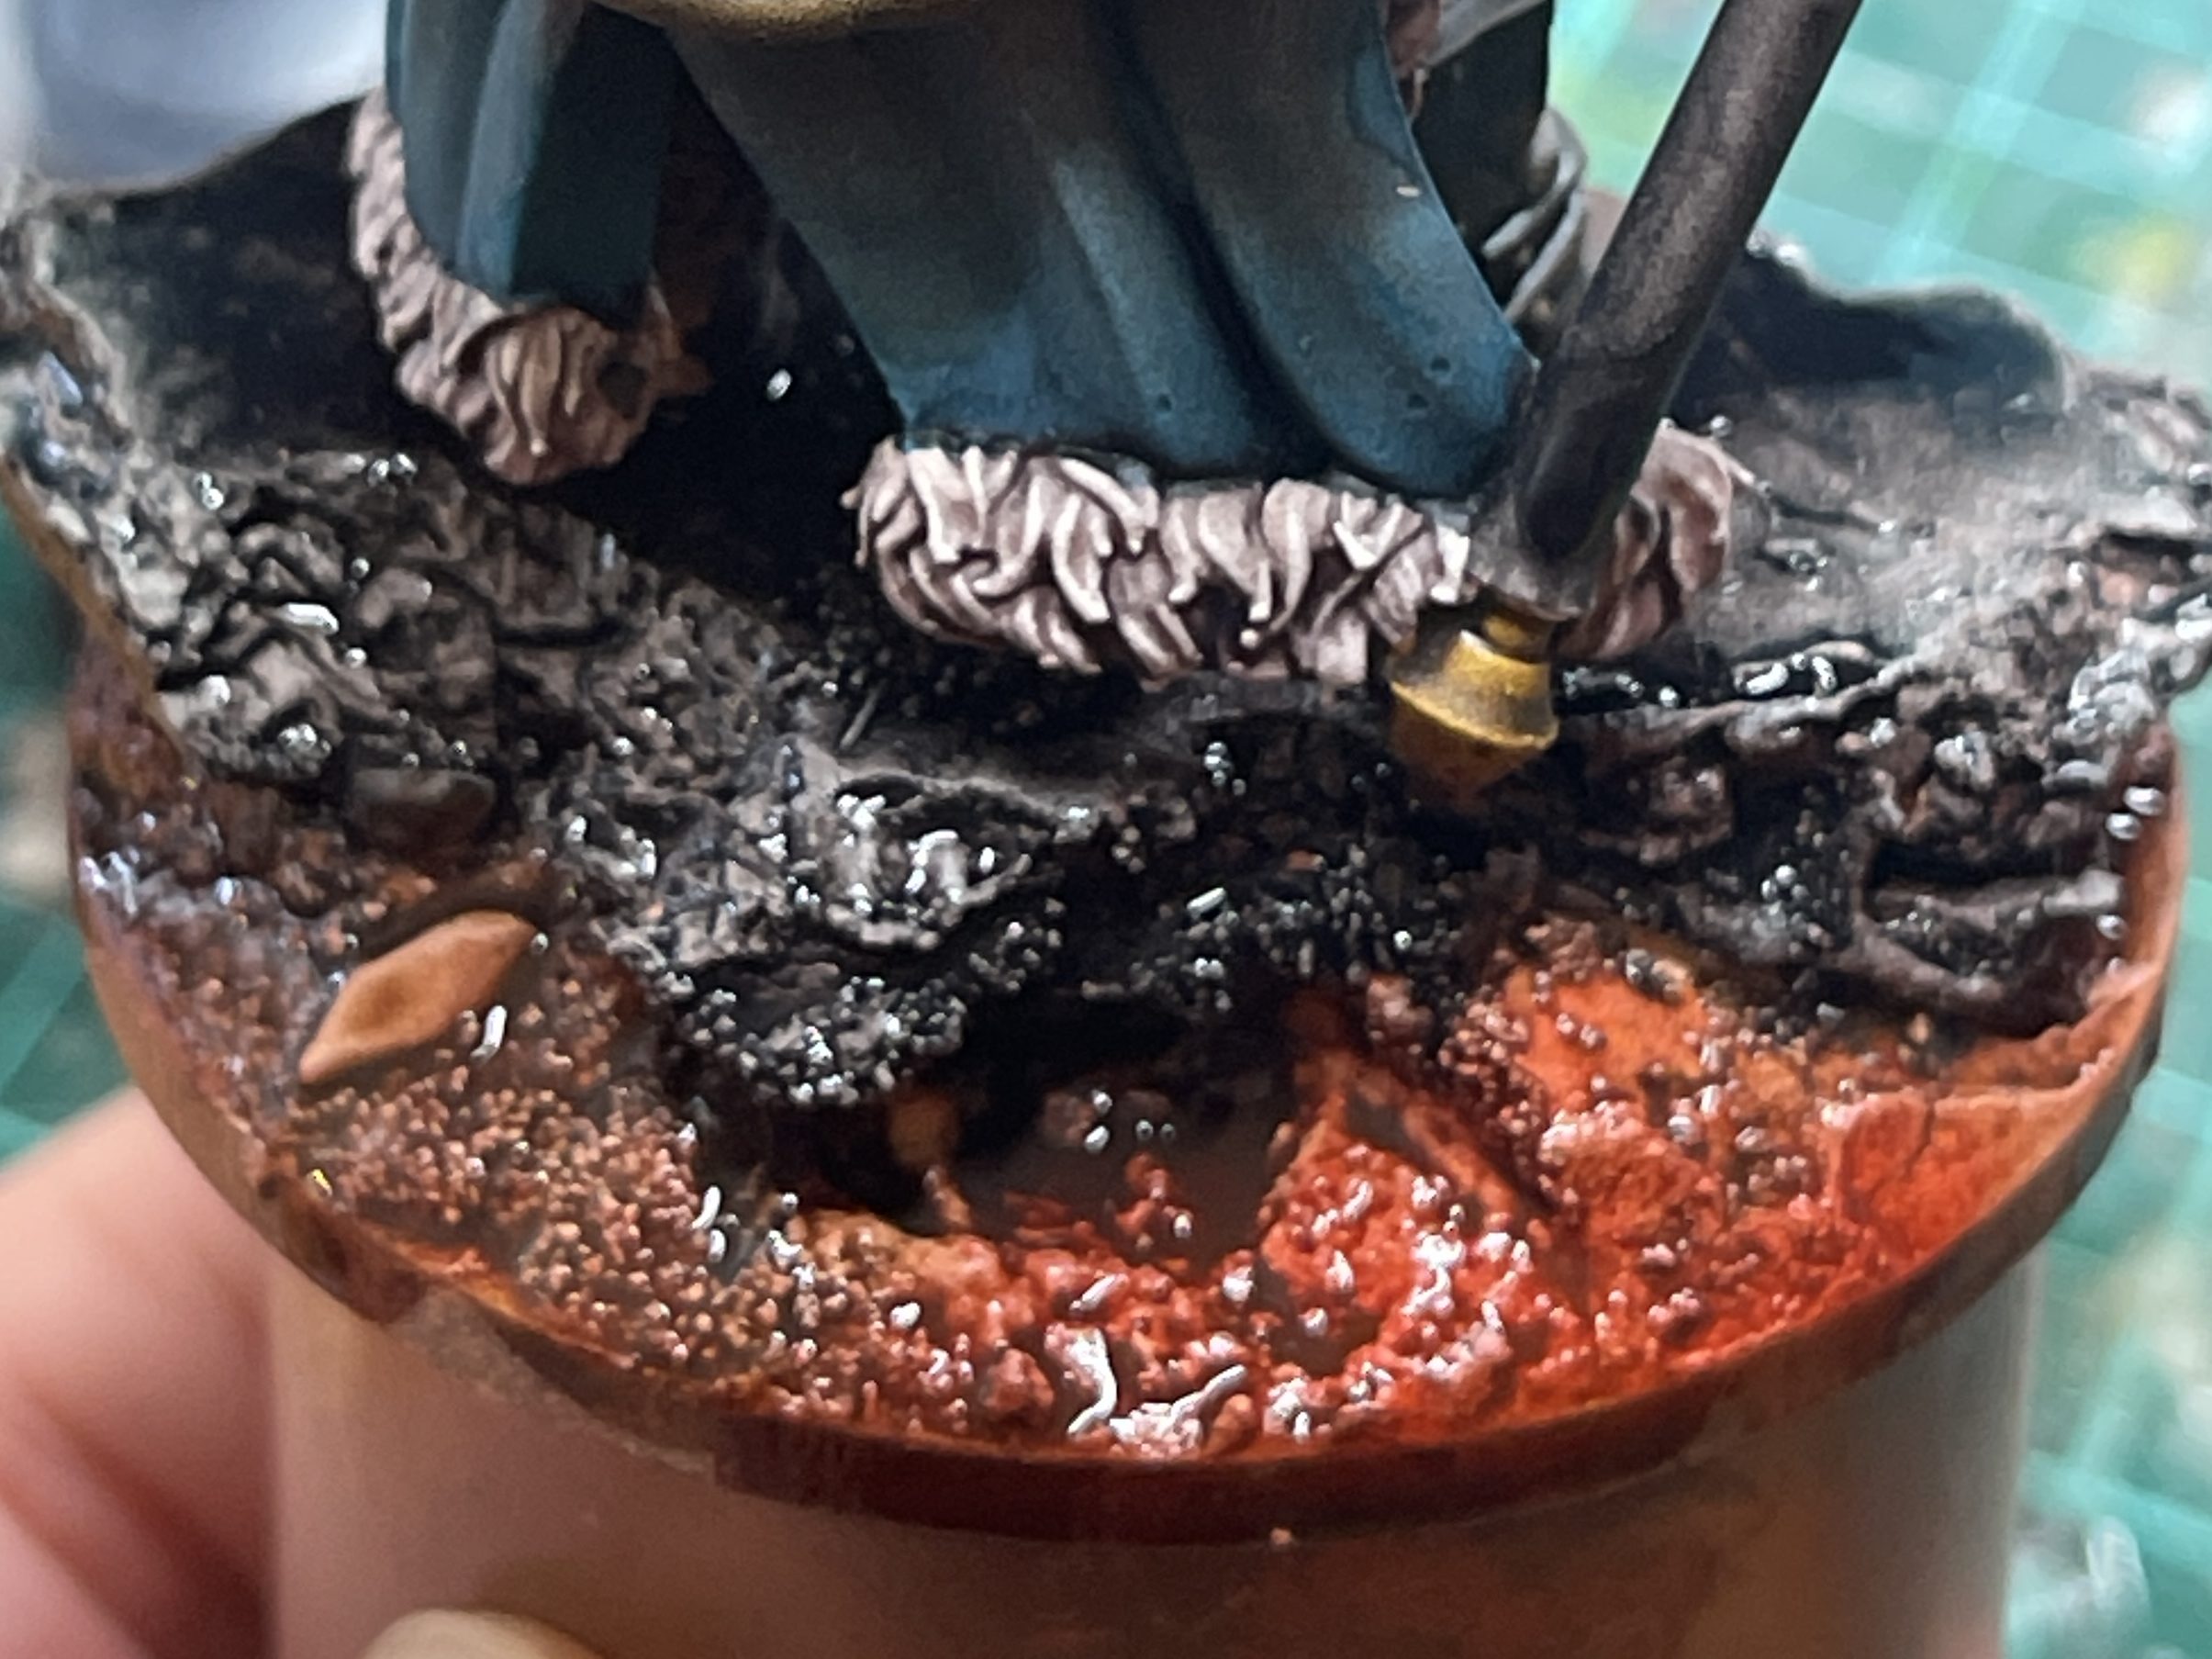
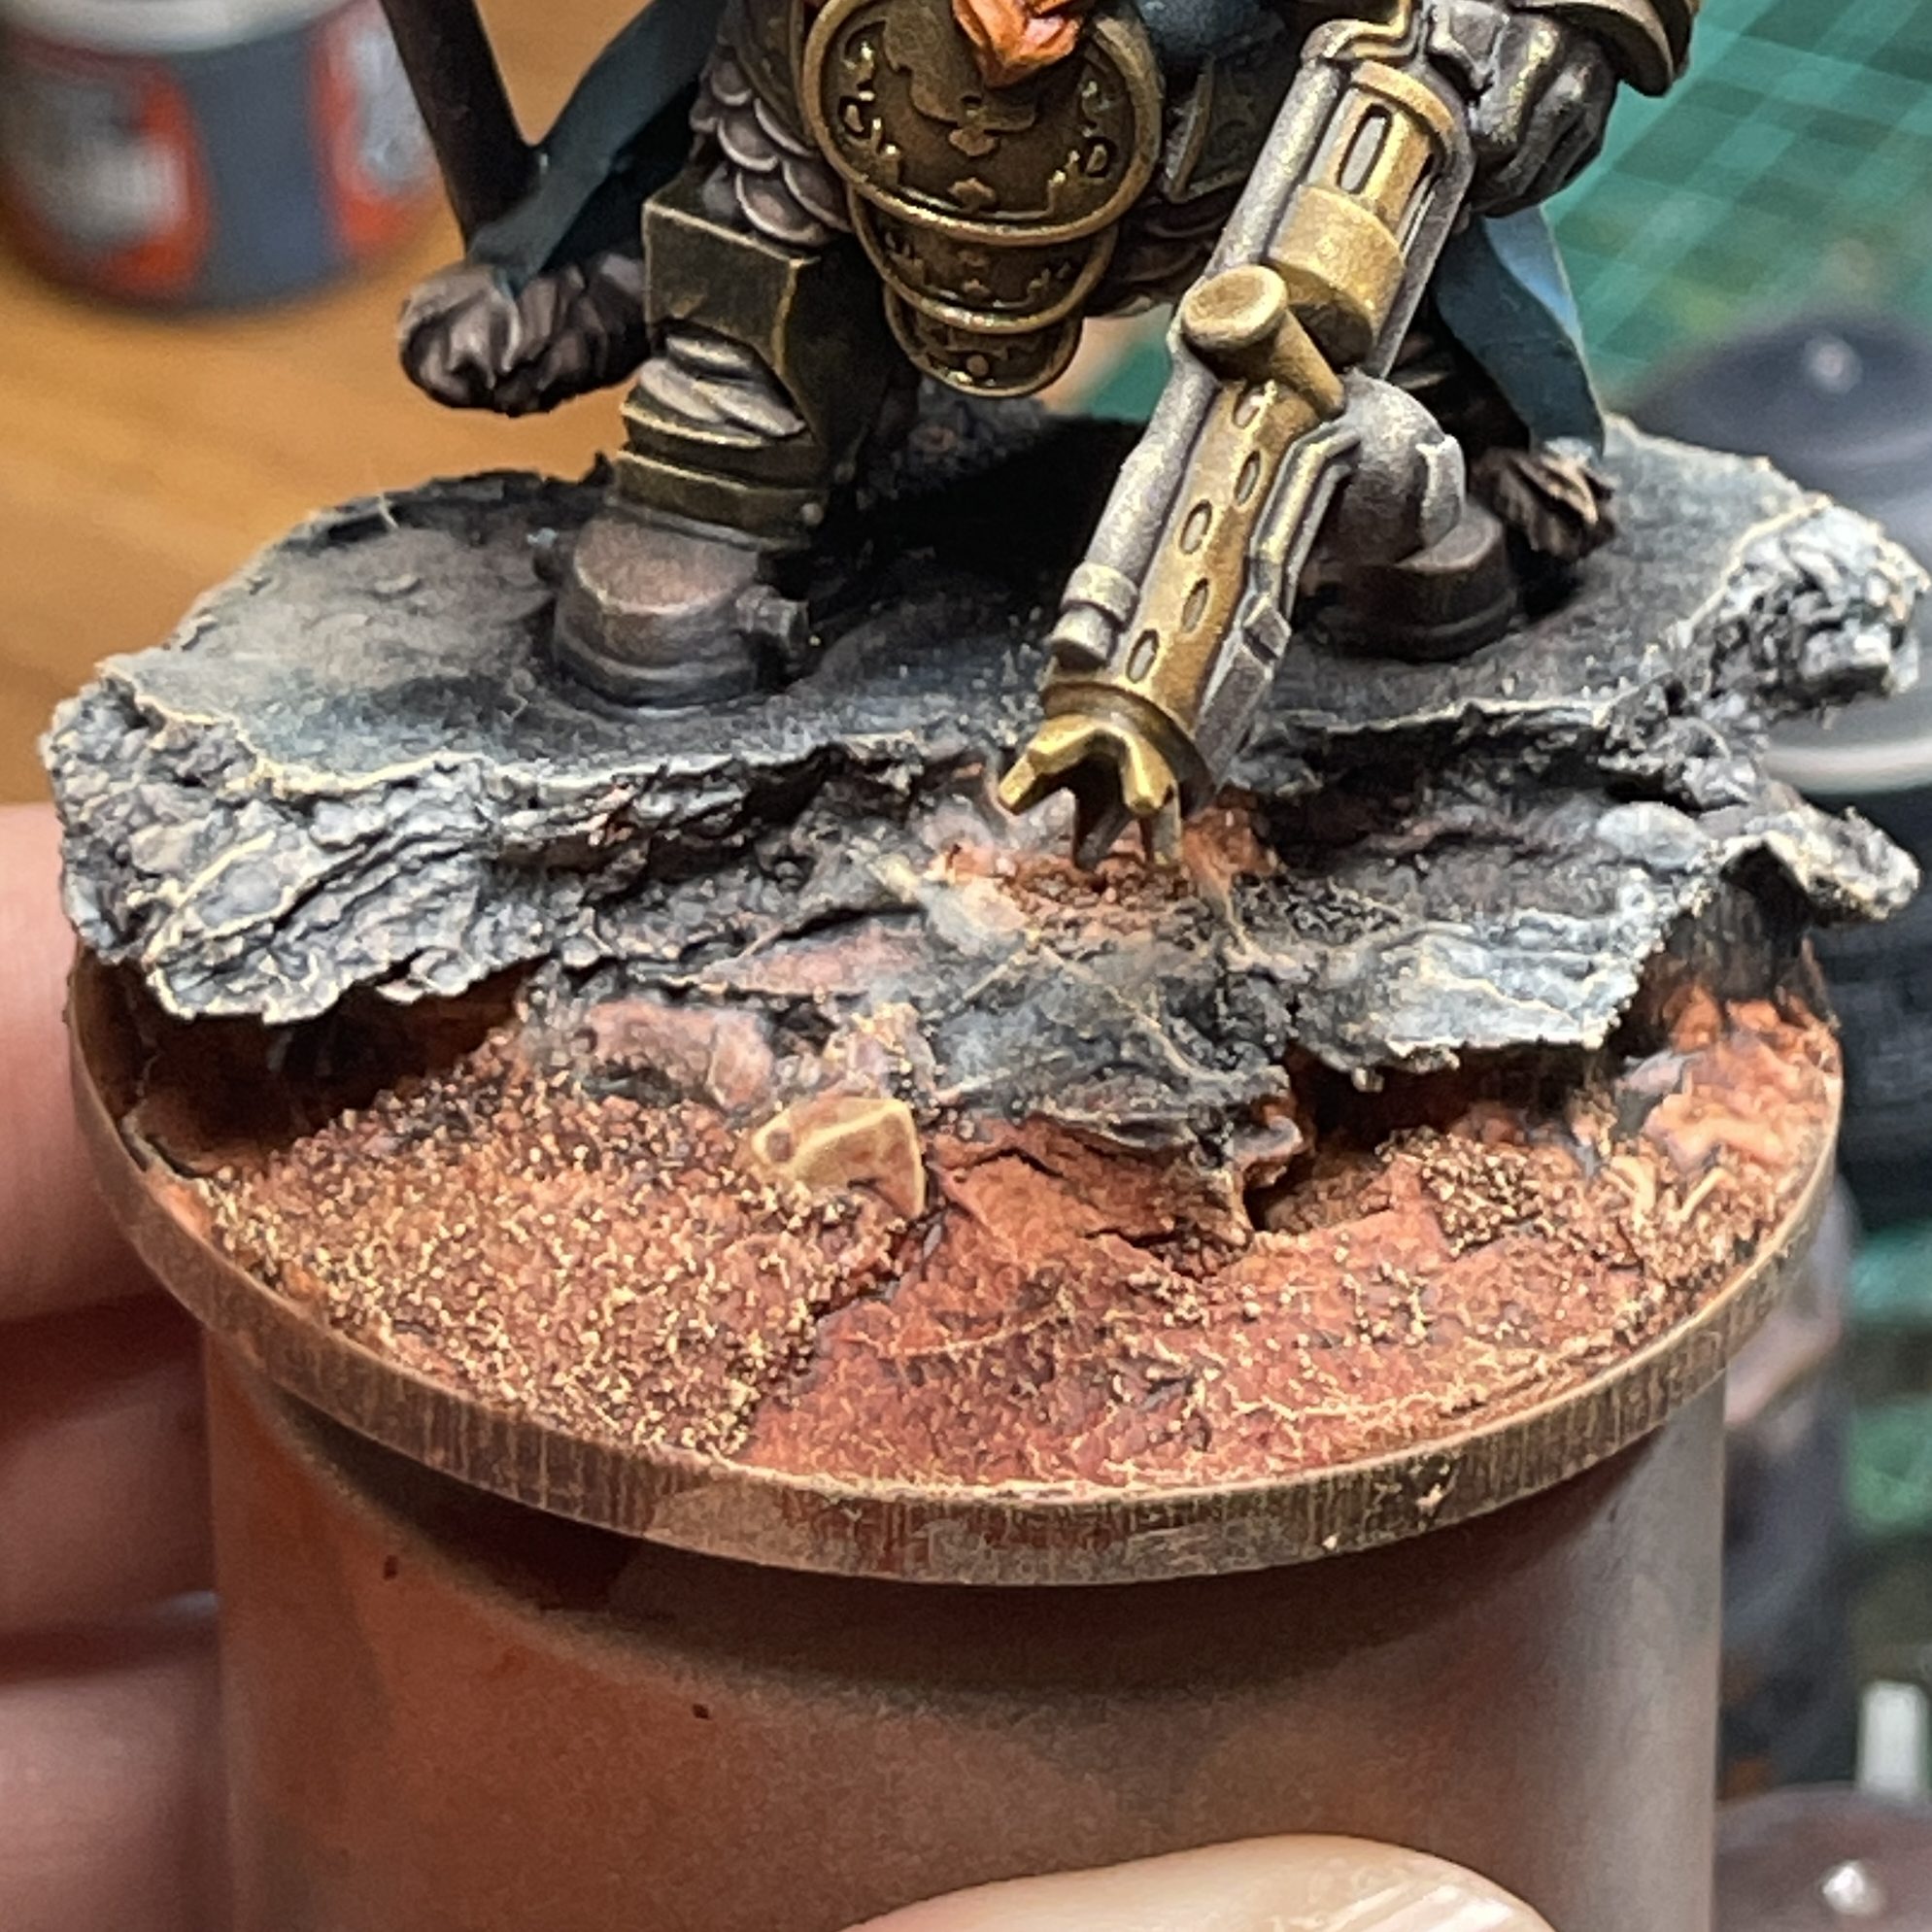
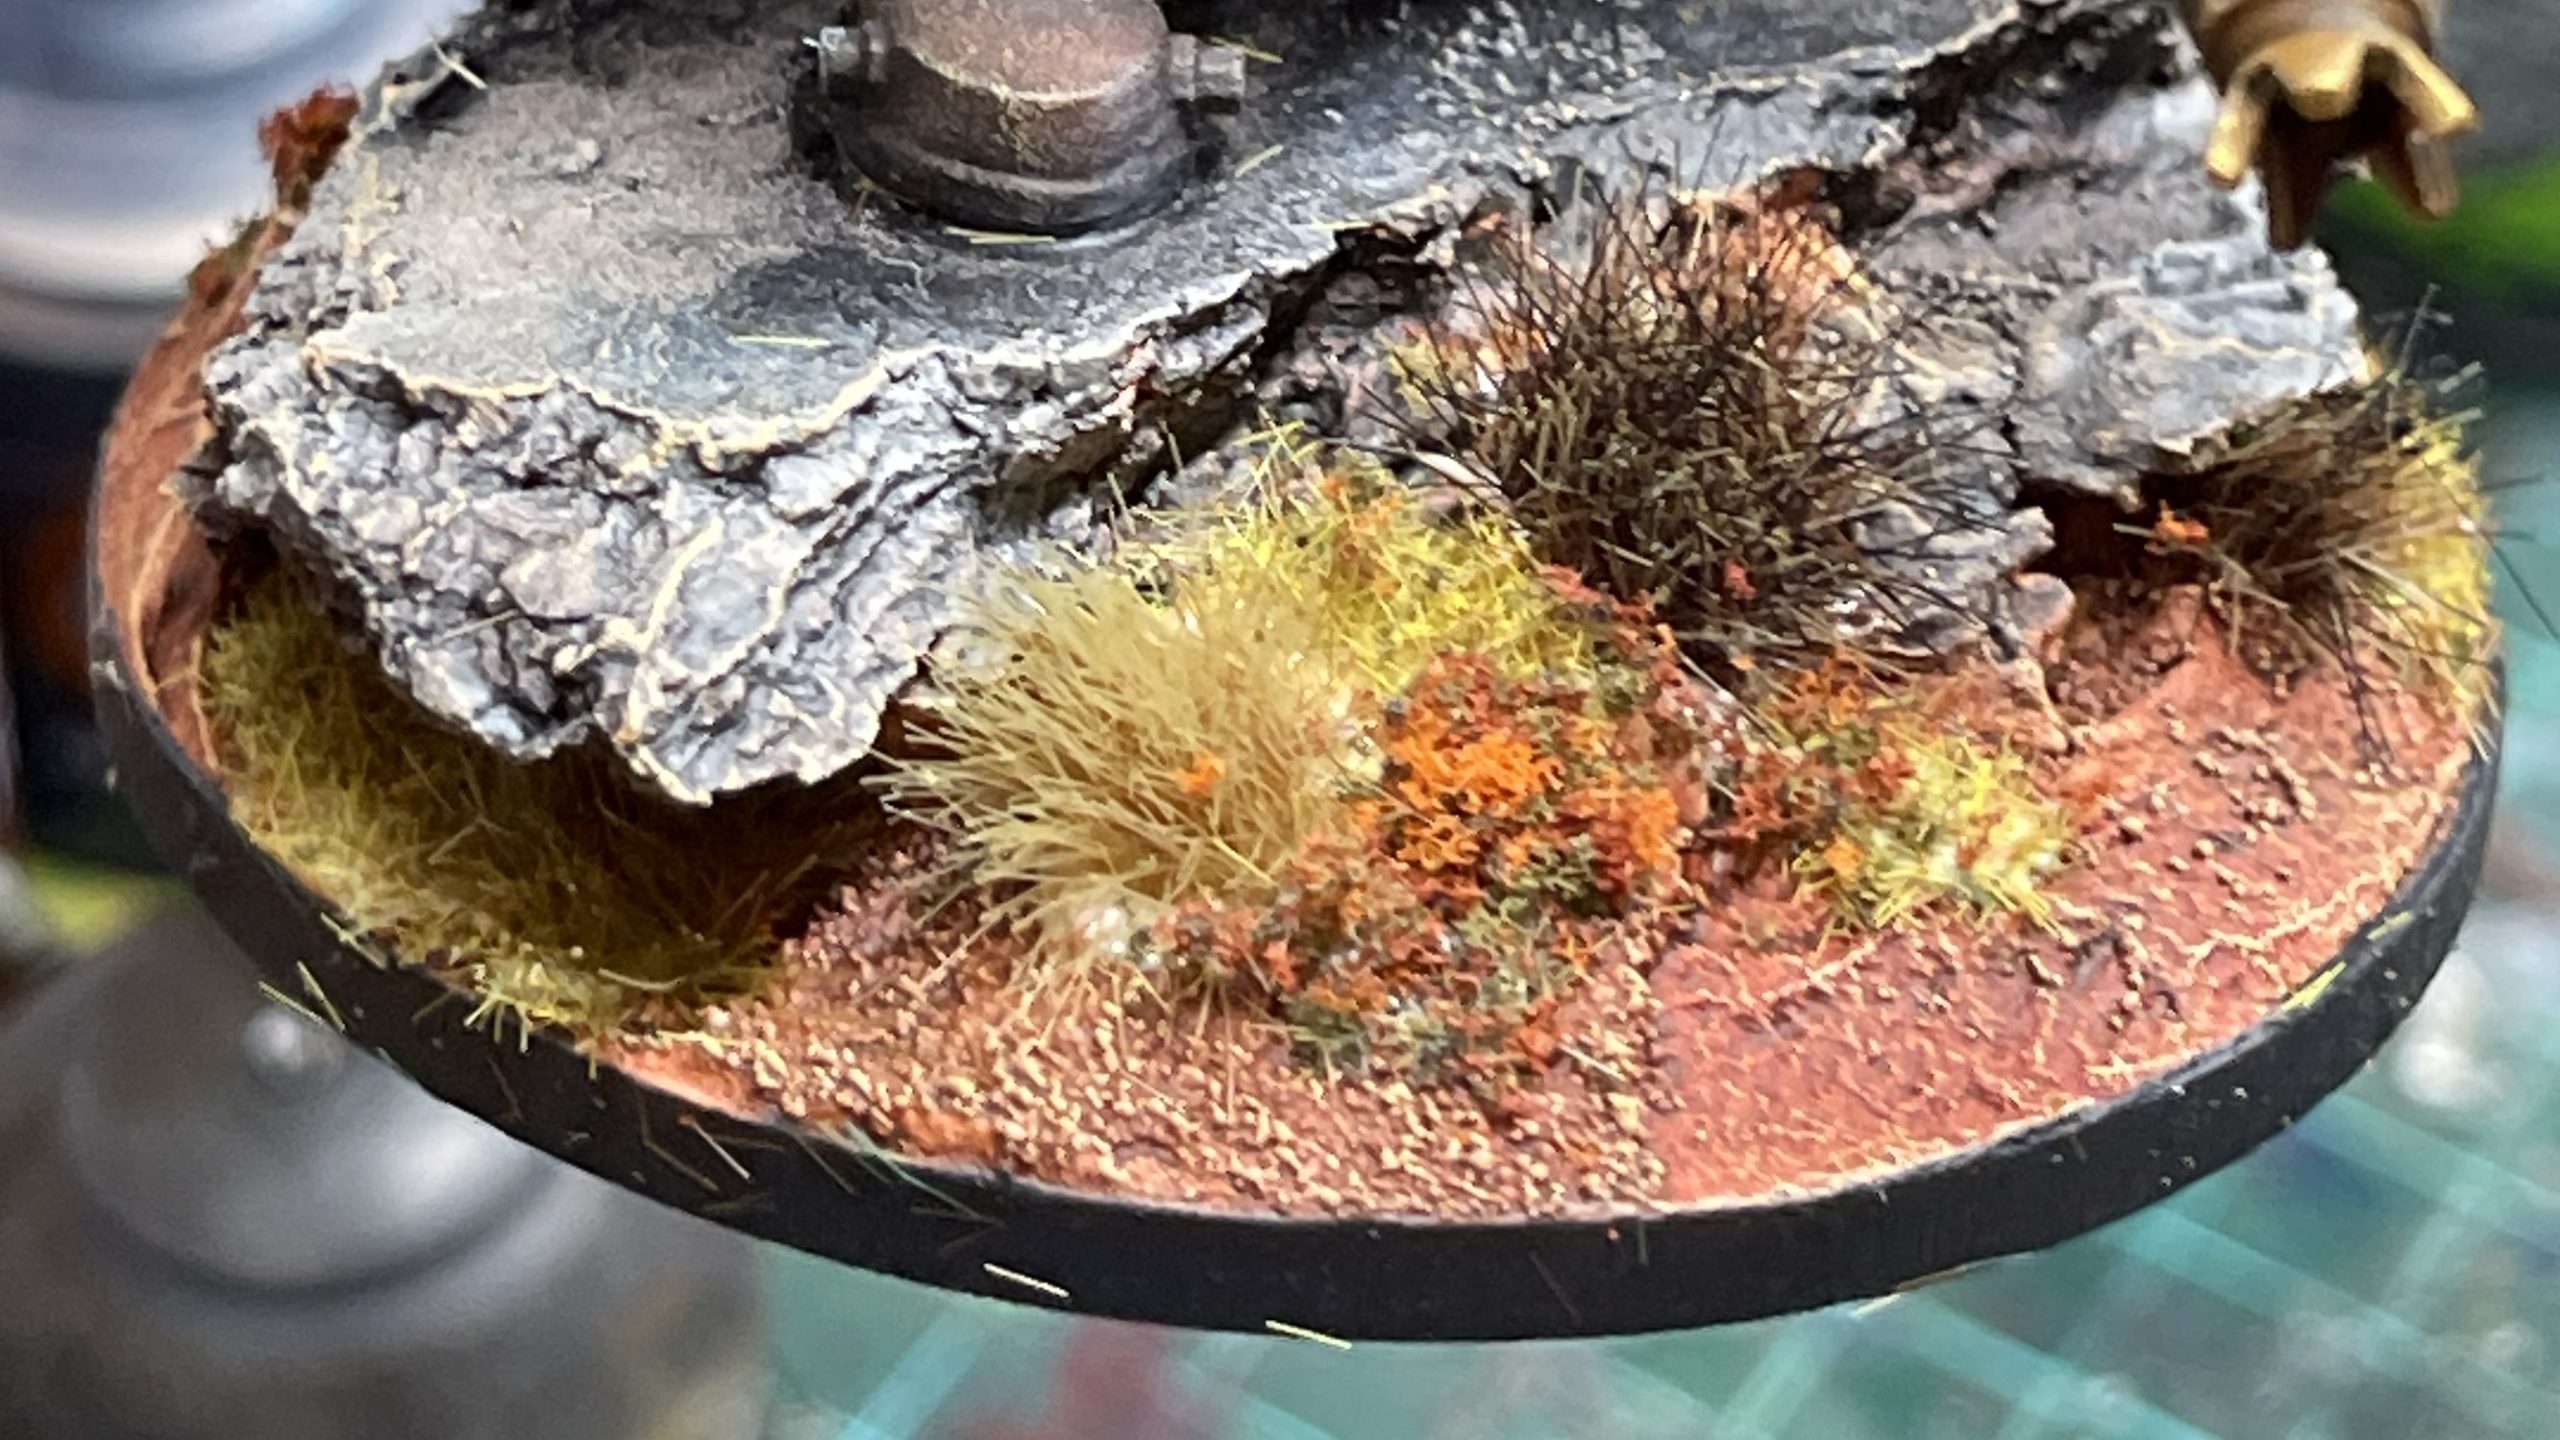
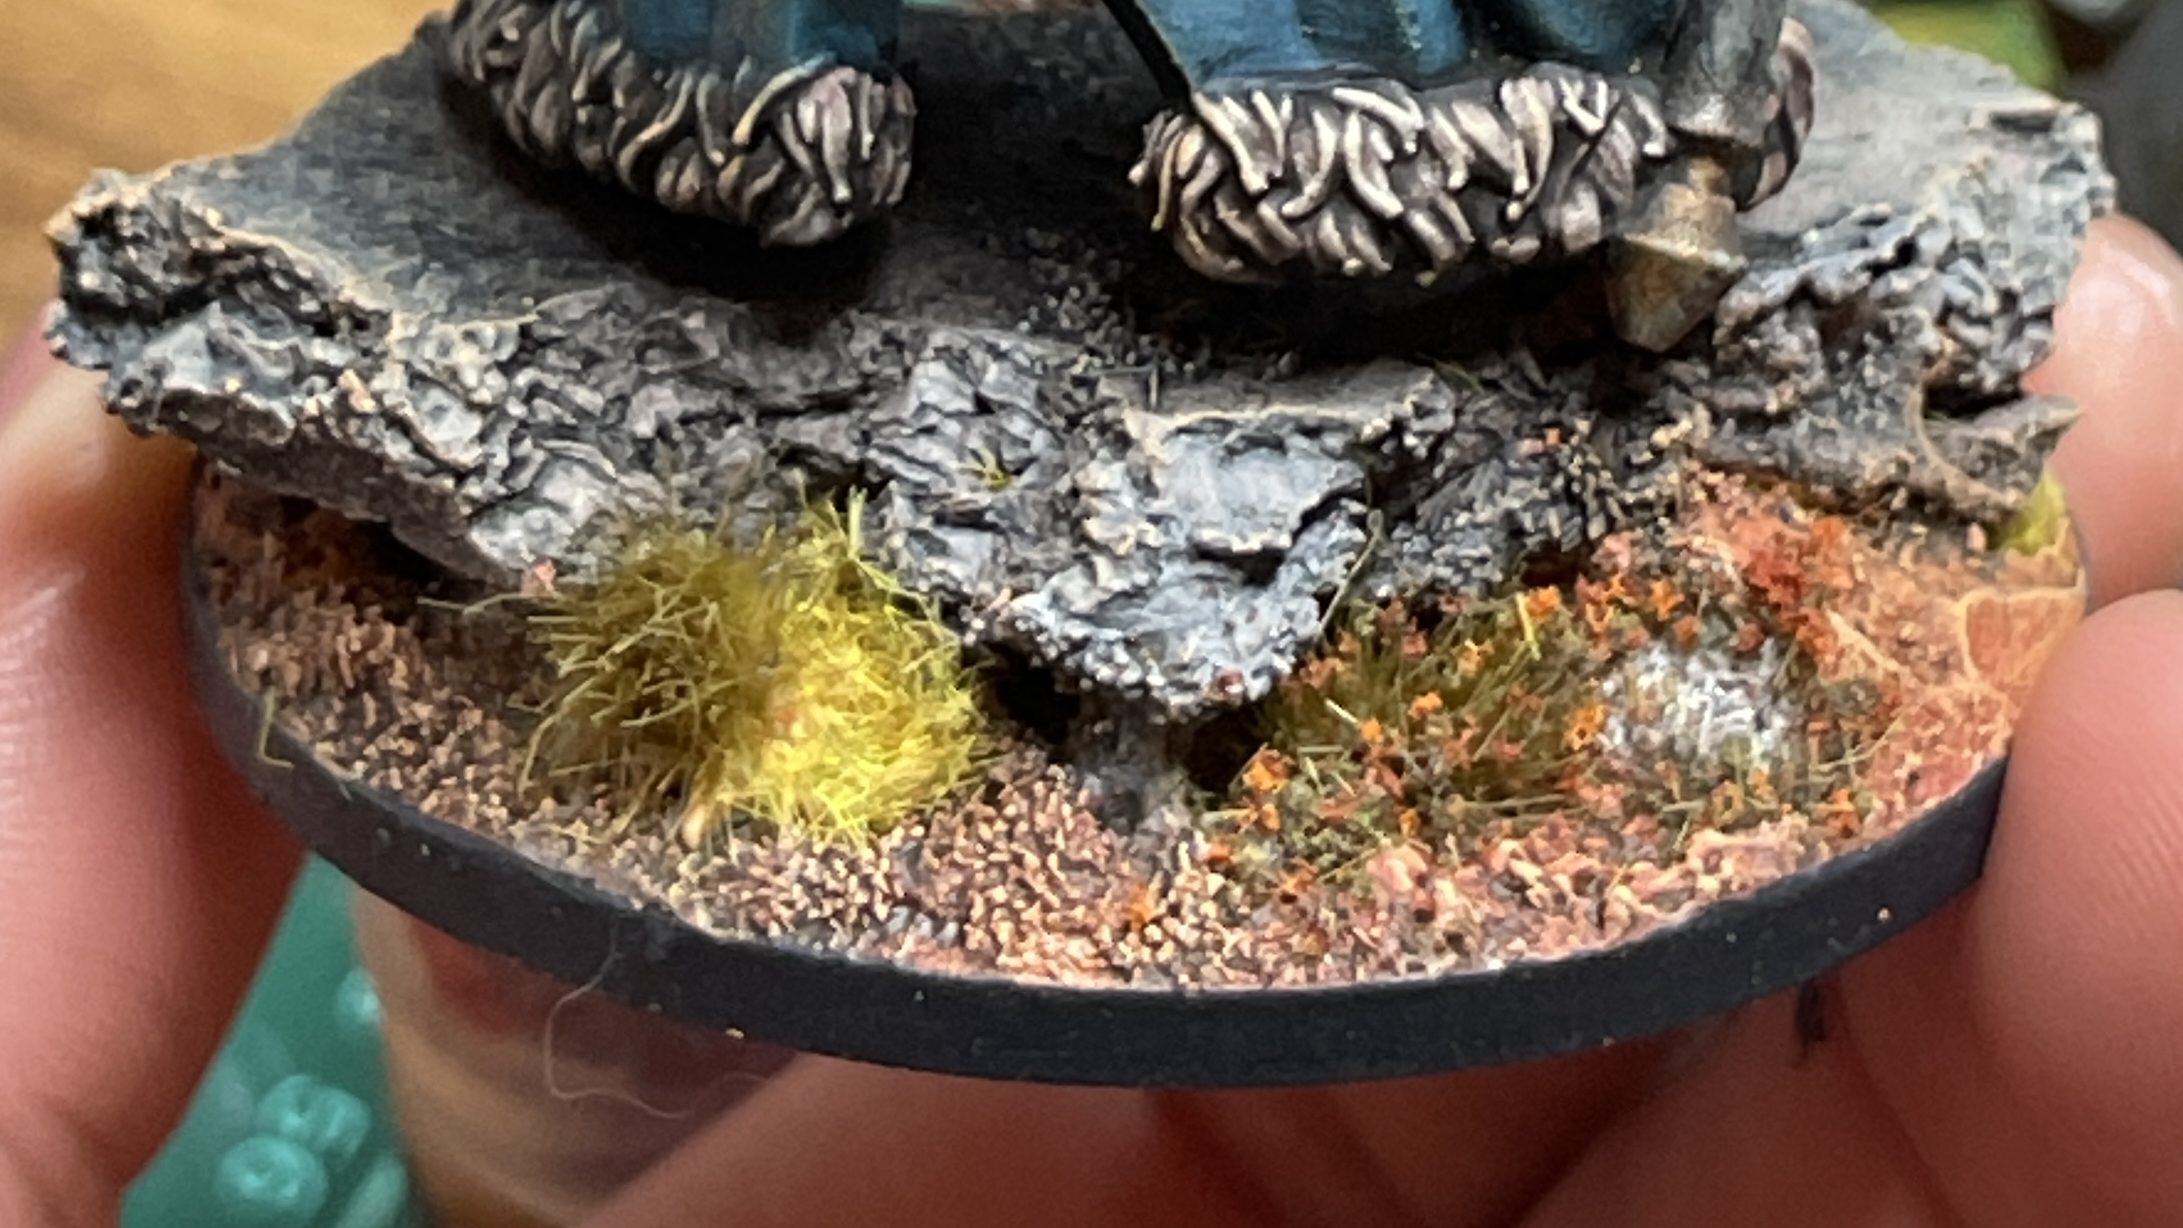
13. Paint base

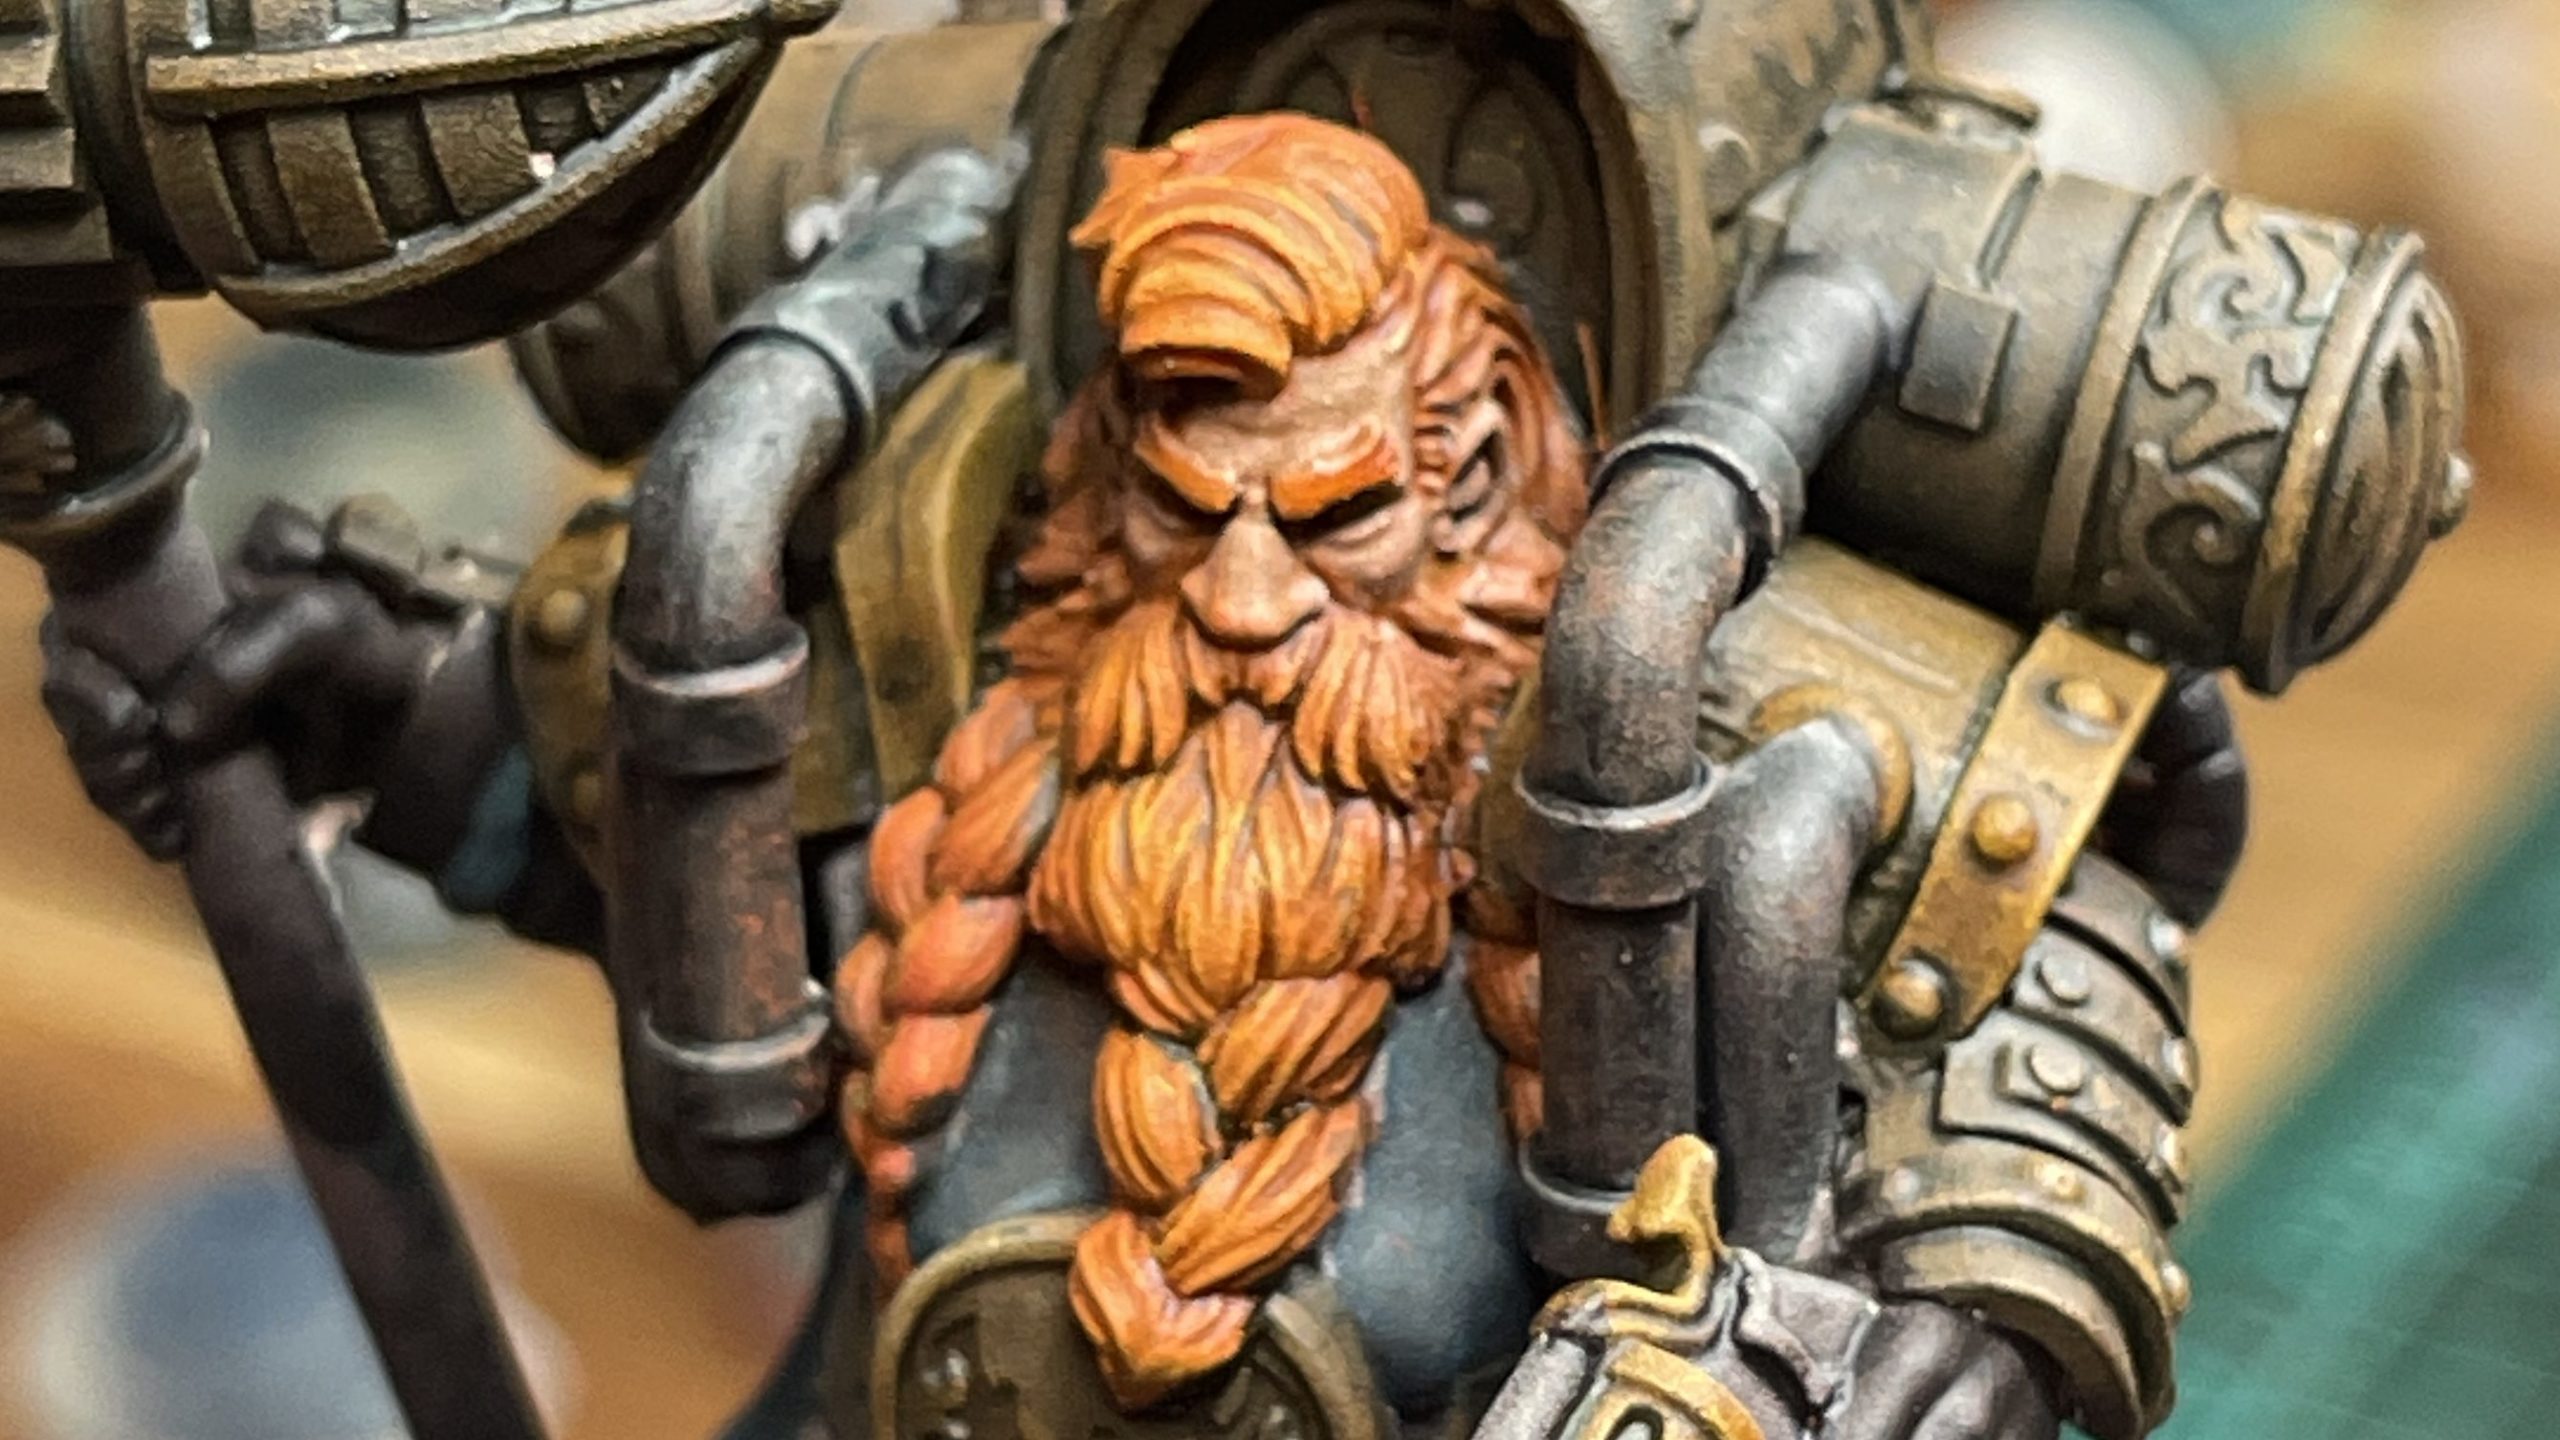
14. Apply shade to beard and head
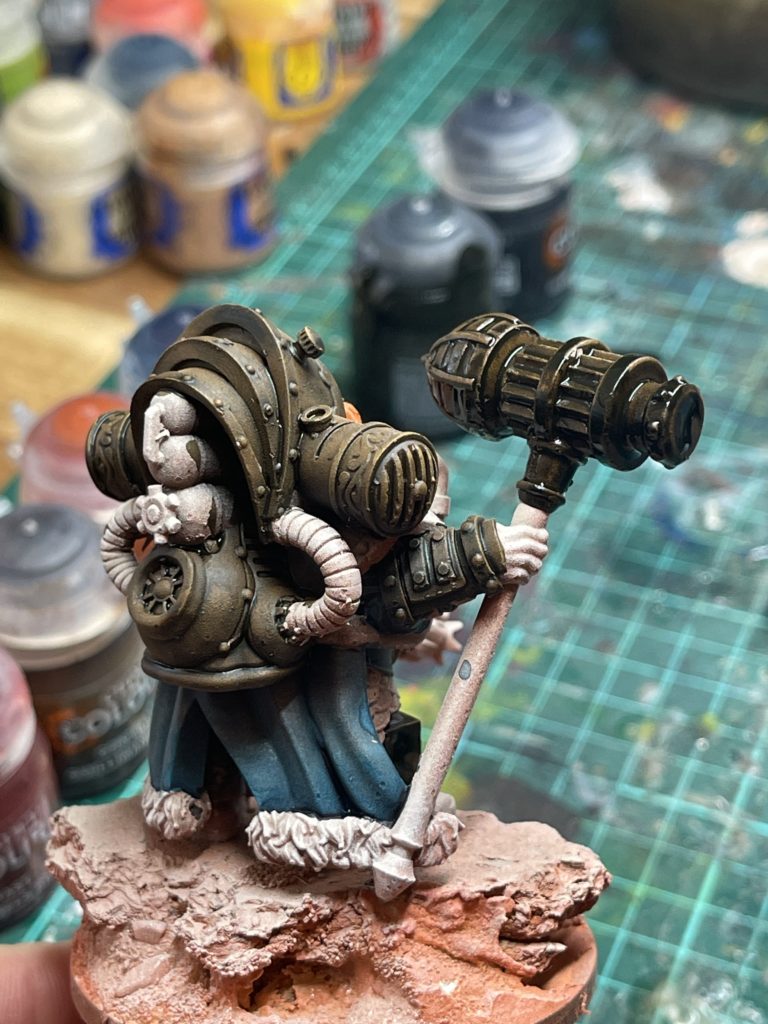
15. Apply wash to cloak and chain mail
16. Dry brush beard
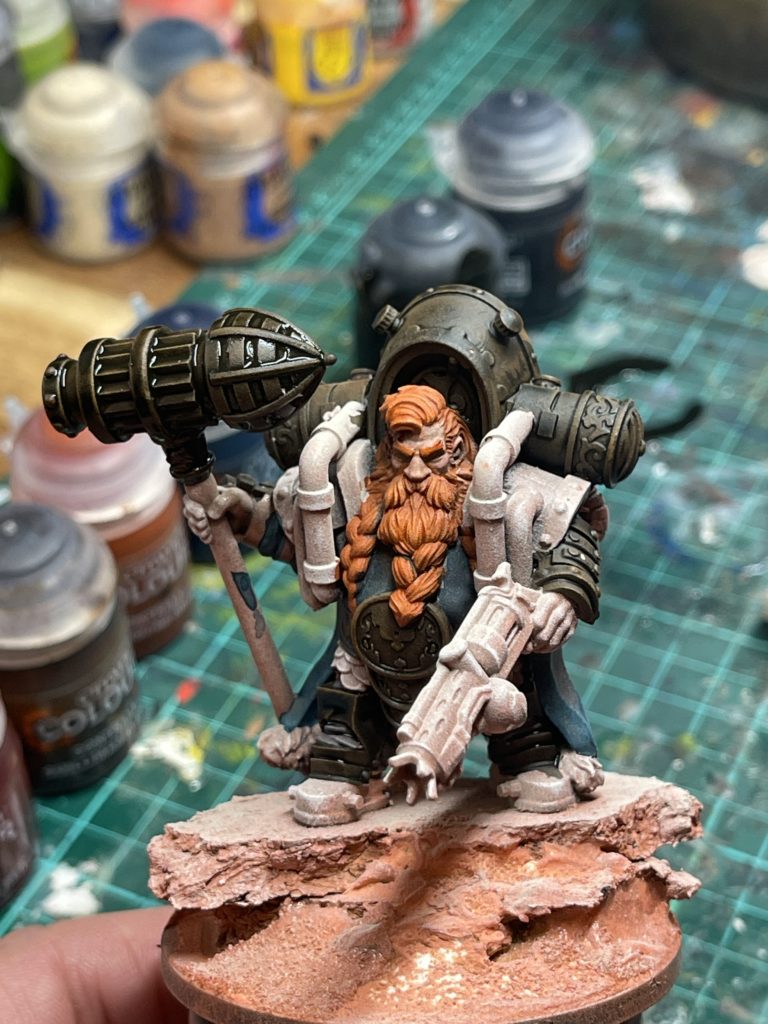
Dry brush Wild Rider Red first, then top off with Flash Gitz Yellow.
17. Dry brush brown/gold armour & gun highlights
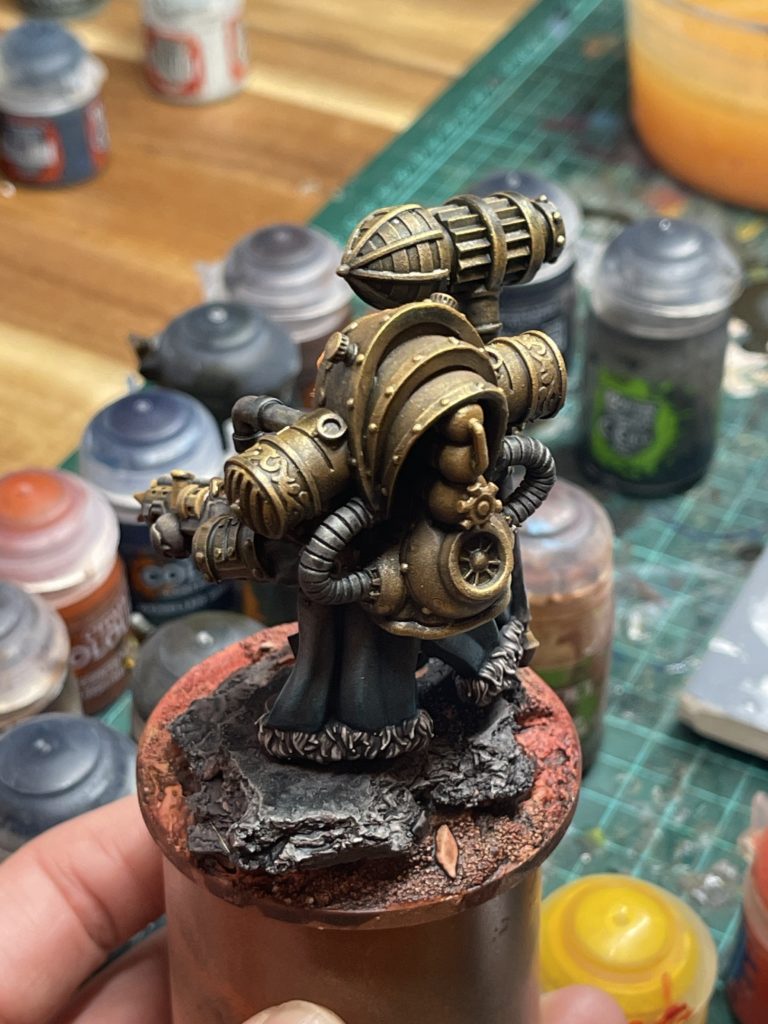
18. Dry brush silver pipes and gun
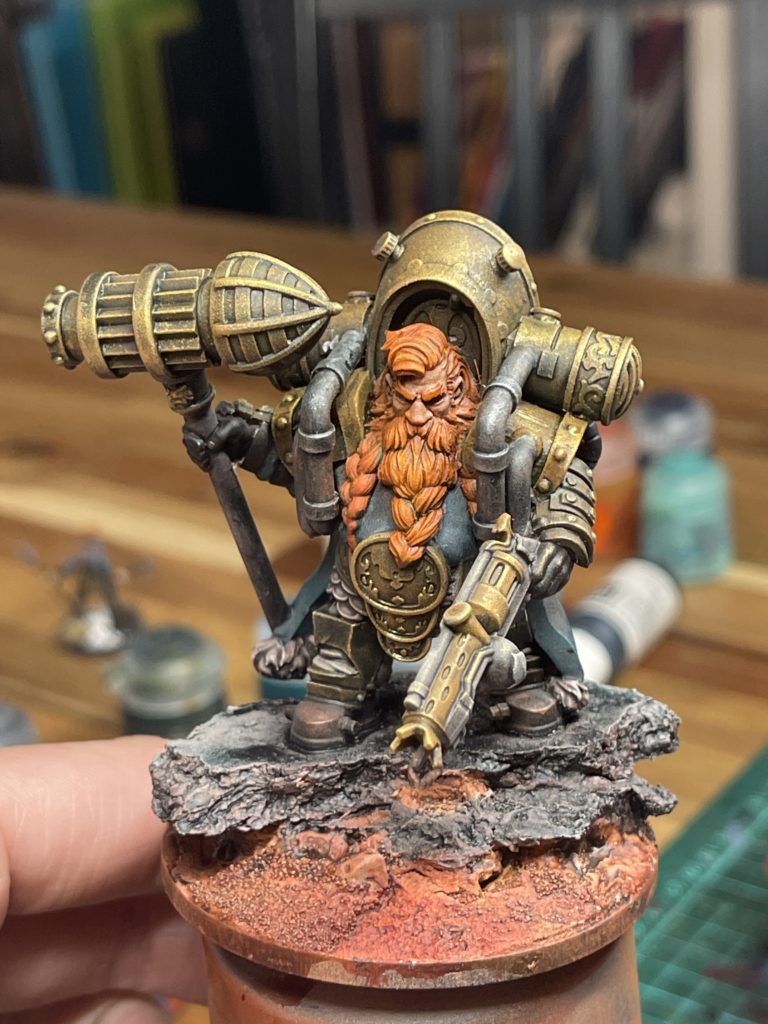
19. Dry brush cloak
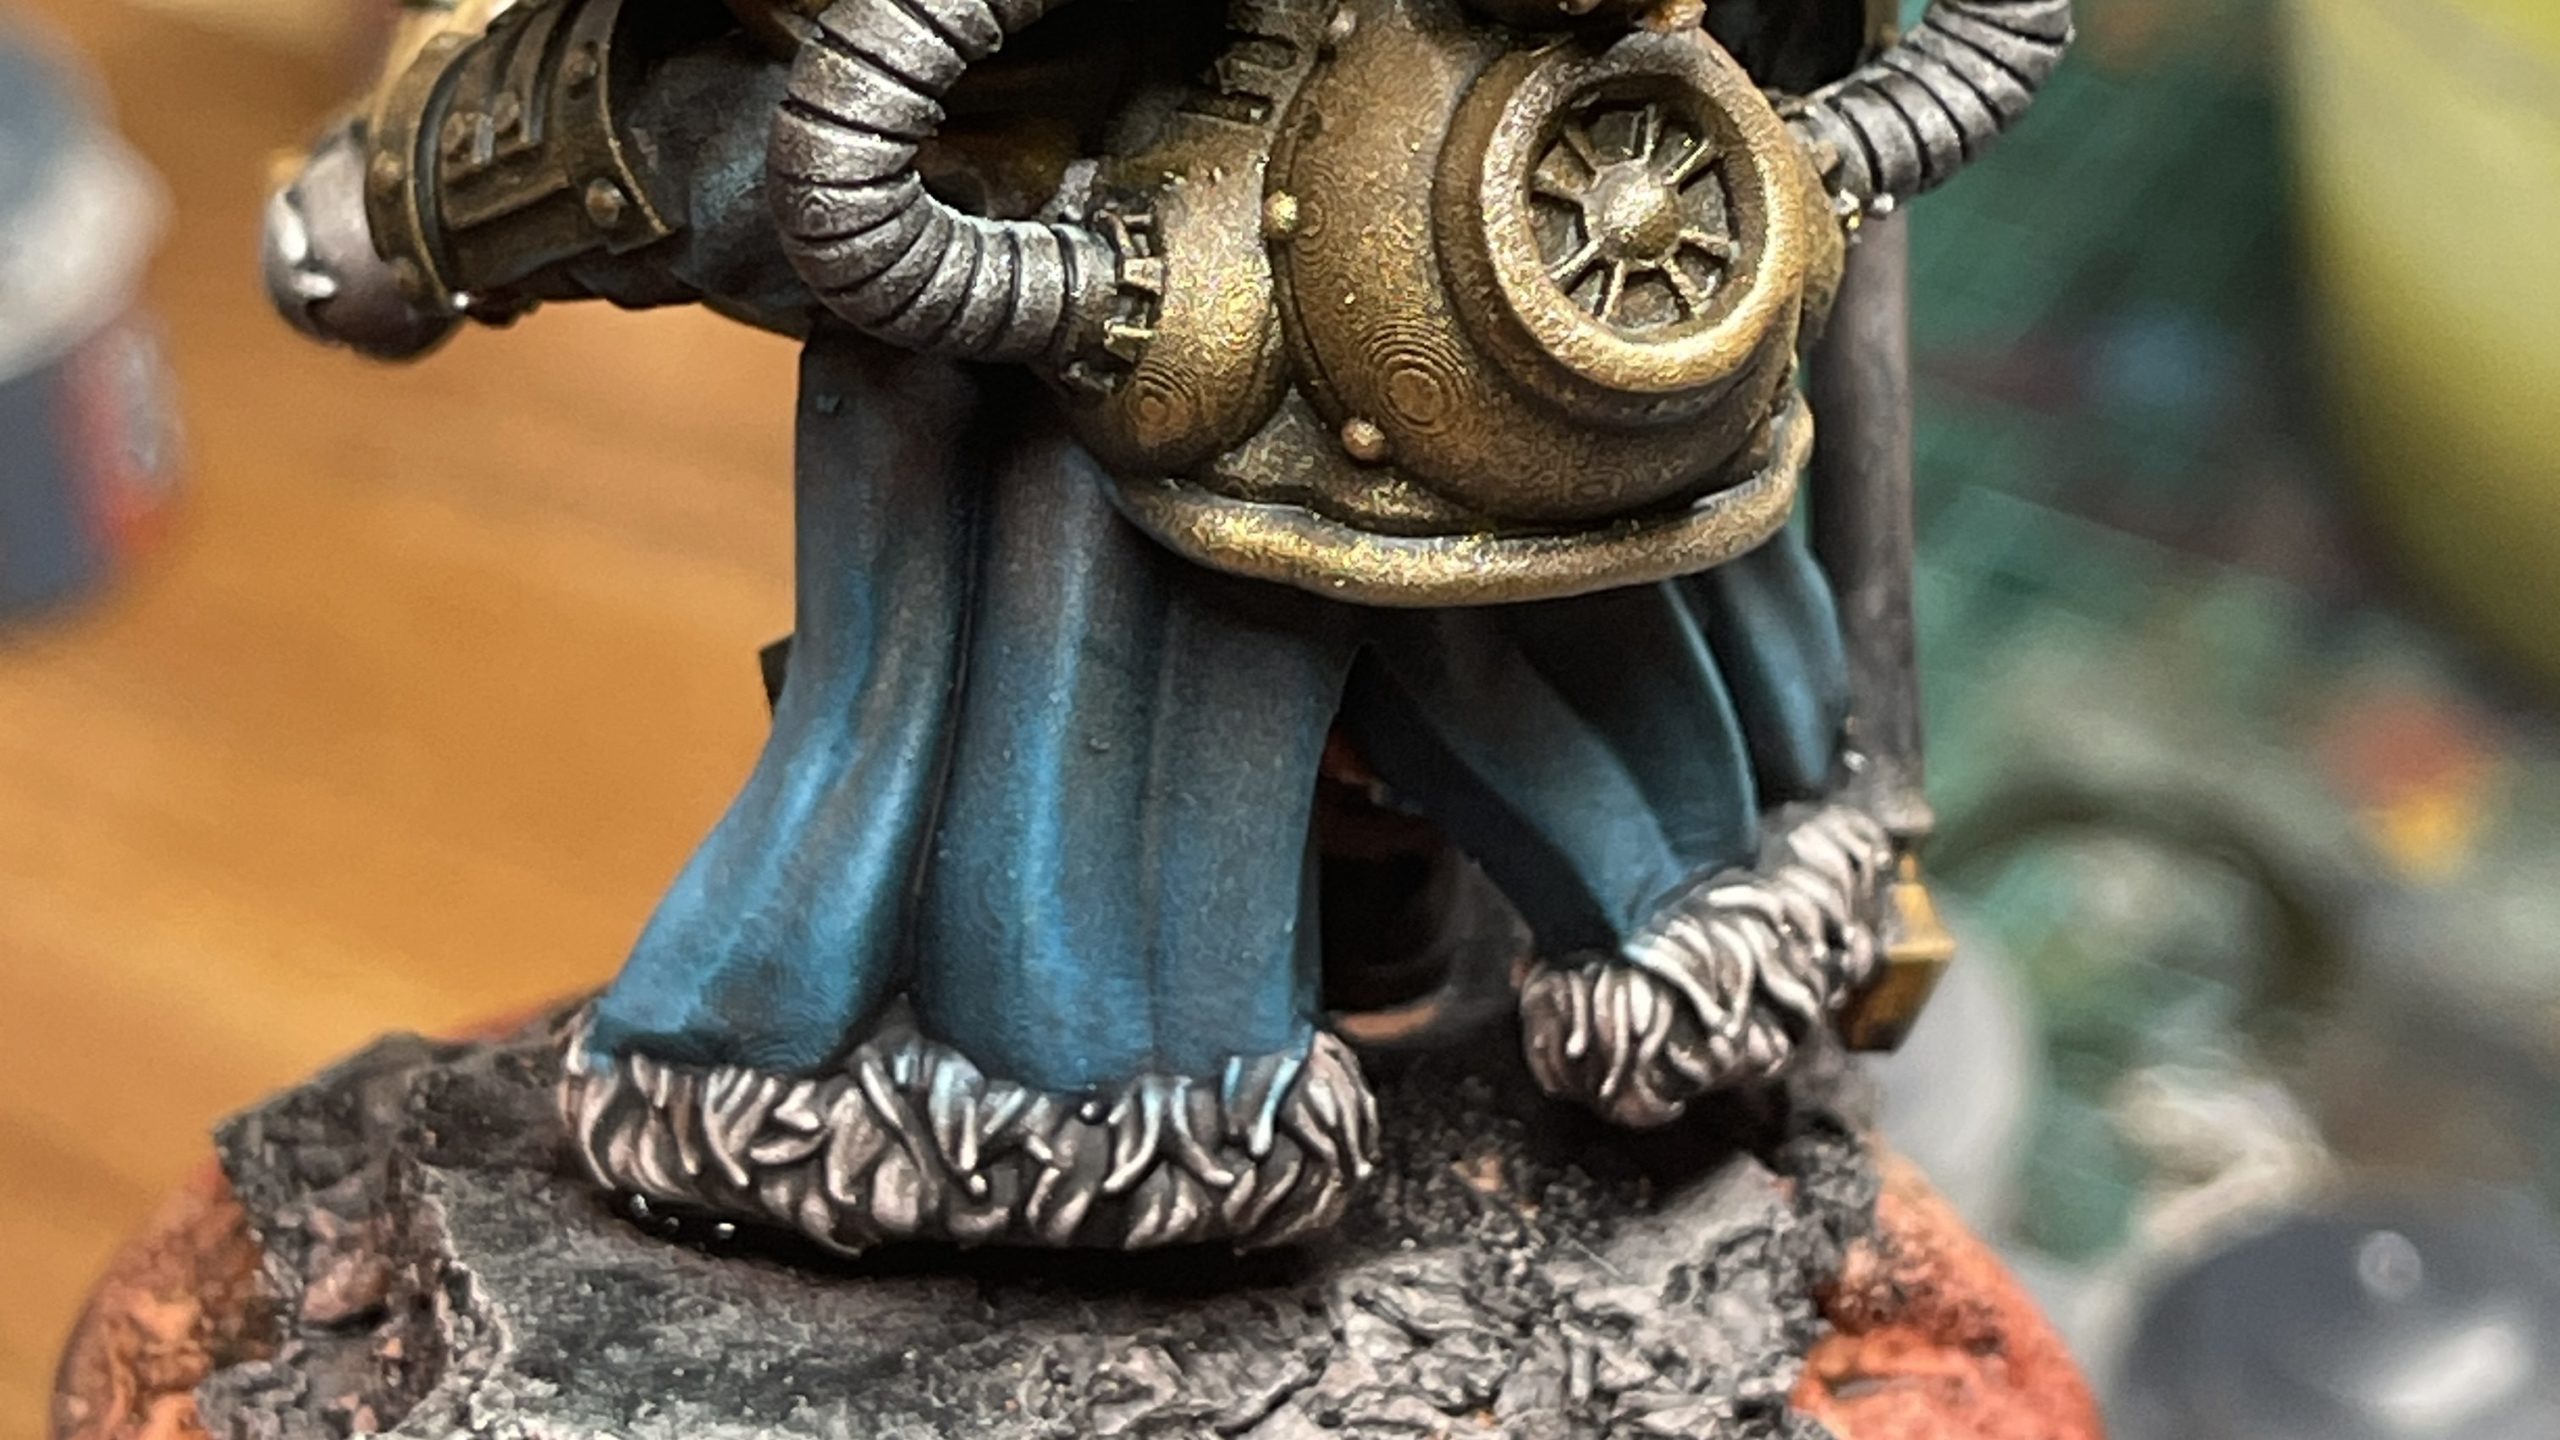
20. Dry brush rocks
21. Dry brush ground
Pull up onto cloak to tie together
22. Highlight facial features
23. Line base rim
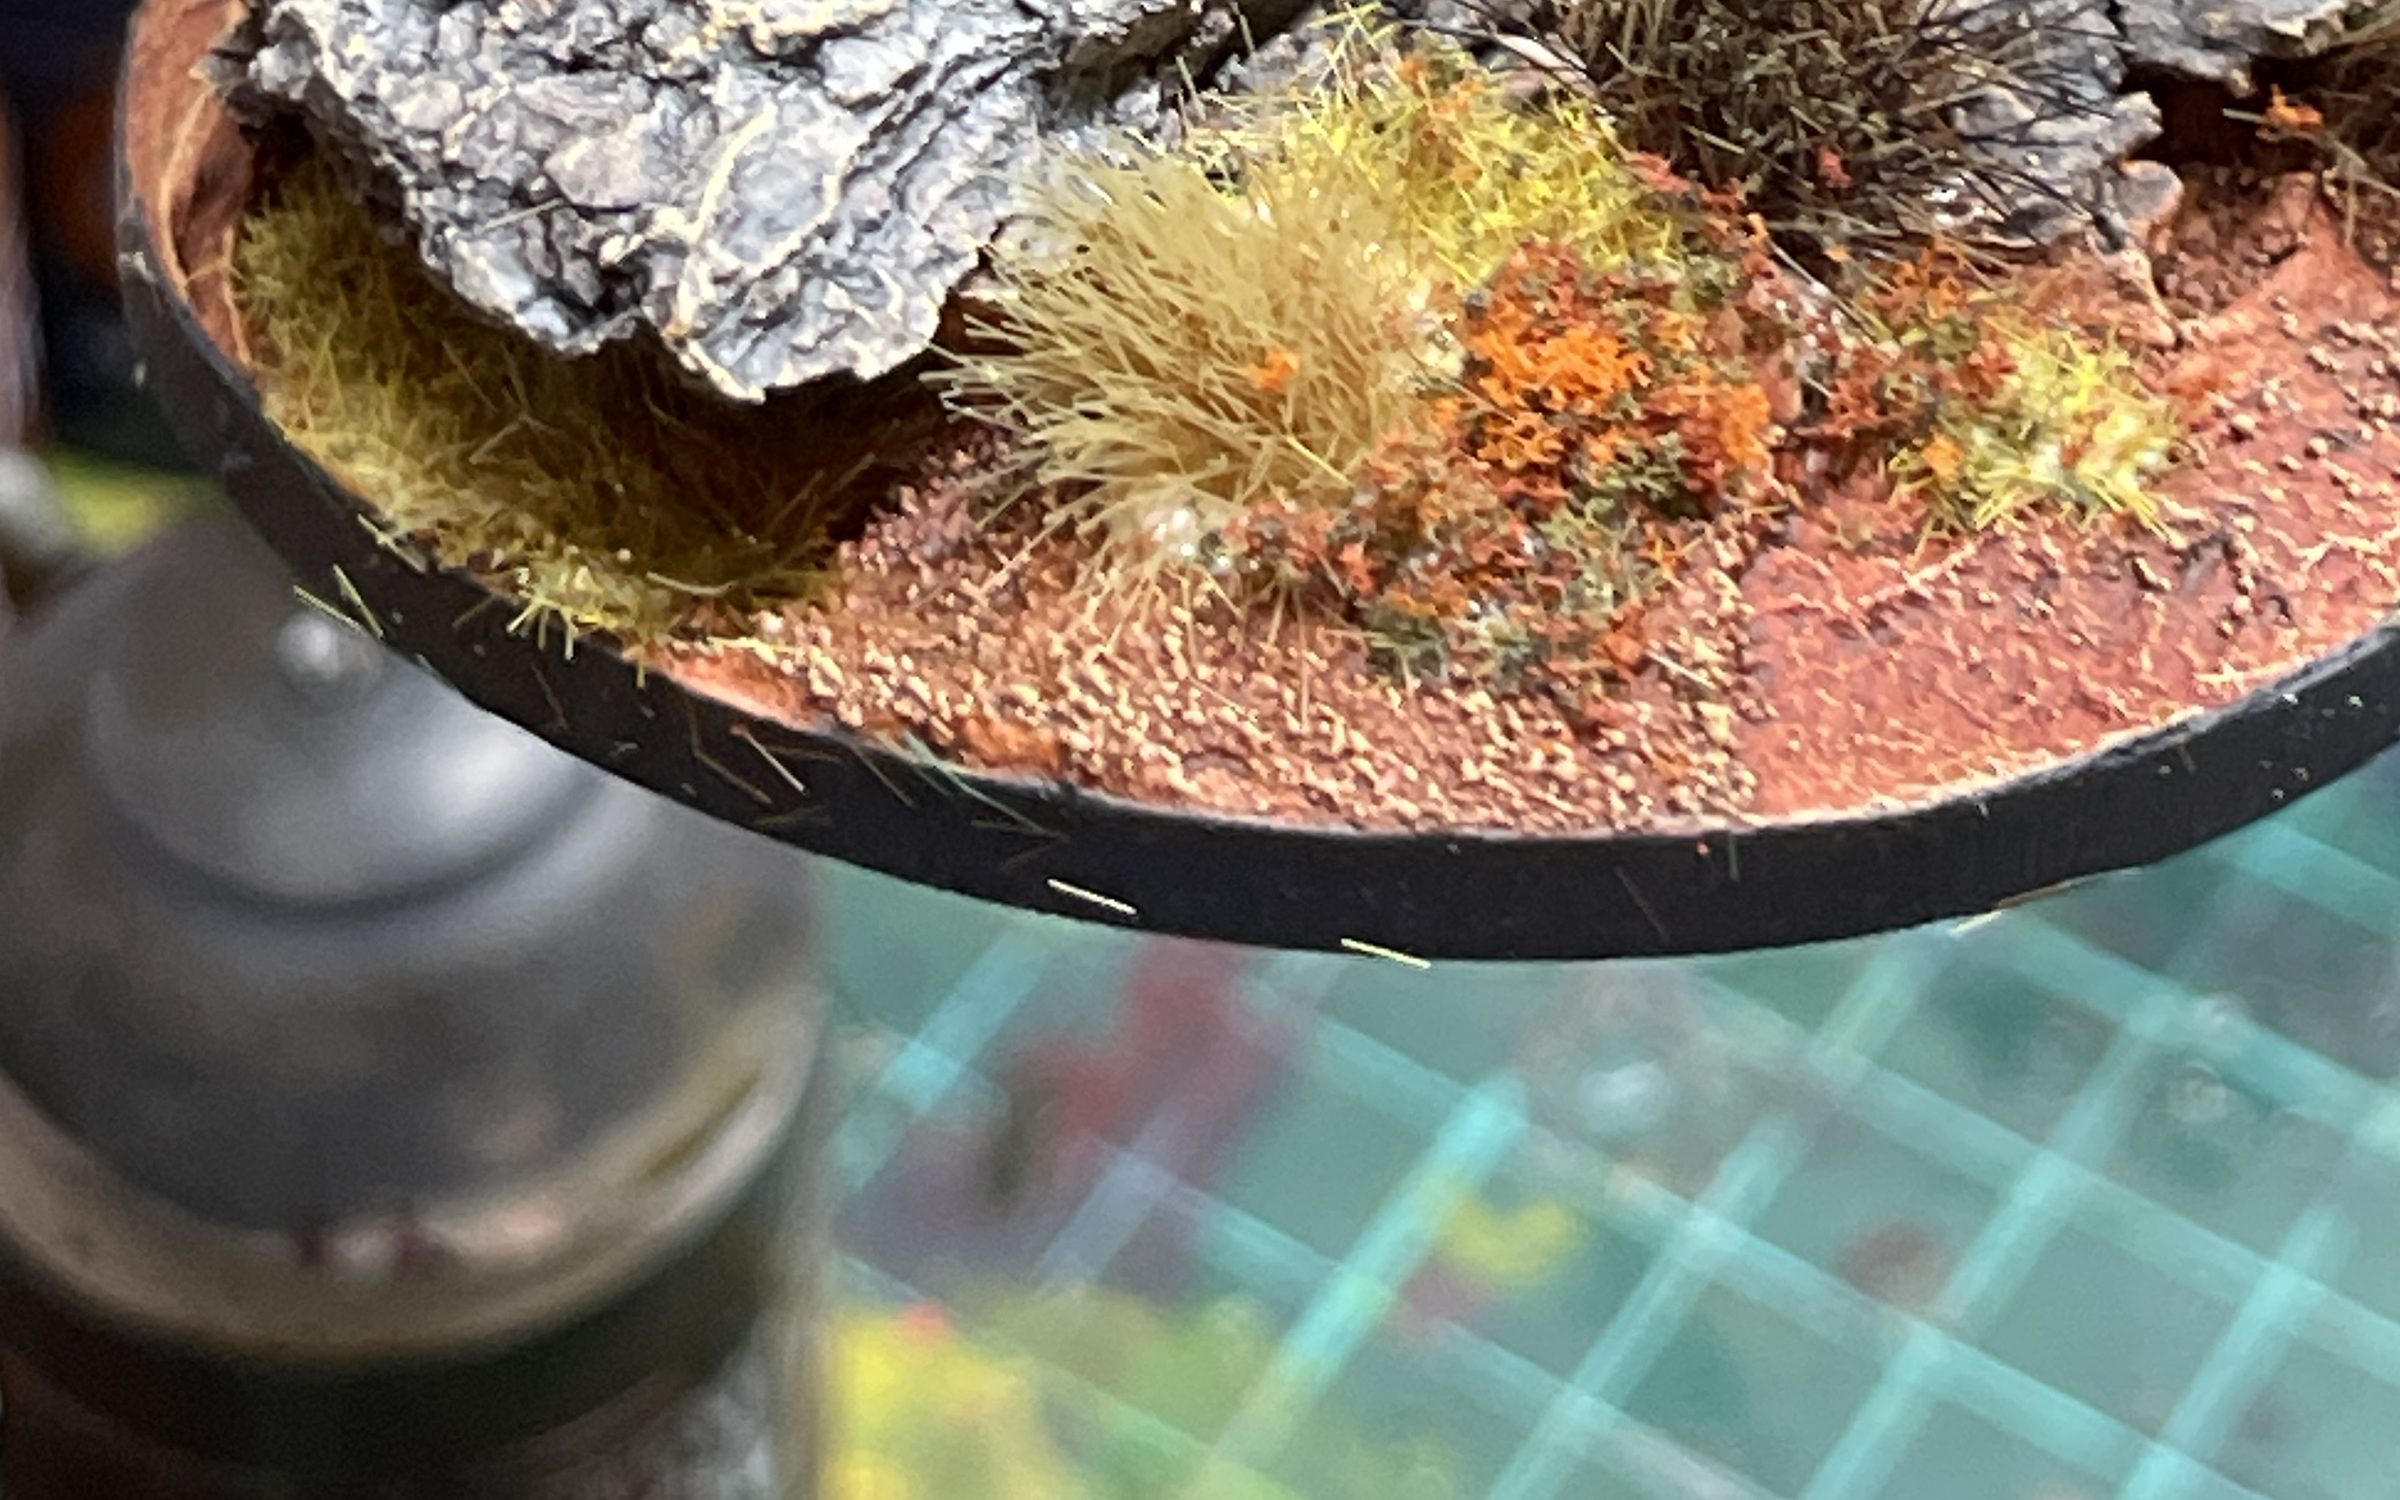
24. Add plant details
25. Detail weathering on hammer and armour
Apply the Typhus Corrosion sparingly. It adds a light gritty texture and can be easily over-applied. Nihilak Oxide should also be painted on with a gentle hand, a little goes a long way.
And done!